
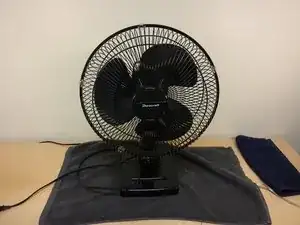
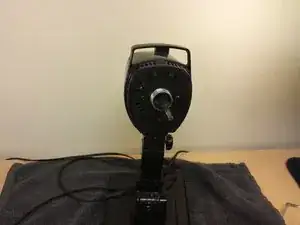
Introduction
Through continued use, table fans tend to collect dust and debris. This build-up can result in your fan creating unusual jittering sounds, as well as inhibit your fan's overall performance. Fortunately, this fix is relatively simple, and doesn't even require a screwdriver--all you need is a damp washcloth and your own two hands.
Please note: While it's common for debris to be the source of this problem, it is possible that this isn't the case, and that another part of the fan (such as its motor) is at fault. This is beyond what is covered in this guide, so if your fan is still making noises after proper cleaning, you may have to look elsewhere for a different fix approach.
Tools
-
-
Place your fan on a clear, open level area, like a table top.
-
It may help to place a towel underneath the fan, as it will catch some of the falling debris.
-
-
-
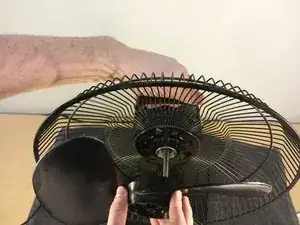
Remove the clamps surrounding the protective cage by pulling each outward (away from the fan) one at a time.
-
As you are removing the last few clamps, be sure to hold the cage with another hand. Otherwise, it will fall right off!
-
Once the front end of the cage is free, remove it from the fan and place it to the side for now.
-
-
-
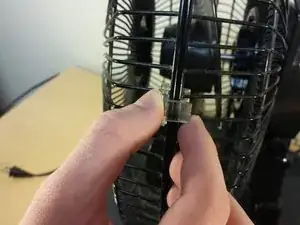
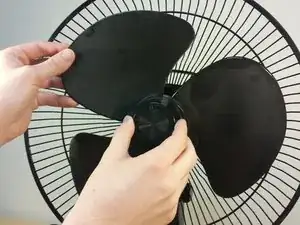
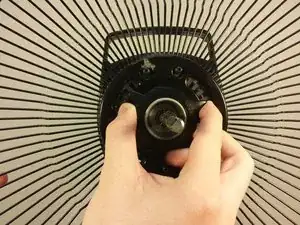
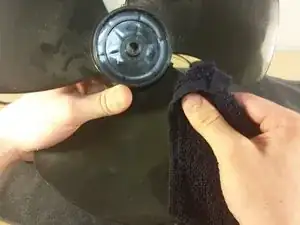
Now that the blades are exposed, it's time to remove them. Holding the blade piece in place with another hand, twist off the knob in the center of the piece.
-
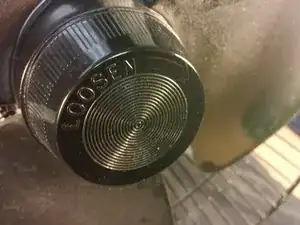
Take note of the direction that you should be spinning the knob for loosening, which is labeled as clockwise on this fan (not lefty-loosy!) If you're having trouble twisting the knob off, you may be twisting it the wrong way!
-
Once loosend enough, the knob should spin right off.
-
-
-
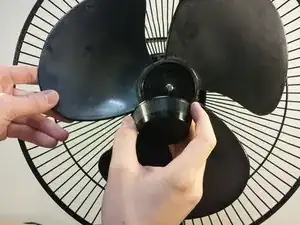
With the knob removed, these blades can come off!
-
Pull the blade piece straight off the rotor, using your other arm to weigh down the rest of the fan.
-
Set the blade piece to the side alongside the first half of the cage.
-
-
-
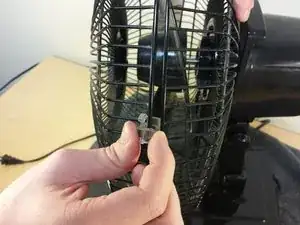
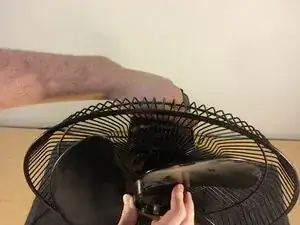
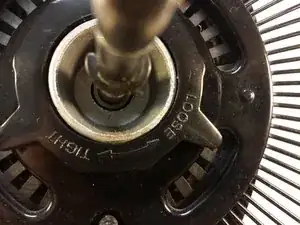
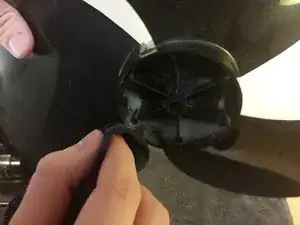
Now to remove the second half of the cage. Do this by first removing the knob surrounding the rotor.
-
Like the first knob, be sure to check for the labelings to see which direction you should be turning. On this fan, I have to twist counter-clockwise this time (this time, lefty-loosy!).
-
-
-
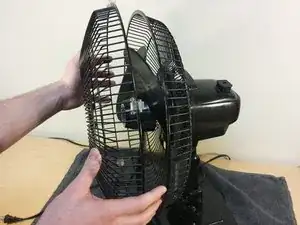
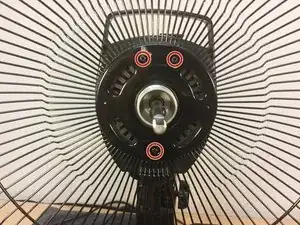
With this knob off, you can now slide the other half of the cage off.
-
When reassembling the fan, remember to slide this half of the cage back on by aligning the holes in the metal center of the cage with the stumps sticking out on the fan.
-
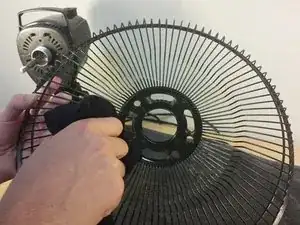
With all the easily-detachable parts of the fan off, you should now be left with a bare fan.
-
-
-
Time to get down to cleaning! First, the fan blades. Do not immerse the fan in water and never allow water to drip into the motor housing.
-
Dampen your wash cloth with warm water and begin wiping down the surface of the blades. Never use gasoline, benzene, or thinner to clean the fan. This will damage the surface of the fan.
-
Be sure to clean all the nooks and crannies. Let the piece dry.
-
-
-
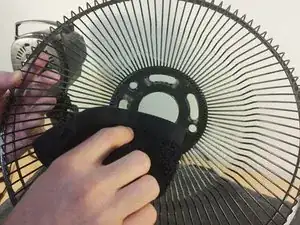
Next, the protective cage.
-
This procedure is similar to that for cleaning the blades: use your dampened cloth to wipe down both sides of each cage.
-
-
-
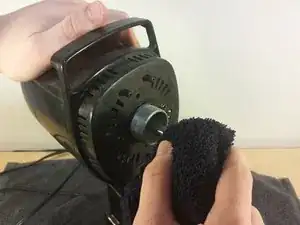
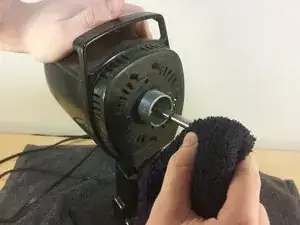
Finally, the rest of the fan.
-
Like in the last two steps, wipe down the rotor and the area surrounding it on the fan. After cleaning, be sure to completely dry the fan with a cloth or towel before using it.
-
Voila! Your fan should be (almost) as good as new! Be sure to repeat this often for proper fan maintenance (once every one or two weeks should suffice, depending on your fan usage).
-


To reassemble your device, follow these instructions in reverse order.
Note: It may be easier to reassemble your fan with it lying down with the rotor facing up, as it allows gravity to hold certain pieces in place for you.
8 comments
Worked like a charm. I had a noisy pedestal fan in my bedroom that's only used during the summer, but it got noisy enough to wake us up. Now it's nice and quiet. I also made a cover for it to keep the dust out when it's being stored during winter. Our fan had the directions that the various pieces were to be turned to tighten them imprinted on the pieces themselves. It's an 18-year-old Lasko pedestal fan, and I'd cleaned it before, but not as thoroughly as the instructions indicated.
my fan is brand new.it makes a creeky squeeky sound every time it turns to the right.i know how to put a fan together,but i've never tried to see if i can open up a motor to see if i can hear where it is originating from.i think the joint is too tight in the arm maybe.i can't find anyone who knows who can fix it-no electrician knows.i also have problem finding someone who can install an apartment ac,for when i need a new ac-no ac business has a clue!
My fan seems like it has lost it's balance....it makes ticking sound while rotating.... Seems like it's neck is broken... What should I do...???
Priyanka -
First Go to the old things man with Ur f***Kng fan n sell them after that u buy a new fan…teky