Introduction
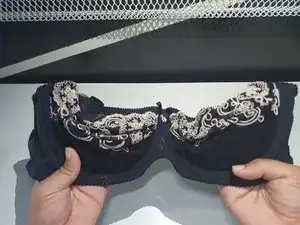
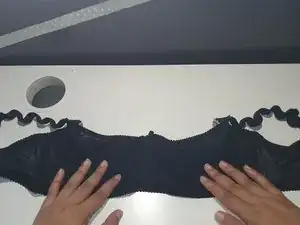
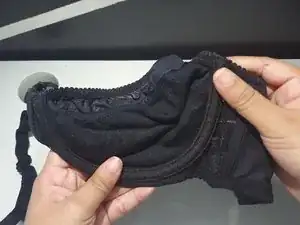
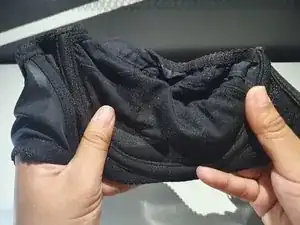
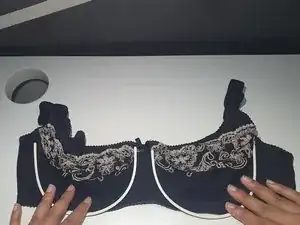
Do you have an underwired bra that doesn’t fit quite right? Or, a broken underwire that is poking you? In either case, follow this guide to remove the underwire from your bra and continue using your favorite bra for several more years.
This guide will help to remove the underwires which will prevent you from feeling any more discomfort. In the end, you will still have a bra it will feel brand new again!
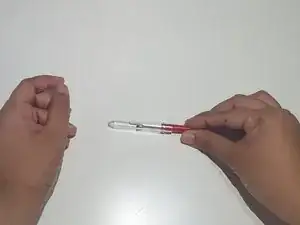
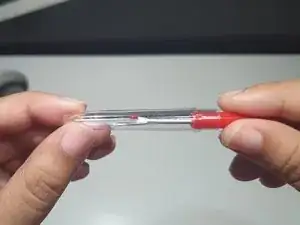
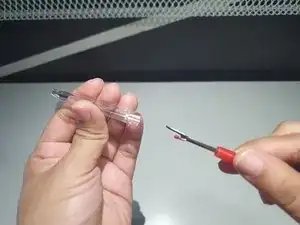
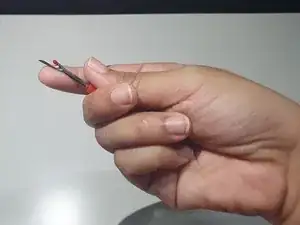
Removing the underwires is not difficult. It is a quick fix and the skill can be applied to other similar fixes needed for apparel. A seam ripper is ideal to quickly safely and neatly extract the underwires from your bra, but this project can be accomplished with any similar alternative tool that is sleek and sharp.
Tools
Parts
-
-
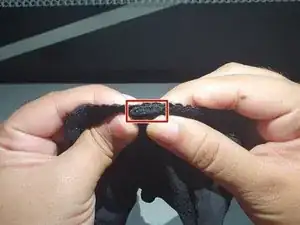
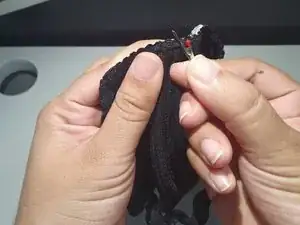
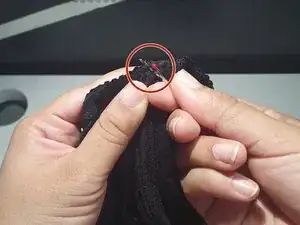
Identify the hem (outlined by the red box in the picture) of the underwire lining for both of the cups at each end.
-
-
-
Use the seam ripper to rip the stitches of the hem by going under the thread. This increases the chance of precision and prevents injury to fingers.
-
-
-
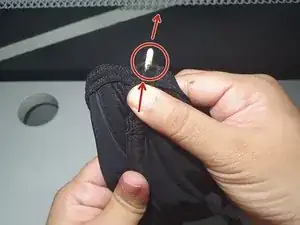
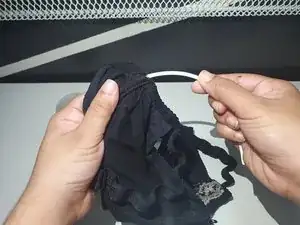
Push the underwire up through the open hem until it pokes out.
-
Then pull the underwire out from the hemmed area.
-
-
-
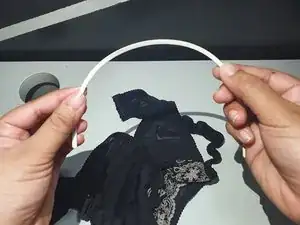
Repeat on the other cup by redoing steps 6-7. You should now be left with 2 underwires that were previously in your bra.
-
