Introduction
This guide will show you how to repair/refurbish a stuffed animal or teddy bear. However, these skills can be used on any stuffed object. Be aware when using scissors and a sharp needle; take any precautions to avoid misuse or injury. Prior sewing and knot tying knowledge is necessary. Adequate lighting is recommended.
Tools
-
-
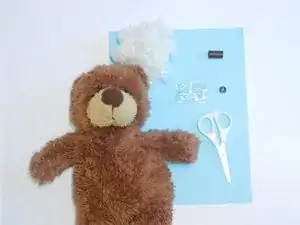
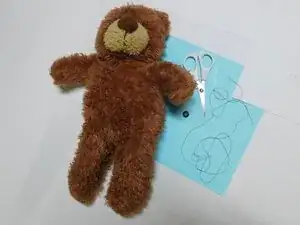
Gather all necessary materials as listed on the bottom of the page. Be sure you have a clean, clear place to work with lots of light.
-
-
-
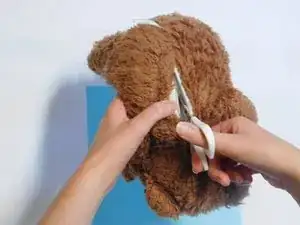
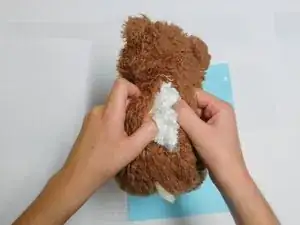
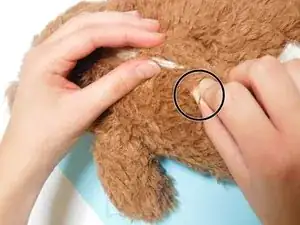
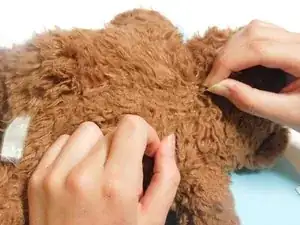
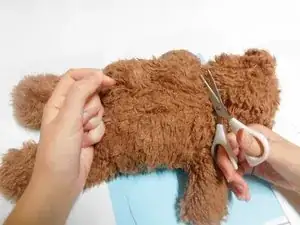
Using a pair of scissors, make an incision approximately 3 inches in length along the middle major seam on the back of the stuffed animal (a seam ripper may also be used to open an existing seam).
-
-
-
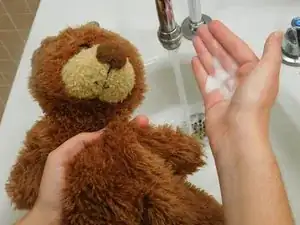
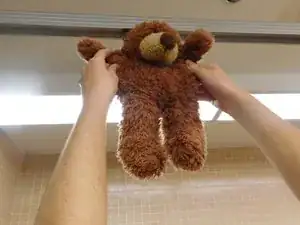
Let the fabric air dry on a clothes hanger. (If you are in a hurry, use a hair dryer on the lowest setting or place in the dryer on a low temperature setting).
-
-
-
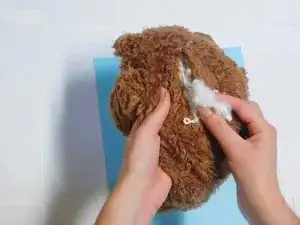
Once the fabric is completely dry, refill the stuffed animal with new stuffing. Spread the stuffing evenly throughout the head, torso, and extremities.
-
-
-
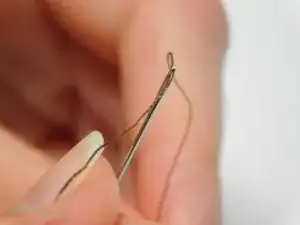
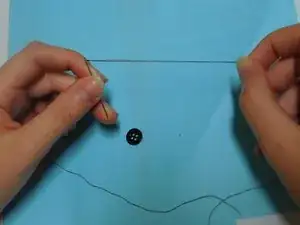
Now that the stuffed animal is re-stuffed, the incision needs to be sewn closed. Thread a needle with thread matching the fabric of the stuffed animal by pushing the thread through the small hole (eye) of the needle.
-
Choose the length of your thread based on the length of the incision. Approx. 2-3 feet of thread will work well for a 3 inch incision.
-
-
-
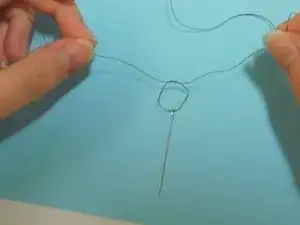
Once your needle is threaded, you will want to secure the thread by tying a basic loop knot at the bottom of the thread to prevent the thread from slipping out as you sew the bear back together.
-
-
-
Starting at one end of the incision, insert the needle through a small section of the fabric, pull until the tail end of the thread is about 2 inches from being pulled through the fabric. Grab the tail of the thread and tie it to the base of the thread you pulled through the fabric. Tuck the short excess tail thread into the stuffed animal.
-
Create small stitches joining the two sides along the length of the incision. Keep stitches tight and close together.
-
-
-
Once you reach the other end of the incision, tie off your thread by creating another small knot.
-
-
-
The excess thread can be hidden by running your needle inside the fabric and back out an inch away, cutting the thread close to the surface of the fabric, and then tugging on the fabric to make the end of the thread disappear inside the stuffed animal.
-
-
-
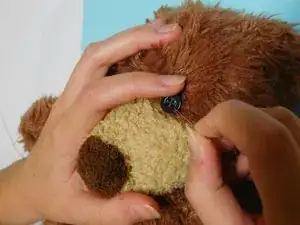
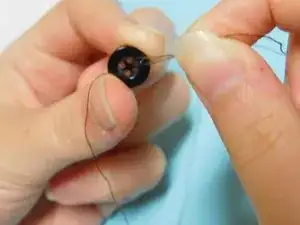
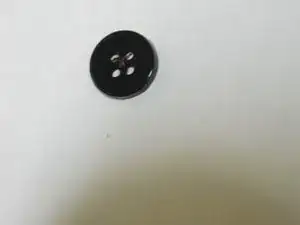
Before you begin, place the button in the location where you would like it to be attached. Attach your thread to the stuffed animal in this location, and thread the button onto the needle.
-
-
-
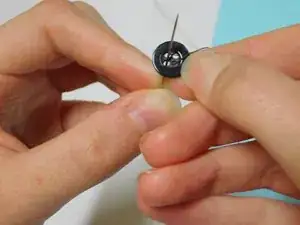
Bring the needle back through the button, through the hole located diagonally to the previous hole.
-
-
-
Bring the needle back to the front of the button.
-
Repeat steps 15-17 until the button is secure.
-
-
-
Pass the needle through to the back of the button.
-
Make a knot and tie it.
-
Cut any excess thread.
-
2 comments
What do you do for a stuffed toy thats fabric has worn thin in spots? How do you reinforce the fabric to stay together and not leak filling?
I thought about an iron on patch on the interior but I'm worried the sticky and heat will melt the original
