Introduction
This repair guide was authored by the iFixit staff and hasn’t been endorsed by Google. Learn more about our repair guides here.
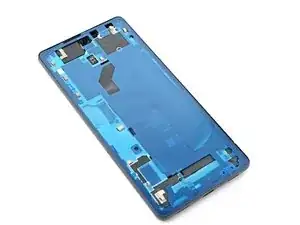
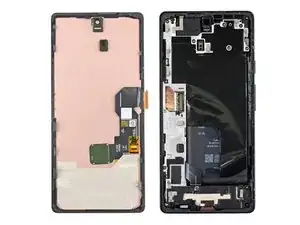
Use this guide to apply new adhesive in your Google Pixel 6a following a repair. Your Pixel's screen should be removed before following this procedure. Follow this guide to remove the screen if you haven't done so already.
Tools
Parts
-
-
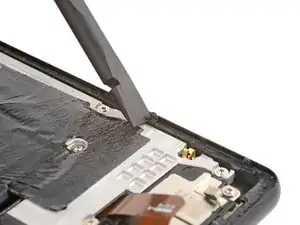
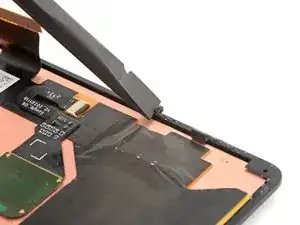
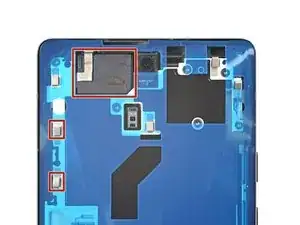
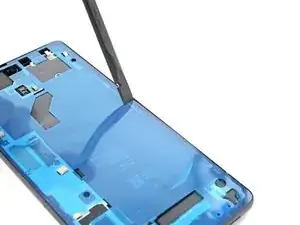
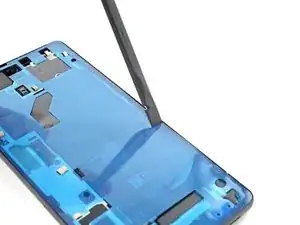
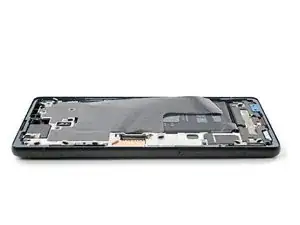
Use the flat end of your spudger to scrape off as much adhesive from the frame as you can.
-
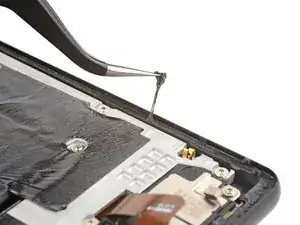
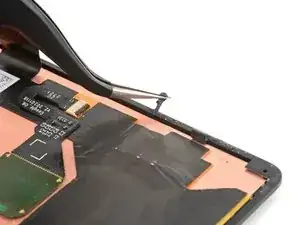
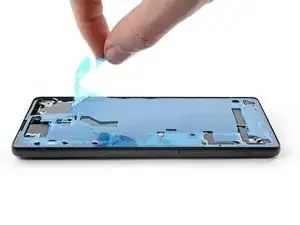
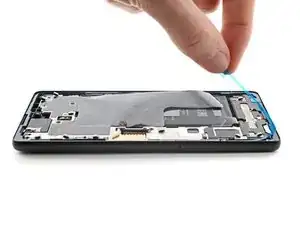
Use tweezers or your fingers to peel and remove any remaining adhesive.
-
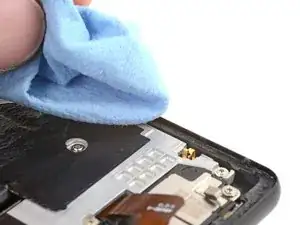
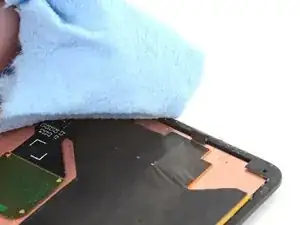
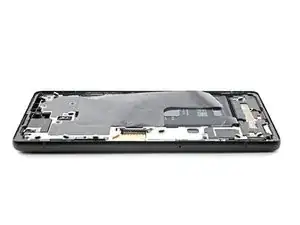
Clean the perimeter of the frame with a small amount of highly-concentrated isopropyl alcohol (over 90%) and a lint-free or microfiber cloth.
-
-
-
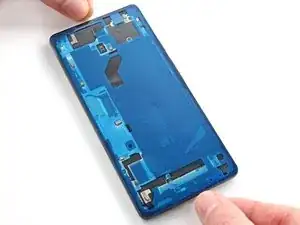
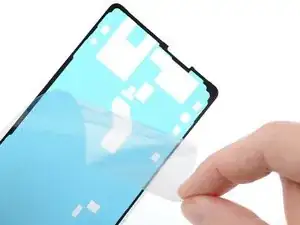
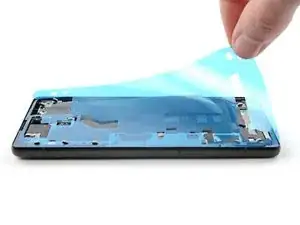
Before removing any liners, position the adhesive with the clear liner facing down over the frame to find the proper orientation.
-
-
-
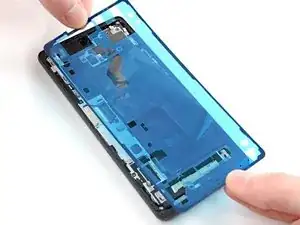
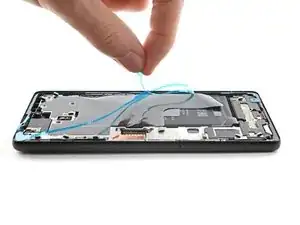
Lay the adhesive onto the frame, starting with the bottom or top edge. Make small corrections as you go.
-
-
-
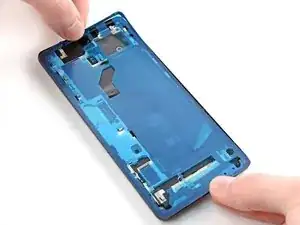
Use a spudger or your fingers to press along the perimeter of the adhesive and adhere it to the frame.
-
-
-
Return to your phone's guide and continue reassembly.
-
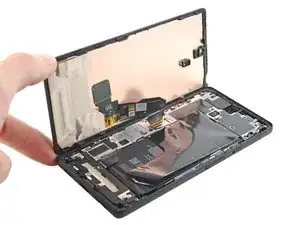
Finish this guide when your screen is installed and you're ready to seal the phone up.
-
-
-
Flip the screen over and lay it onto the frame.
-
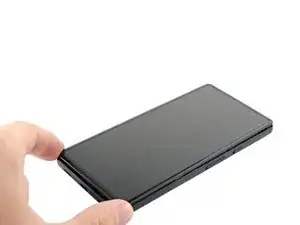
Press along the perimeter of the screen to secure it.
-
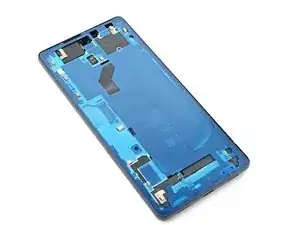

When I cleaned my frame I noticed I had dented 2 corners. I did not have my small file set so I had to improvise. I have a small set of electrical pliers with flat, ribbed sides and a 90 degree bend. I carefully ran these around the corners to get rid of the dents and used the ribbed edge to file them smooth. Would suggest getting a jewelers loop and a set of fine files if you at all suspect the frame/case may have a dent in the corner. Kind of obvious in hindsight - after all I dropped the thing and broke the glass, which got me here making this repair! My only other observation is to use plenty of alcohol - it only temporarily removes the stickiness of the adhesive so as it dries the adhesive re-sticks to the frame.
mark schneider -
fwiw - I found getting the original adhesive off the frame to be near impossible. But I pulled off any clumped up bits. Applying the new liner with adhesive went fine, as did placing the new glass and pressing around the edges to seal it. The seam looks as if brand new (i.e., it's not bigger or open because of too much adhesive). The phone is now in a case and it's not like I'm going swimming with it, so I'm confident the seal is adequate. Of course, YMMV.
Steve -