Introduction
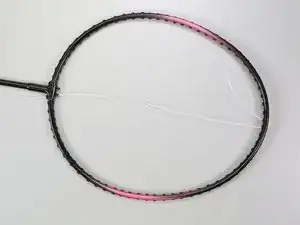
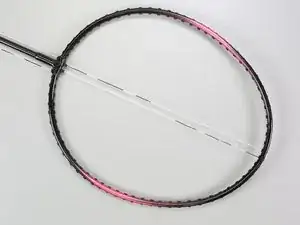
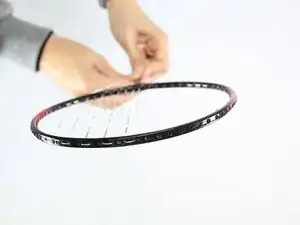
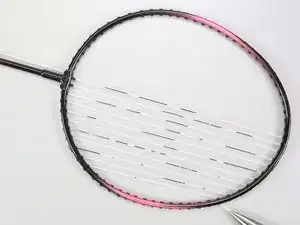
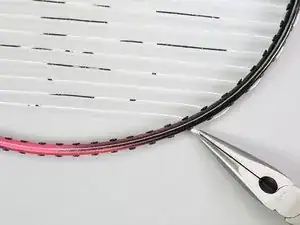
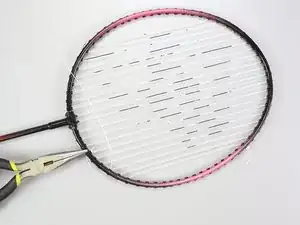
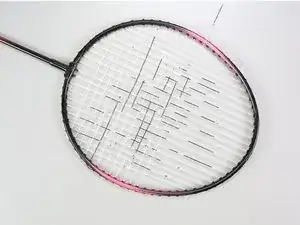
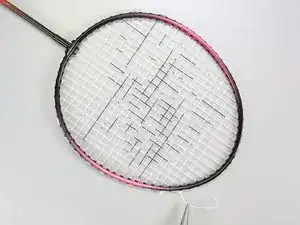
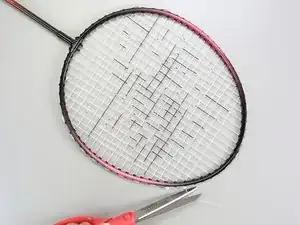
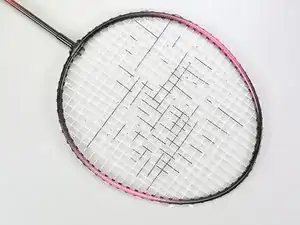
Badminton racquets become unusable when their strings are broken, damaged, or without tension. Damage to a racquet may result from normal wear and tear. Restringing a badminton racquet by hand is non-hazardous and doesn't require any special machines or tools. To restore a racquet to playing condition, you just need a racquet frame, undamaged strings, and patience!
Recreational badminton players can get back on the court without spending money on a new racquet or professional restringing services.
Tools
Parts
-
-
Insert one end of the string through the hole at the bottom of the racquet closest to the shaft and drag it straight up to the corresponding hole at the top of the raquet.
-
-
-
Loop the string through the top two holes and drag it back down to the hole on the opposite side of the shaft you started from.
-
-
-
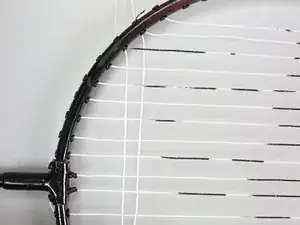
Continue to string straight up and down one side of the racquet until you reach the area of the racquet that naturally begins to curve.
-
-
-
Use your fingers to make a knot (you may need to make two knots on top of each other so the string can't slide back through the hole).
-
Pull on each strand, beginning with the outermost strand with the knot, and move towards the middle so that the string tightens up and becomes taut.
-
-
-
Perform the same steps of stringing on the other side of the racquet and make a knot at the top. Make sure to pull very tightly to reduce slack in the string and create the knot as close to the hole in the racquet as possible.
-
-
-
To begin the horizontal stringing, tie the second string onto the racquet frame. Start at the fourth hole over from the base and make a knot with your fingers on the inside of the frame.
-
Loop the string back inwards through the seventh hole from the base.
-
-
-
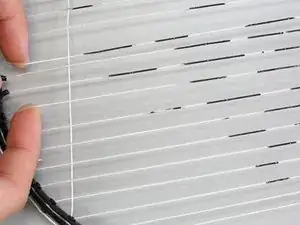
When stringing the horizontal strands, you must weave over and under each vertical strand with the new string while continuing to pull the string tight.
-
-
-
Thread the horizontal strand straight across and through the hole opposite the one you started at. Loop back into the next hole up the side of the racquet.
-
-
-
With each additional row you string up the racquet, switch from over-under to under-over so that every other horizontal string follows the same pattern.
-
-
-
At the end of the strand (right when the racquet naturally begins to curve), pull the strings tight. You may need to pull on each strand from the base up to get rid of any slack in the string. Make sure the tension in the strings is very high and there is little give when you push down on the strings with your hand.
-
-
-
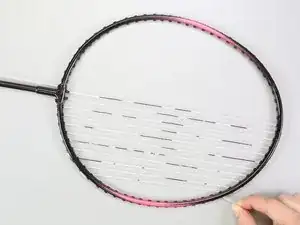
Your final product is ready. The strings should not move much when you gently push down on them with your hand.
-
2 comments
Very Simple and easily understandable guideline.
I request Sabina to please include guidelines on automatic stringing Badminton machine(Siboasi)with steps and images.
If possible please send me on my email address(dvc870621@gmail.com).
Thanks
Deepak Chaudhari
Would only recommend this method for very cheap rackets, but at that price point, it is very possible that the cost of the string will exceed the price of a new racket.
Never tie off the on the outside of the racket as this leads to increased stress on the frame.
