Introduction

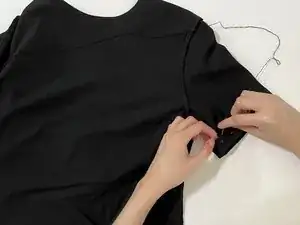
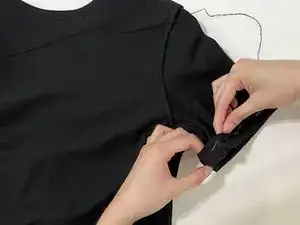
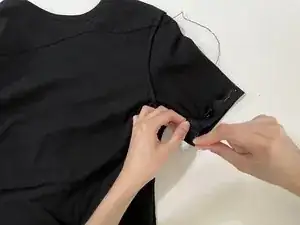
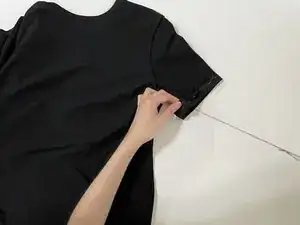
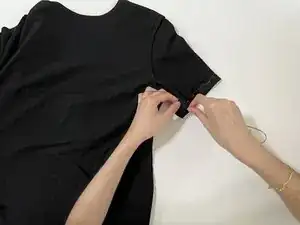
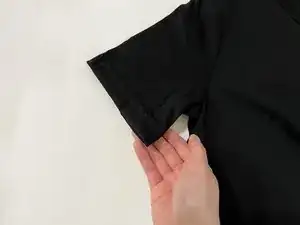
Use this guide to learn how to shorten and hem a shirt sleeve.

Do you have a long-sleeved shirt you want to shorten, but don’t have a sewing machine? This guide will teach you how to shorten and hem your sleeve with a catch stitch. A catch stitch is a relatively simple stitch that can hide the raw edges of a sleeve.

In addition, being able to adjust a shirt sleeve to a desired length is a useful and cost-saving skill to have. Learning how to alter a shirt sleeve can help you repurpose old or winter clothing instead of discarding them.

Before starting this guide, be aware that Step 4 includes using sewing pins that are sharp and could cause minor injuries.

  1. gbpNKFbGgnWSwEtW
    gbpNKFbGgnWSwEtW
    12YhDaC1QH4ymCeL
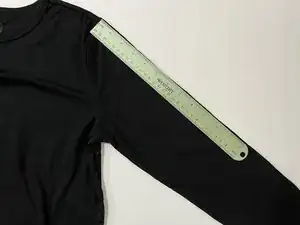
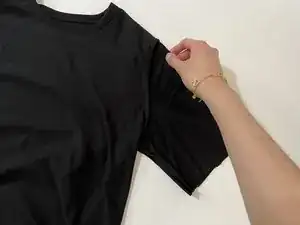
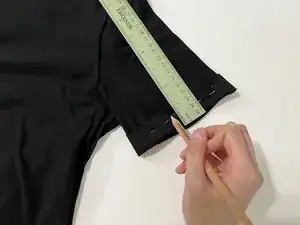
    • Measure out the desired length of the sleeve.

    • Leave at least 1 inch of fabric because you will fold back and hem the sleeves.

  2. uZQRhSWRghPkIkrN
    uZQRhSWRghPkIkrN
    UsrXZlOdl1yolxlD
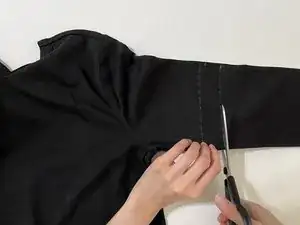
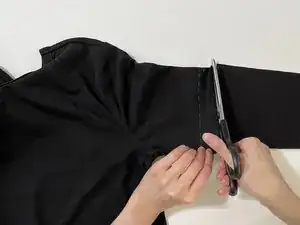
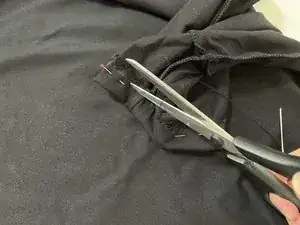
    • Cut the shirt sleeve to the desired length.

  3. qGGZfaOh5foHcaiG
    qGGZfaOh5foHcaiG
    ZDTtfdJaQDZI6TIb
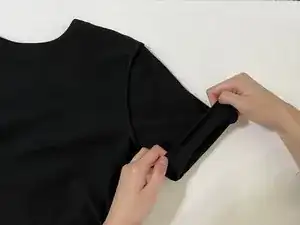
    • Turn the shirt inside out.

    • Roll up the shirt sleeve by 1 inch.

  4. l3w3WdmKVpcgHZIF
    l3w3WdmKVpcgHZIF
    2wTUlxLmoWKlMNcd
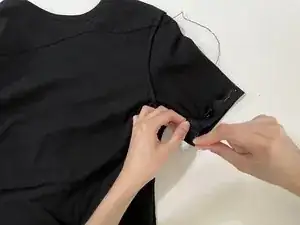
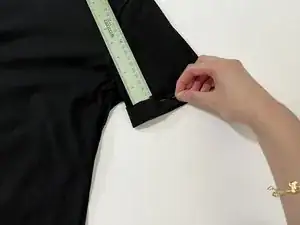
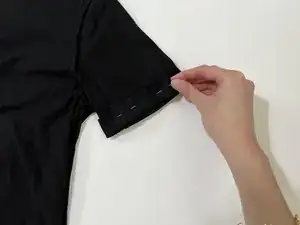
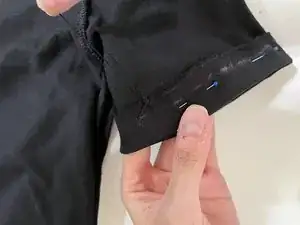
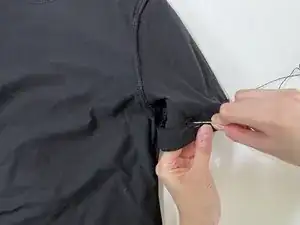
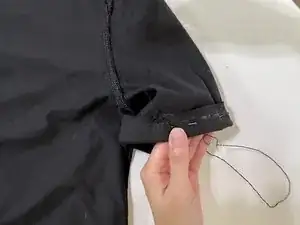
    • Measure the shirt sleeve to make sure it is even in the front and back of the sleeve cuff.

    • Use sewing pins to secure the sleeve cuff in place.

    • Sewing pins are sharp so be careful when using them. We recommend placing the pins in the middle or lower part of the cuff as to not get in the way of sewing.

  5. gdJZJDhjq6nJXDFq
    gdJZJDhjq6nJXDFq
    MxTNBwrhGjPWGAcQ
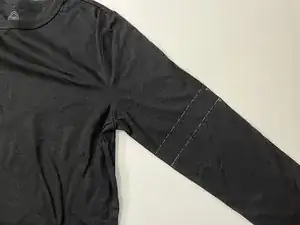
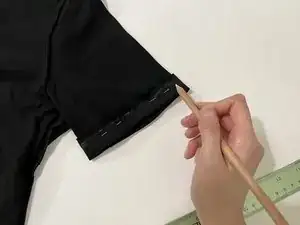
    • Measure about 1/4 of an inch from the top of the sleeve cuff.

    • Use this as a guiding line to make your stitches appear straight.

  6. 5ZGwHteeDVHFTtu2
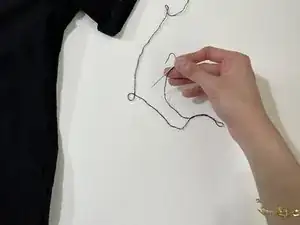
    • Loop the thread through your sewing needle and tie it together.

  7. RTAlBsvMMJWtobZv
    RTAlBsvMMJWtobZv
    dgvmcHw1sVKjGiOV
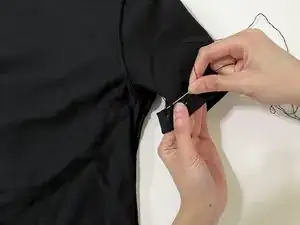
    • Underneath the sleeve cuff, push your needle through the sleeve.

  8. rkIrjwGj3wmrTVbE
    rkIrjwGj3wmrTVbE
    6GyRwfyKb4AMmWbZ
    tcXq6VLVSuZGugtC
  9. oCE55JELNNQJC3Ct
    oCE55JELNNQJC3Ct
    TDTZWYPaqlISYYHq
    JIpDAfSm3G3QD5GF
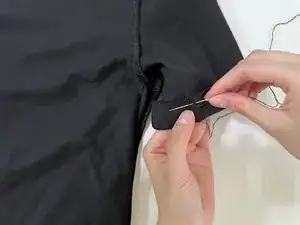
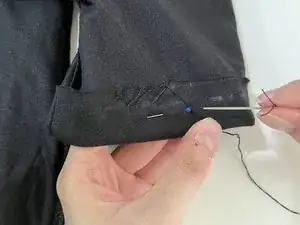
    • In the space above the sleeve cuff, make a right-to-left stitch.

    • Then push the needle right-to-left into the sleeve cuff where you made the guide lines.

    • This will create a zigzag pattern in the shape of an upside down "V."

  10. 2HktUASfNClPQZxJ
    2HktUASfNClPQZxJ
    YJqMRVAqUTP4kX4P
    DDnxDAaaBRdsITkf
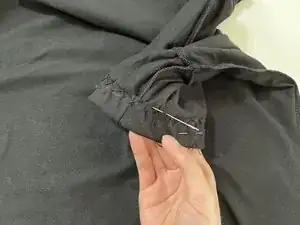
    • Repeat the steps to sew the entire sleeve cuff.

  11. podg2ebKLLkOYWib
    podg2ebKLLkOYWib
    DCHoUx1eMCmrufgl
    BvNVKiyIvQObfFMM
    • To end the catch stitch, push your needle into the starting stitch and make a small knot.

    • Make a few more knots to secure the thread.

    • Cut the thread with scissors.

    • Remove the sewing pins.

    • Turn the shirt inside out again and you're done!

Katie Nguyen

Member since: 03/10/22

193 Reputation

0 comments