Introduction
Time Machine is data recovery tool built into macOS that is handy for backing up and restoring important files. This guide will show you how to enable Time Machine and save a backup of your Mac computer to another storage drive. To follow this guide, you will need an external storage drive—preferably one with more storage than the amount you are currently using on your internal drive.
Time Machine was first introduced with macOS 10.5 Leopard in 2007 and has been included in every version of the OS since. This guide will illustrate a backup using macOS 10.14 Mojave, but the process is similar across macOS versions.
-
-
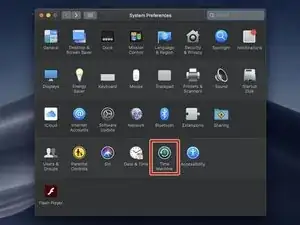
Open the Time Machine preferences menu, located toward the bottom of your System Preferences pane.
-
-
-
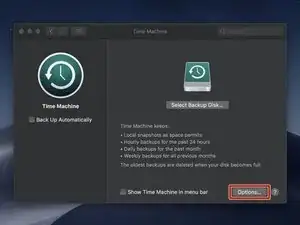
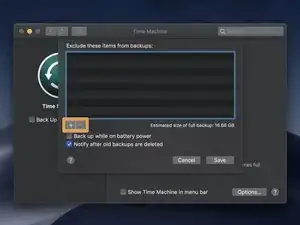
Before you select a backup disk, use the Options menu to exclude any folders you don't want in your backup.
-
Use the + and – buttons to add or remove folders from the exclusion list.
-
If your machine is a laptop, you can check the first box to allow the computer to back up while it is using battery power (not plugged in).
-
Check the second box if you want a notification whenever Time Machine automatically deletes a backup to save space.
-
-
-
If your external drive isn't already connected to your computer, connect it now.
-
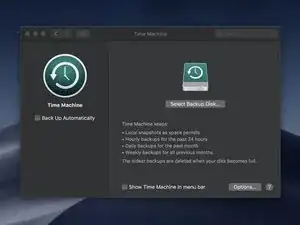
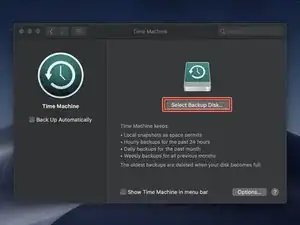
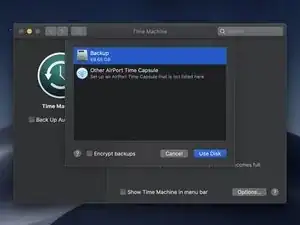
Click the Select Backup Disk button and select your external drive.
-
-
-
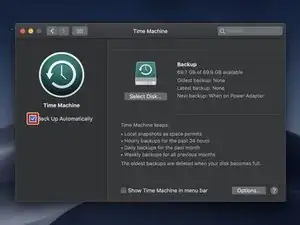
If you want Time Machine to automatically make future backups, check the box on the left side of the settings pane labeled Back Up Automatically.
-
If you select Back Up Automatically, Time Machine will make backups once an hour, and keep backups as follows:
-
Hourly for 24 hours
-
Daily for the past month
-
Weekly for all previous months
-
-
-
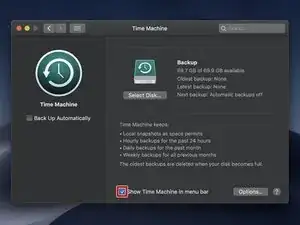
To manually start a backup, first check the box labeled Show Time Machine in menu bar.
-
Then click the new Time Machine icon in the menu bar, and select Back Up Now.
-
-
-
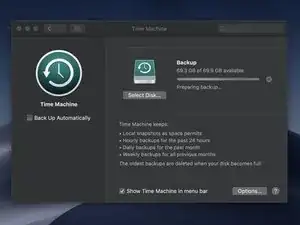
Before the backup begins, Time Machine will configure the drive you have selected (if necessary), and prepare the files on your main drive to be backed up.
-
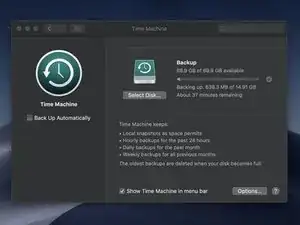
You may continue using your Mac while the backup is running. The backup will continue even if you close the Time Machine preferences window.
-
The first backup could take a significant amount of time, depending on how much of your data you chose to exclude and the speed of your backup drive. Subsequent backups will be shorter.
-
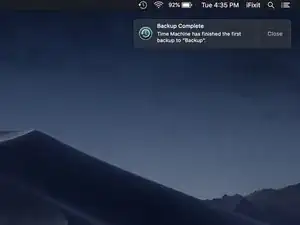
When the backup is finished, a Backup Complete notification will appear on the upper-right side of the screen.
-
Once your backup is finished, you’re done! Rest easy and know that you’ve got some protection, should you ever need it.
4 comments
Hi, will the Time Machine also backup the MacOS?
Alex Yap -
Bonjour, j’ai un disque dur occupé à hauteur de 247Go et la sauvegarde Time Machine s’est arrêtée à 40Go environ sans qu’il y ait de notifications dans le coin droit comme indiqué…
J’ai l’impression qu’il en manque donc comment être sûr que cela a bien fonctionné ?
TimeMachine will not backup the OS. You restore a TimeMachine backup to a drive AFTER installing a MacOS on the new drive. If you want to Restore an OLDER … (non-current) version of MacOS (like Mojave) you need to create a make a MacOS USB Installer ThumbDrive while the OS is still current.


hi..can i back up data using a new SSD that later will replace the old one ? or i should use other external HD.
cause on other explanation “how to use internet Recovery to install macOs to a new SSD” it was mentioned that it should be formatted before i can install…
Achmad Iwan -