Introduction
Background Information
While Minecraft's multiplayer can be a fun shared experience, sometimes you just want to have that experience with yourself and a small group of friends. Now while there are options like Minecraft Realms, these options are on a monthly subscription and can get quite expensive.
But there is a much cheaper alternative, which is to make your own dedicated Minecraft Server. The best part is that you don't necessarily need to spend a whole lot of money on hardware unless you plan on hosting hundreds of players.
What you will need
While you can run a Minecraft Server on almost any computer, that can run Java, I will be using an 8GB Raspberry Pi 4 and a 32GB microSD card with Ubuntu flashed to it.
-
-
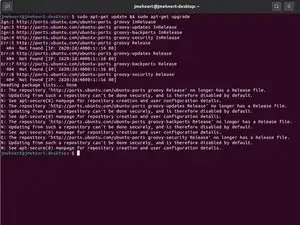
To start your server make sure the device you are using has the latest software update. This ensures the device has the latest security patches.
-
-
-
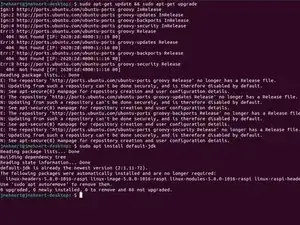
To run the Minecraft server you will need the latest Java Development Kit. For Linux you will just run the following command: sudo apt install default-jdk
-
-
-
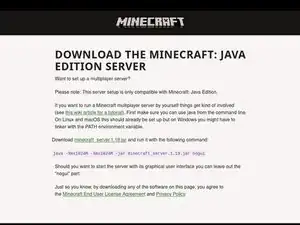
In your command line, navigate to the directory that has your .jar file and run the following command...
-
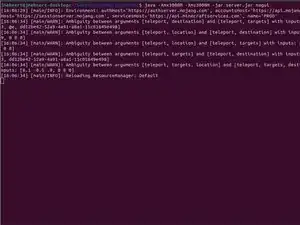
java -Xmx3000M -Xms3000M -jar server.jar nogui
-
Congratulations! You now have your own private Minecraft server.
While this tutorial should give you a good foundation for making a server, some other good practices should be observed.
Firstly, it is recommended that you learn how to backup your server, as to not lose any progress that would have been made. A tutorial for that can be found here, but it is recommend you learn how to configure your device to a RAID 1 configuration. This way if your main storage fails you will have a copy on a spare storage drive.
Otherwise, you now have a private server that you and your friends can play on.


