Introduction
This guide shows how to remove and replace the glass back cover for the Mate 10.
The back cover held in place with a very strong perimeter adhesive. During removal, the adhesive may rip out parts of the coating from the glass back cover, leaving behind patches of clear glass.
-
-
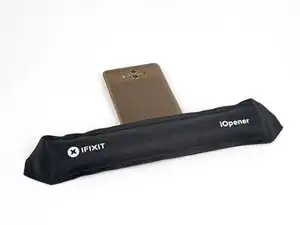
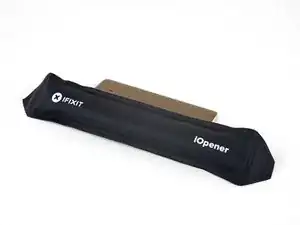
Heat an iOpener and apply it to the bottom edge of the phone for two minutes. Re-heat the iOpener as needed.
-
While you wait, note the location of the adhesive holding the back cover in place.
-
-
-
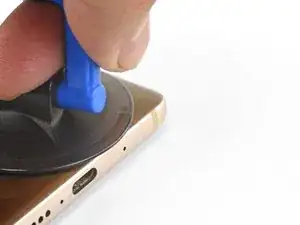
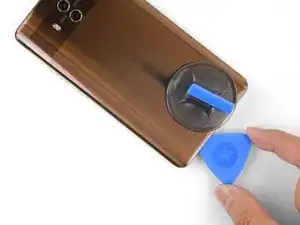
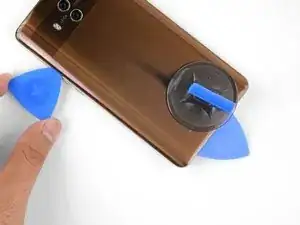
Place a suction cup near the bottom edge of the back cover, on the right side (opposite the speaker grille) of the USB-C charging port, above the microphone hole.
-
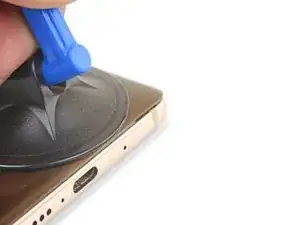
Pull on the suction cup with strong, steady force to create a gap.
-
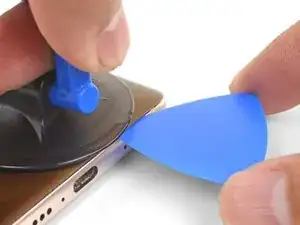
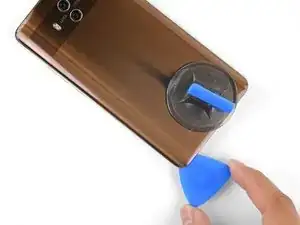
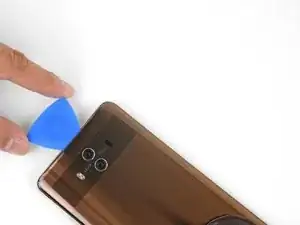
Insert the point of an opening pick into the gap.
-
-
-
Slide the pick along the bottom edge and around the bottom-left corner, slicing through the adhesive.
-
If the adhesive feels tacky and difficult to slice, re-apply heat to the edge and try again.
-
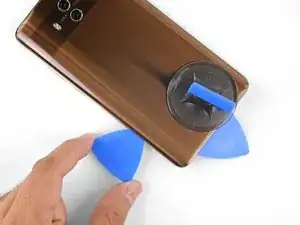
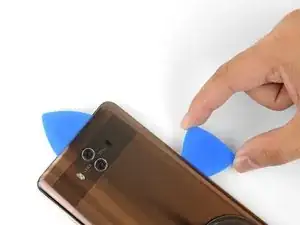
Leave an opening pick in the seam to prevent the edge from re-sealing.
-
-
-
Apply a heated iOpener to the left edge of the phone.
-
Use an opening pick to slice through the adhesive on the left edge of the phone.
-
-
-
Continue heating and slicing through the remaining edges, leaving opening picks in the seams to prevent the adhesive from re-sealing.
-
-
-
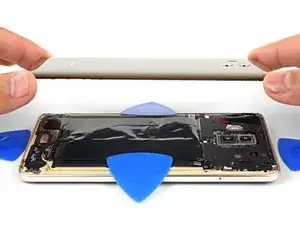
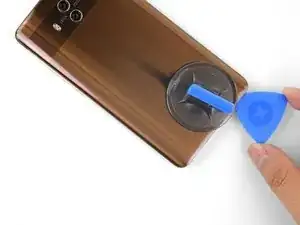
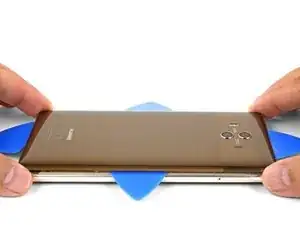
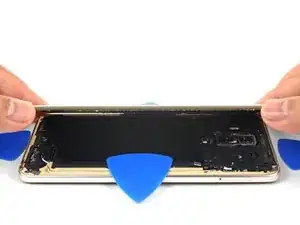
After you cut through the adhesive around the entire perimeter of the back cover, begin to lift it away from the phone.
-
Use an opening pick to slice any remaining adhesive.
-
Remove the back cover.
-
-
-
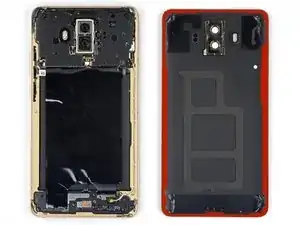
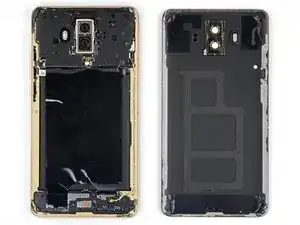
You may pull up chunks of the cover's color coating as you remove the adhesive. To reduce the chances of this occurring, apply heat or high concentration isopropyl alcohol to the adhesive to weaken it.
-
-
-
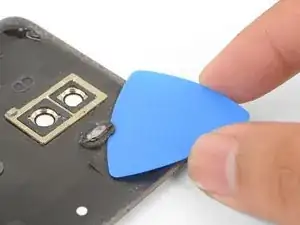
Apply a heated iOpener directly over the bezels for a minute.
-
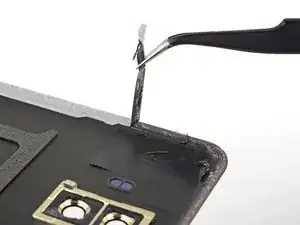
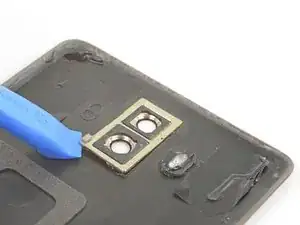
Use an opening pick to slice around the flash diffuser to loosen the adhesive.
-
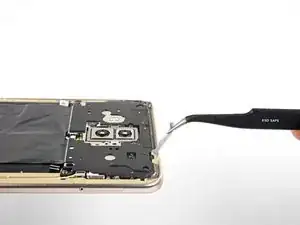
Use an opening tool to pry up and remove the camera bezel.
-
Transfer the parts to your replacement cover.
-

To reassemble your device, follow these instructions in reverse order.
Repair didn’t go as planned? Try some basic troubleshooting, or ask our Mate 10 Answers community for help.