Introduction

In this guide we show you how to replace the loudspeaker in your Huawei P10 Plus smartphone.

  1. DuL3FBqUKjslUwG2
    DuL3FBqUKjslUwG2
    iklcJDAZ5V5dDPKB
    IvPKUrbqVgKEHZPh
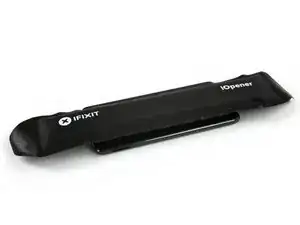
    • Use an iOpener to loosen the adhesive beneath the display, focusing on the upper and lower part of the display.

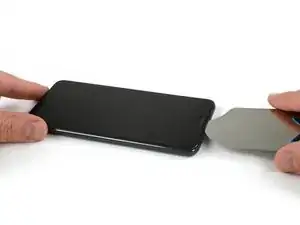
    • Use an opening pick, or iFlex, to separate the adhesive on all sides of the display.

    • To avoid damage to the display, do not push the tool too deeply into the phone.

  2. LHXMY5qWQwljEFQZ
    LHXMY5qWQwljEFQZ
    D1Osa5lUTAZXVtYi
    TByQMha3nKyBcKGU
    • There is a thin display cable between the screen and phone, be very careful not to rip it when opening the device.

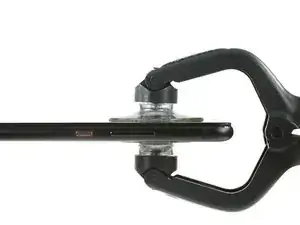
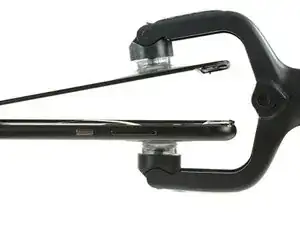
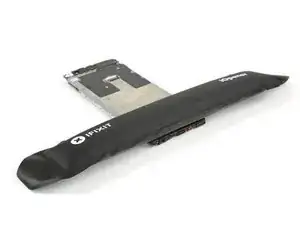
    • Place a suction cup, or iSclack, on the upper portion of the phone and lift the display off the midframe.

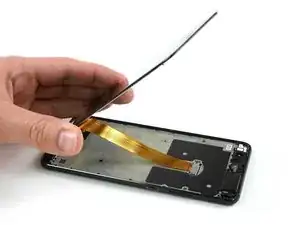
    • Don't remove the display, the cable is trapped under a bracket screwed to the phone. You can flip the display to lay it down without straining the cable, or simply hold it in the next steps.

  3. pcEoCIxXAf6PTrXv
    • Remove the 3.3 mm-long Phillips screw securing the display flex connector bracket.

  4. pEHLi2dZ1VpBtm2c
    pEHLi2dZ1VpBtm2c
    cT1eqOTdIddjqsLN
    xNLrUOiqypqDTrTT
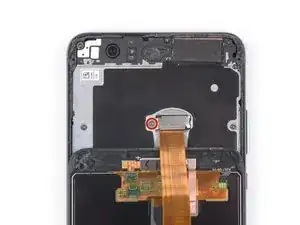
    • Open the metal bracket that covers the display flex cable.

    • Use a spudger to disconnect the display flex cable.
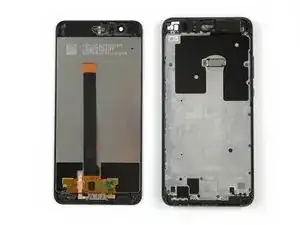
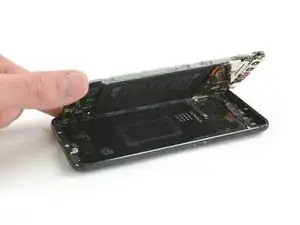
    • Remove the display.

    • When reassembling your phone replace old adhesive with double-sided tape or pre-cut adhesive strips.

    Beim Zusammenbau kann man das Display gut mit flüssigem Handy-Klebegel einkleben z.B. T-8000 oder B-7000 (Zhanlida)

    Martin Aillaud -

    Where can I get a metal bracket and screw to buy?

    Shamoya Hurditt -

  5. 55ZrfIVnNC2hJhXA
    55ZrfIVnNC2hJhXA
    HG1dmRAUFDW6g2f2
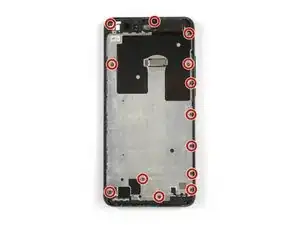
    • Remove the 13 Phillips #00 screws.

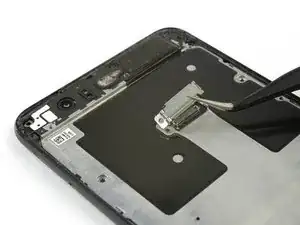
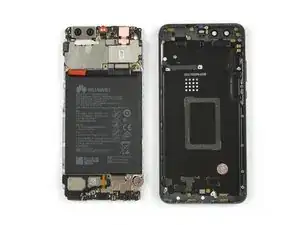
    • Remove the metal shield which holds down the display flex connector.

    Es sind nur 14 Kreuzschlitzschrauben #00, dabei ist die Kreuzschlitzschraube aus Schritt 3 bereits mitgezählt

    Martin Aillaud -

    Ja, war bei mir genauso. Schade dass ich den Kommentar erst jetzt lese. Die zweite Schaube unten Links (von links) ist keine Schraube.

    Benjamin Fuß -

    Thanks for the note. We corrected it in the english version (our translators will soon catch up)

    Tobias Isakeit -

  6. UmeWwIiOPyEtkGIM
    UmeWwIiOPyEtkGIM
    FUVoZsUEyrtQ1DjH
    qlSLJ4VUQuDcHSZ1
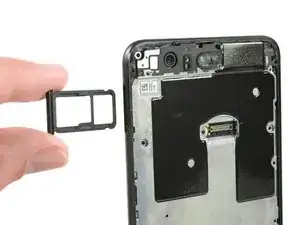
    • Remove the SIM card tray.

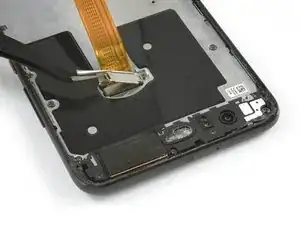
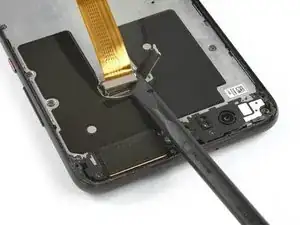
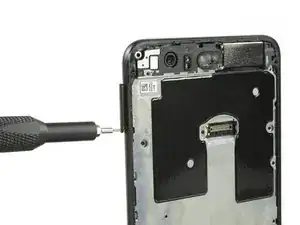
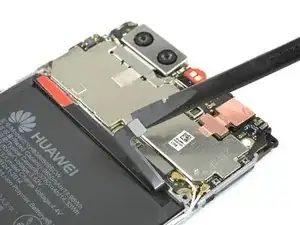
    • Use the pointed end of a spudger to pry out the mid frame until you can get a good grip.

  7. JHNoNsyOblDvxNBo
    JHNoNsyOblDvxNBo
    tXrjTSQsqOc3sMOV
    yTMyVs62HKyjHchI
    • Remove the mid frame.

    • Disconnect the battery flex cable with a spudger.

  8. GI4qWdvBRWW63D2x
    GI4qWdvBRWW63D2x
    YRdoJO14af3db1xJ
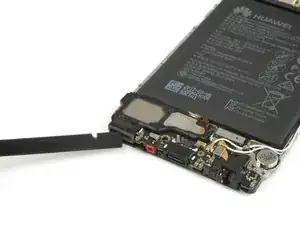
    • Disconnect the loudspeaker flex cable with a spudger.

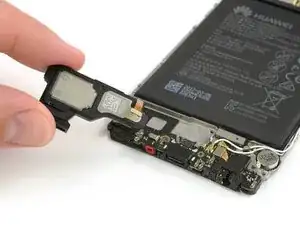
    • Use an iOpener to loosen the adhesive beneath the loudspeaker.

  9. 4TEeLwEaKhkS12nV
    4TEeLwEaKhkS12nV
    GPbsyRqTQEUtAk3l
    • Only insert the spudger as deep as 1/16 of an inch to avoid damage.

    • Use a spudger to carefully pry out the loudspeaker.

    • Remove the loudspeaker.

Conclusion

To reassemble your device, follow these instructions in reverse order. When reassembling your phone apply new adhesive where it is necessary.

Dominik Schnabelrauch

Member since: 23/11/16

167327 Reputation

0 comments