Introduction
prereq daughterboard replacement
-
-
Before you begin, switch off your phone.
-
Apply a heated iOpener to the back of the phone to loosen the adhesive beneath the back cover. Apply the iOpener for at least two minutes.
-
-
-
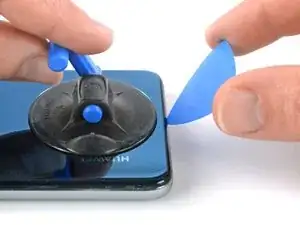
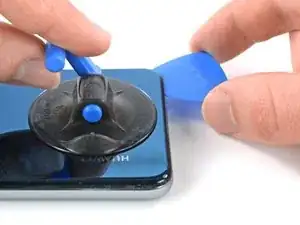
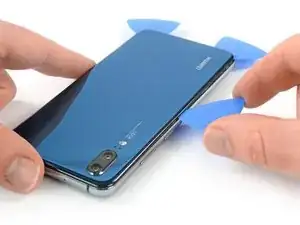
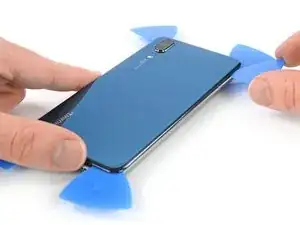
Secure a suction handle to the bottom of the back cover, as close to the edge as possible.
-
Lift the back cover with the suction handle to create a small gap between the cover and the frame.
-
Insert an opening pick into the gap.
-
If you have trouble, apply more heat to further soften the adhesive. Follow the iOpener instructions to avoid overheating.
-
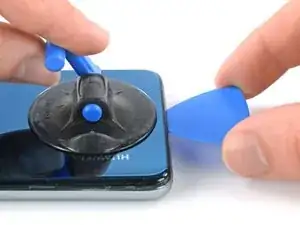
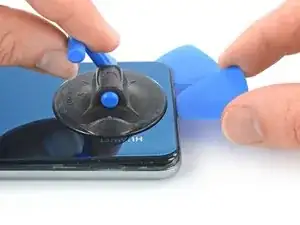
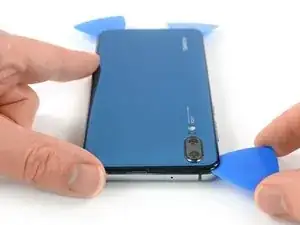
Slide the opening pick to the bottom right corner.
-
-
-
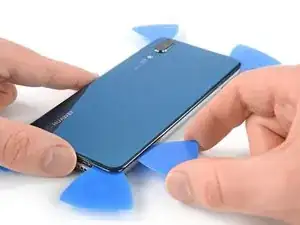
Insert a second opening pick and slide it to the bottom left corner to cut the adhesive.
-
Leave the opening picks in place to prevent the adhesive from resealing.
-
-
-
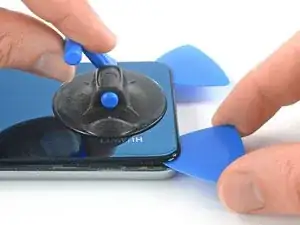
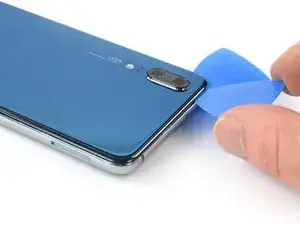
Insert a third opening pick at the bottom left corner.
-
Start to slide the tip of the opening pick from the bottom left corner along the side of the phone to cut the adhesive.
-
Leave the opening pick in its place at the top left corner to prevent the adhesive from resealing.
-
-
-
If the adhesive becomes hard to cut it most likely cooled down. Use your iOpener to reheat it.
-
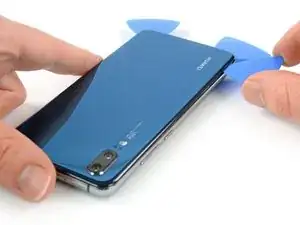
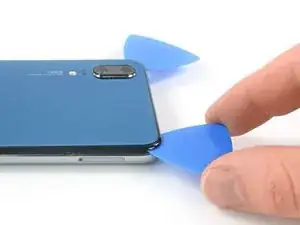
Insert a fourth opening pick under the top left corner of the back cover.
-
Slide the opening pick along the top edge of the phone to cut the adhesive.
-
Leave the opening pick in the top right corner to prevent the adhesive from resealing.
-
-
-
Insert a fifth opening pick at the top right corner of the phone.
-
Slide the opening pick along the right side to cut the remaining adhesive.
-
-
-
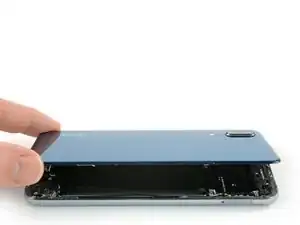
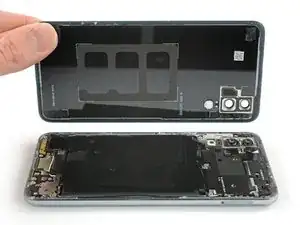
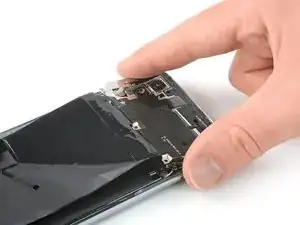
Lift and remove the back cover.
-
Before installing fresh adhesive and reassembling, remove any remaining adhesive from the phone, and clean the glued areas with isopropyl alcohol and a lint-free cloth.
-
-
-
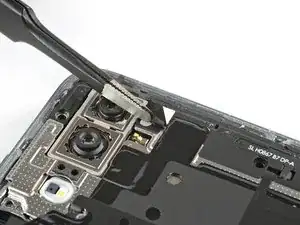
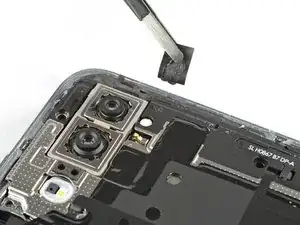
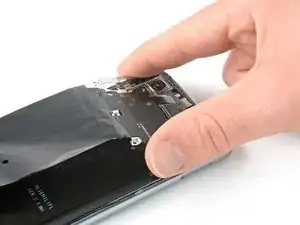
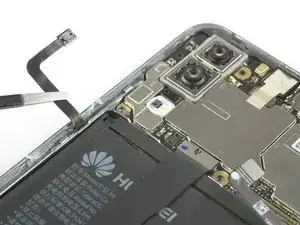
Use a pair of tweezers to peel the black tape next to the rear camera off the motherboard cover.
-
-
-
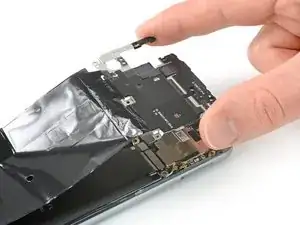
Use a pair of tweezers to peel the black foil at the bottom end of the phone off the loudspeaker.
-
-
-
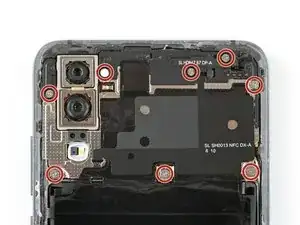
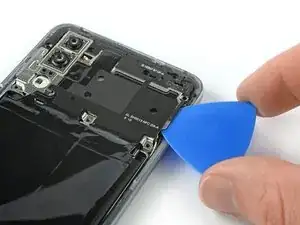
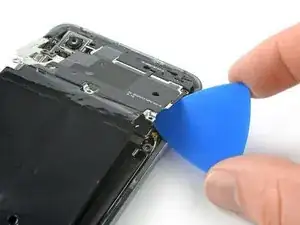
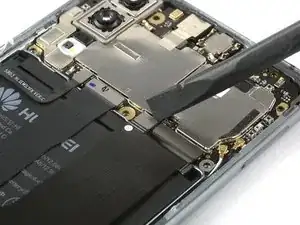
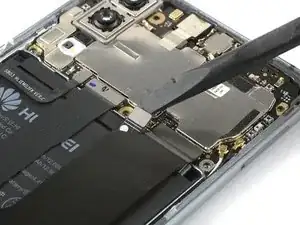
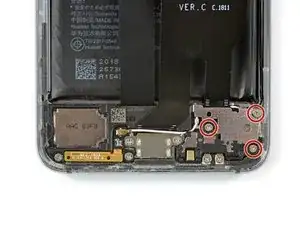
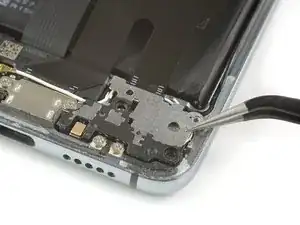
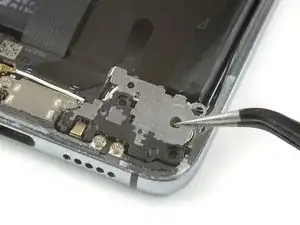
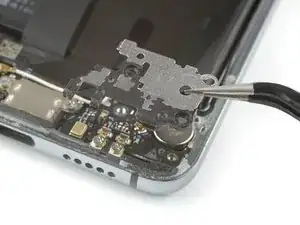
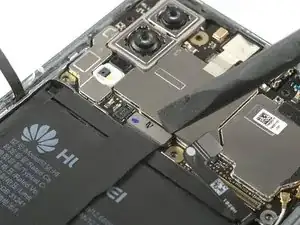
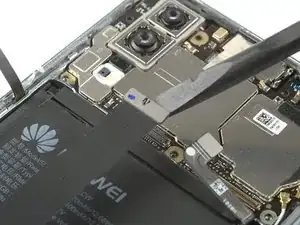
Slide an opening pick under the right side of the motherboard cover.
-
Rotate the opening pick slightly to pry up the motherboard cover.
-
-
-
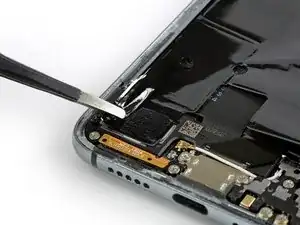
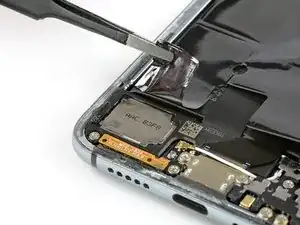
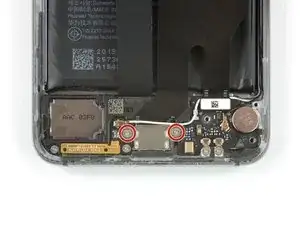
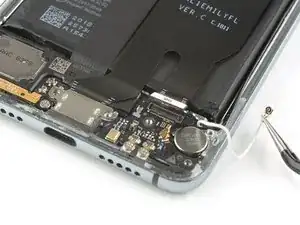
Use a spudger to pry up and disconnect the main daughterboard connector from the daughterboard.
-
-
-
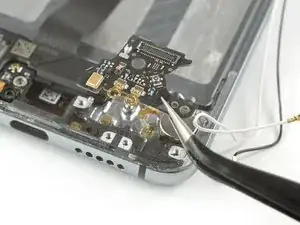
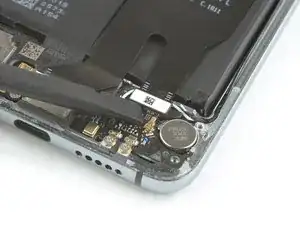
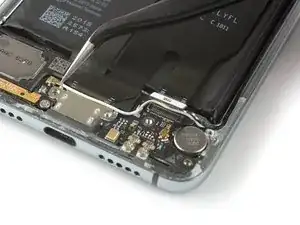
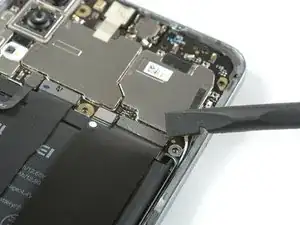
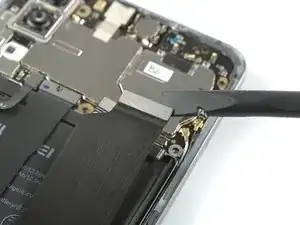
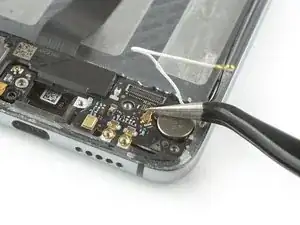
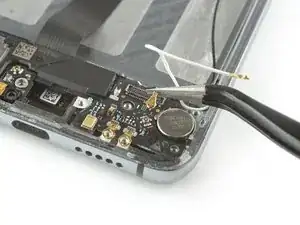
Use a pair of tweezers to pry up and disconnect the connector of the white coax cable from the motherboard.
-
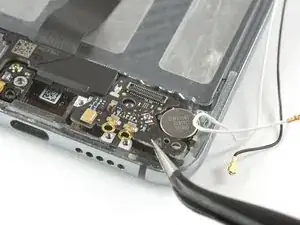
Unroute the white coax cable from the metal clips on the daughterboard and fold it to the side.
-
-
-
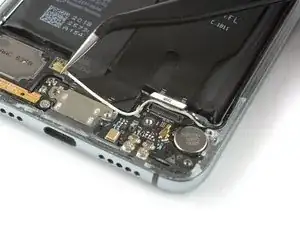
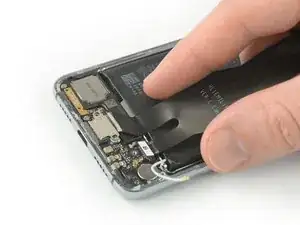
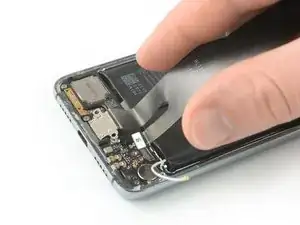
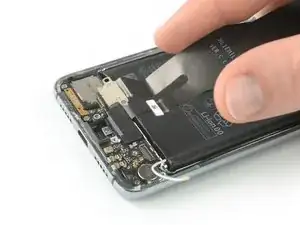
Remove the charging port and main flex cable by lifting it upwards and then pulling it in the direction of the motherboard.
-
-
-
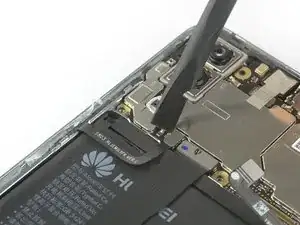
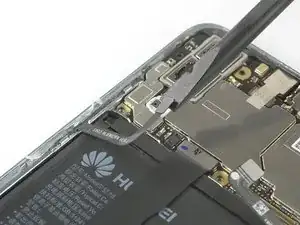
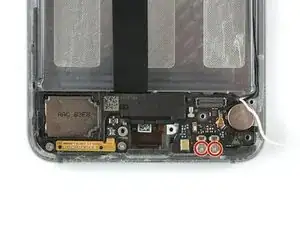
Use a spudger to pry up and disconnect the display flex connector and fold the display cable out of your way to remove the battery.
-
-
-
Apply a heated iOpener to the screen to loosen the adhesive beneath the battery. Apply the iOpener for at least two minutes.
-
-
-
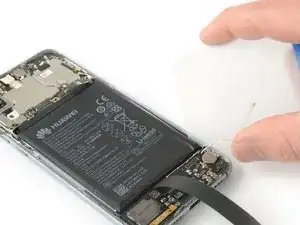
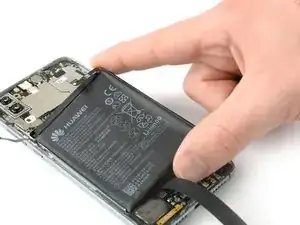
Start to slide a plastic card under the bottom right corner of the battery to cut the adhesive.
-
Slide the plastic card along the right side of the battery to further release the adhesive. Gently start to pry up the battery while doing so.
-
-
-
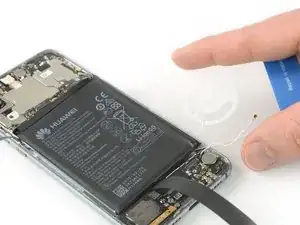
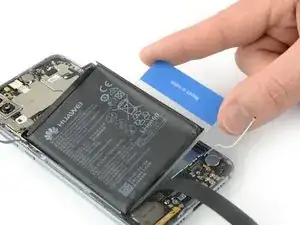
Slide the plastic card under the whole upper part of the battery and cut the adhesive with it.
-
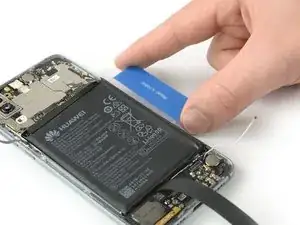
Slide the plastic card down to the bottom end of the battery to cut the remaining adhesive.
-
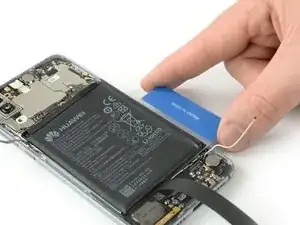
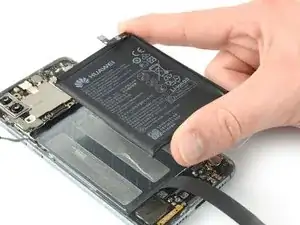
Use the plastic card to pry up the battery.
-


To reassemble your device, follow these instructions in reverse order.

Hi guys fingerprint sensor on my Huawei p20 Pro stopped working but I didnt want to attempt screen removal as the chances of damaging the screen were high, but what if I could remove and replace the sensor without removing the screen at £6.00 a pop on ebay for a replacement sensor against a ton plus for a new screen, I opted to take a chance with the sensor, so I removed battery cover glass then all removable parts in the sensor area, once removed I could see a big enough gap to feed the sensor through, now the tricky part I smeared vaseline on the area of the sensor ribbon that fitted between frame and screen and carefully slid it between the frame and screen, now all that was left was to connect the sensor to the connector, there was no way that I could see to slide the ribbon under the frame to connect it so I laid it over that part of frame and connected it to the screen, before I replaced the sensor the phone wouldn't recognise it at all so I was relieved that it detected it now. Works perfectly.
Blasphemy -