
Introduction
Use this guide to replace a worn out battery in your Huawei P20 Pro.
Opening the Huawei P20 Pro will damage the waterproof sealing on the device. If you do not replace the adhesive seals, your phone will function normally, but will lose its water-protection.
Before disassembling your phone, discharge the battery below 25%. If your battery is swollen, do not heat your phone. Swollen batteries can be very dangerous, so wear eye protection and exercise due caution, or take it to a professional if you're not sure how to proceed.
You’ll need replacement adhesive to reattach components when reassembling the device.
-
-
Switch off your phone.
-
Use an iOpener to loosen the adhesive beneath the rear glass. Apply the iOpener for at least two minutes. You might want to repeat this step several times during the back cover removal.
-
-
-
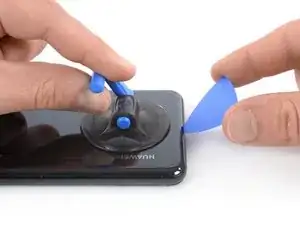
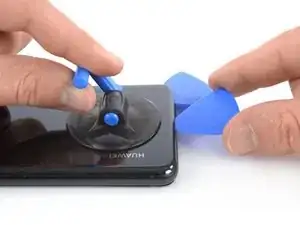
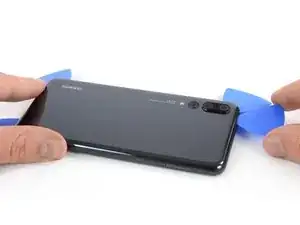
Press a suction cup onto the rear glass close to the bottom edge of the phone.
-
Lift the bottom edge with the suction cup, opening a slight gap between the rear glass and the frame.
-
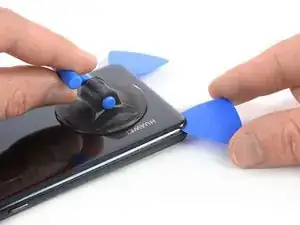
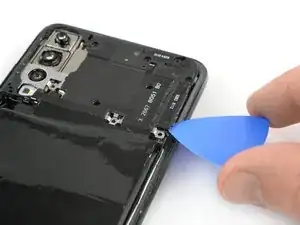
Insert an opening pick in the gap and slide it to the bottom right corner. Leave it there to prevent the adhesive from resealing.
-
-
-
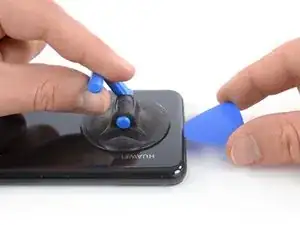
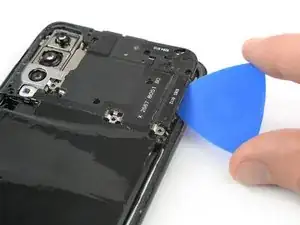
Insert a second opening pick and slide it to the bottom left corner. Leave it there to prevent the adhesive from resealing.
-
-
-
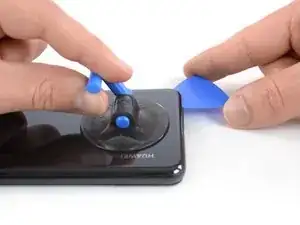
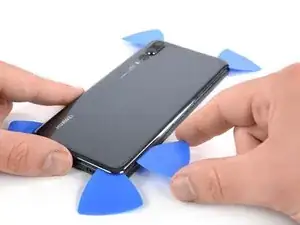
Insert a third opening pick at the bottom left corner.
-
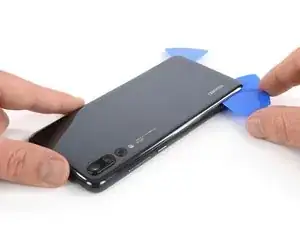
Slide the tip of the opening pick along the left edge of the phone to cut the adhesive.
-
Leave the opening pick in the top left corner of the phone to prevent the adhesive from resealing.
-
-
-
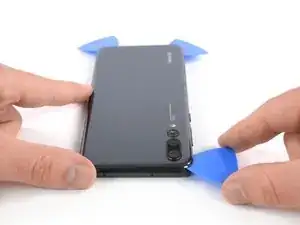
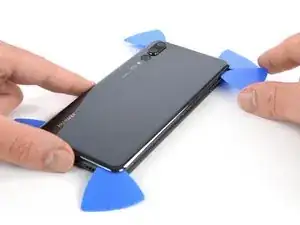
Insert a fourth opening pick at the top left corner of the phone.
-
Slide the opening pick along the upper edge of the phone to cut the adhesive beneath the rear glass and leave it in the top right corner.
-
-
-
Insert a fifth opening pick at the top right corner of the rear glass.
-
Slide the opening pick along the right edge of the phone to cut the remaining adhesive.
-
-
-
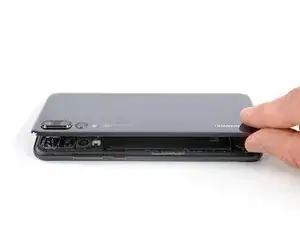
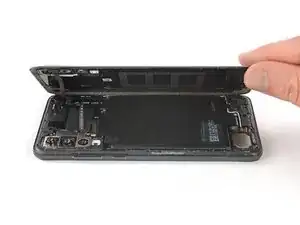
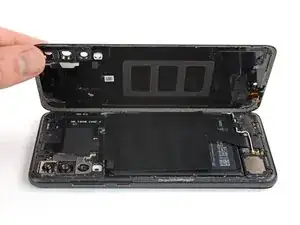
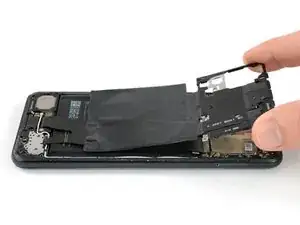
Carefully lift the rear glass until you can reach the connector of the proximity sensor flex cable next to the rear camera assembly.
-
-
-
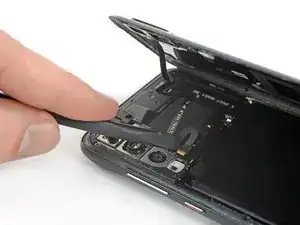
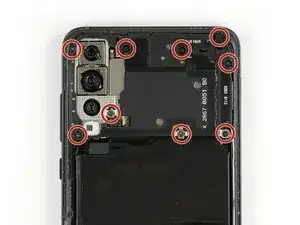
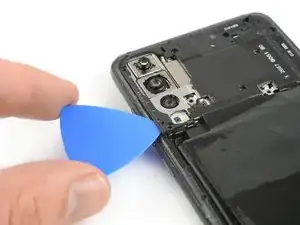
Insert an opening pick under the left side of the motherboard cover that includes the NFC.
-
Slide the opening pick towards the top left corner of the phone and twist it to pry the cover out of its plastic clamps.
-
-
-
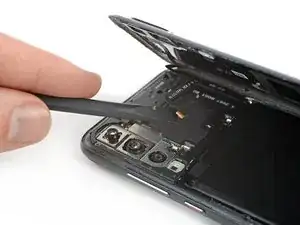
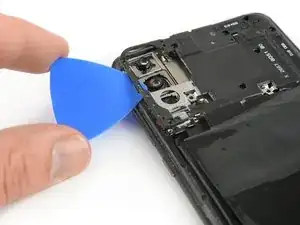
Repeat the previous process on the right side and twist the opening pick to pry up the motherboard cover.
-
-
-
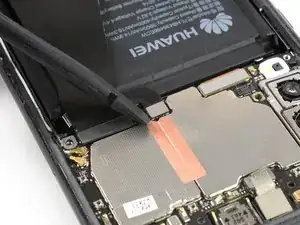
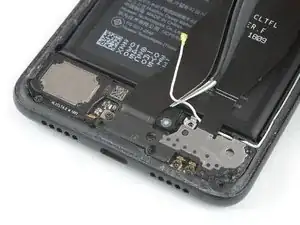
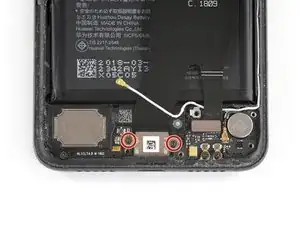
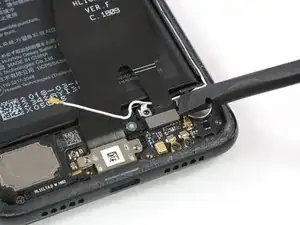
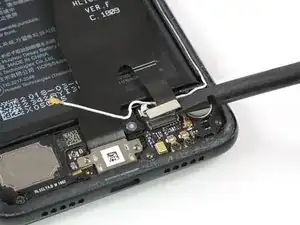
Use a pair of tweezers to disconnect the antenna cable.
-
Use a pair of tweezers to pull the antenna cable out of its routing.
-
-
-
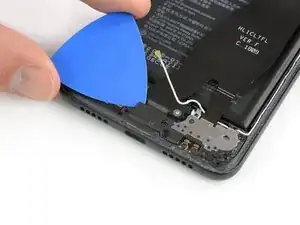
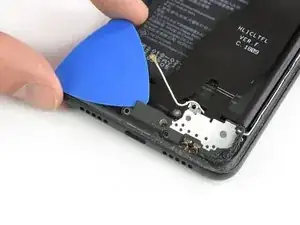
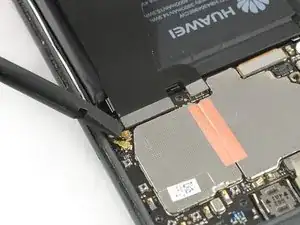
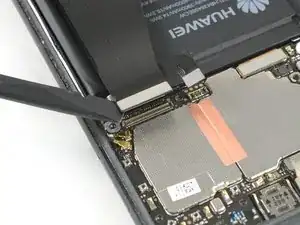
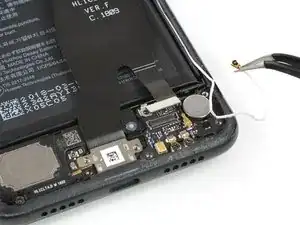
Slide an opening pick under the left side of the daughterboard cover and start to pry it up until you can get a good grip.
-
Remove the daughterboard cover.
-
-
-
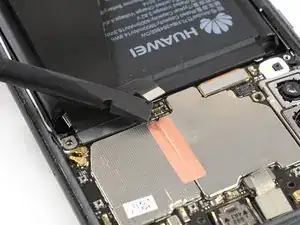
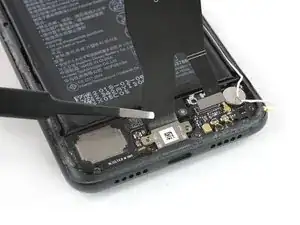
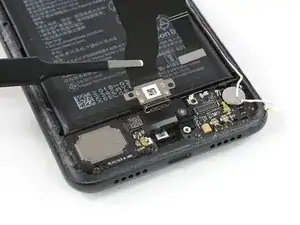
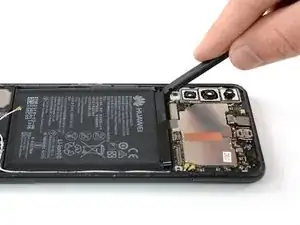
Use the flat end of a spudger to pry up and disconnect the upper end of the interconnect and charging port flex cable from the motherboard.
-
-
-
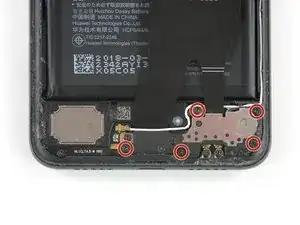
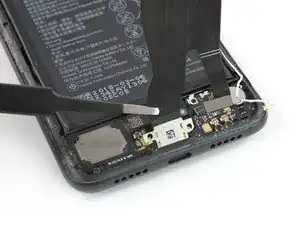
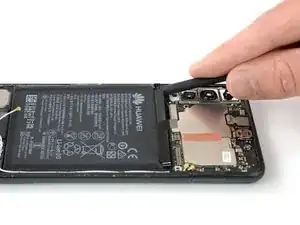
Use the flat end of a spudger to pry up and disconnect the bottom end of the interconnect and charging port flex cable from the daughterboard.
-
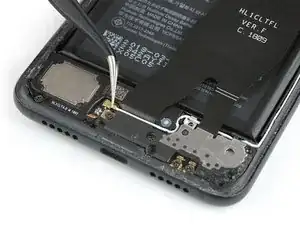
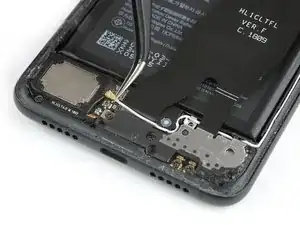
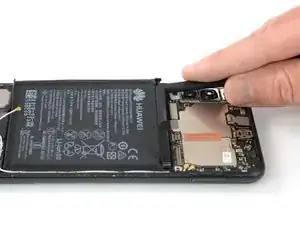
Use a pair of tweezers to move the antenna cable out of the way.
-
-
-
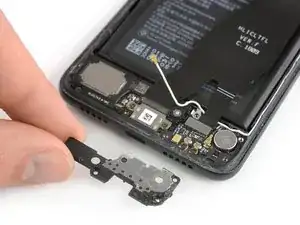
Use a pair of tweezers to pull the charging port out of its recess.
-
Remove the interconnect cable including the charging port.
-
-
-
Use an iOpener to loosen the adhesive beneath the battery. Apply the iOpener on the display for at least two minutes.
-
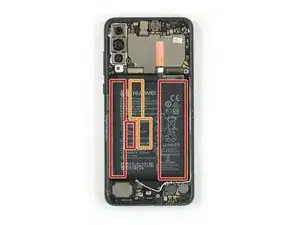
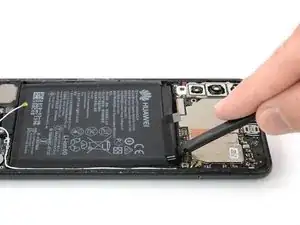
In the following step, only apply the spudger in the areas marked in red, which is where the battery adhesive is located.
-
Avoid the orange area where the display flex cable is running.
-
-
-
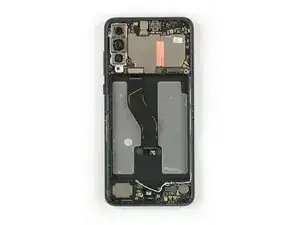
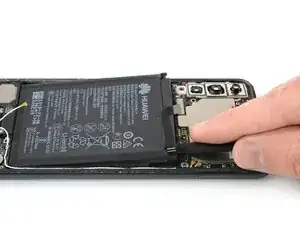
Insert the flat end of a spudger at the top left corner of the battery and start to pry it up.
-
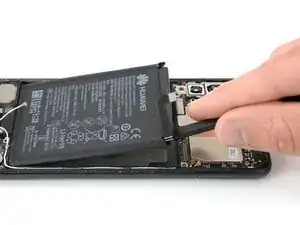
Work your way down the left side of the battery and loosen the adhesive with the spudger.
-
-
-
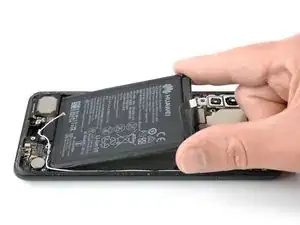
Insert the spudger at the top right corner of the battery and start to pry it up.
-
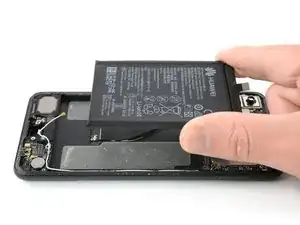
Work your way down to the bottom end of the battery to loosen all the adhesive.
-


To reassemble your device, follow these instructions in reverse order.
If possible, turn on your phone and test your repair before installing new adhesive and resealing the phone.
For optimal performance, calibrate your newly installed battery: Charge it to 100%, and keep charging it for at least two more hours. Then, use it until it shuts off due to low battery. Finally, charge it uninterrupted to 100%
Take your e-waste to an R2 or e-Stewards certified recycler.
Repair didn’t go as planned? Check out our Answers community for troubleshooting help.

17 comments
Quando sostituisci la batteria perdi tutti i dati ?
ale -
Hi Ale,
when replacing the battery you won’t lose any data as long as you don’t damage any relevant components for data saving.
Dato che purtroppo non parlo italiano, ho creato questa risposta con l'aiuto di un traduttore. — Quando si sostituisce la batteria non si perderanno dati finché non si danneggiano componenti rilevanti per il salvataggio dei dati.
I just watched 2 YouTube guides on doing this and one used an adhesive ring strip while the other used glue from a bottle. Is one solution any more solid than the other?
Also, I don’t have an iOpener so would either isopropyl alcohol or a hair dryer be a good alternative for softening the back cover/battery adhesive?
Finally, I’ve seen and heard people using all sorts of things to pry out phone batteries ~ plastic pry sticks, metal pry tools, and even flat-edge screwdrivers. Which tool(s) are the safest and/or most effective?
Hi TinkerJosh, isopropyl alcohol (>97%) is a valid option for softening adhesive. A hairdryer will also achieve a good result for heating the adhesive. I would advise against using metal tools (such as metal spudgers or flat screwdrivers). To pry out the battery you are better off with opening picks and a plastic card. Either way, try not to puncture or deform the battery to avoid damaging it. Successful repairing
Great instruction, Thanks. Is there a part # For the new adhesive gasket, and where can it be bought?
derek5 -
Ich hatte keinen iOpener. Daher hab ich das P20 Pro für ein paar Minuten auf eine Wärmflasche gelegt. Die Klebeschicht konnte relativ schnell gelöst werden.
David T. -