
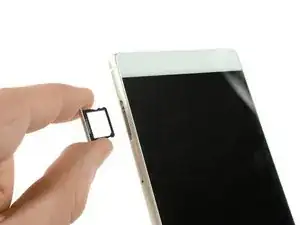
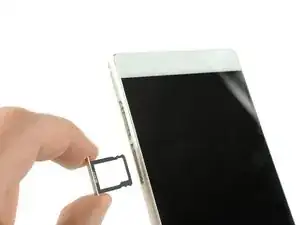
Introduction
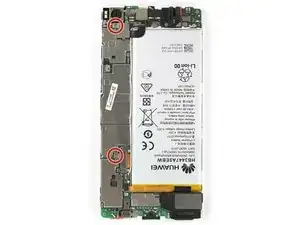
Use this guide to remove and replace the display of a Huawei P8.
-
-
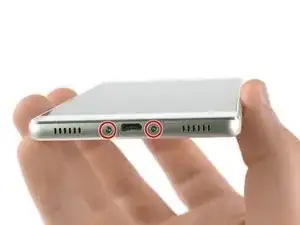
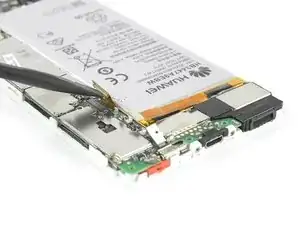
Remove the two Phillips #00 that hold down the two metal clamps covering the front camera, the display and battery flex connectors.
-
-
-
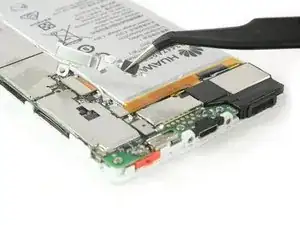
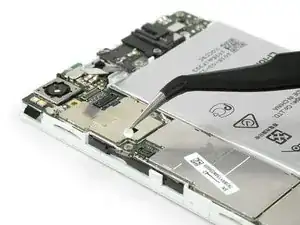
Use a tweezer to remove the metal clamp covering the display and the battery flex connector.
-
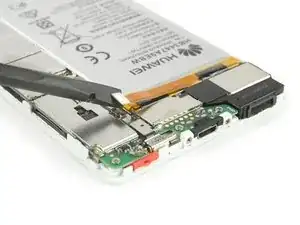
Unplug the battery flex connector with a Spudger.
-
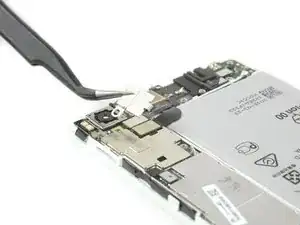
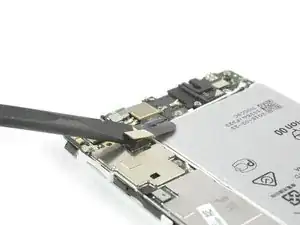
Remove the metal clamp covering the flex connector of the front camera.
-
-
-
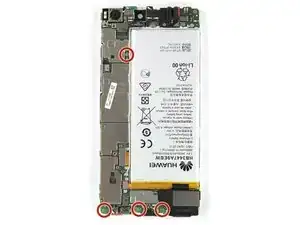
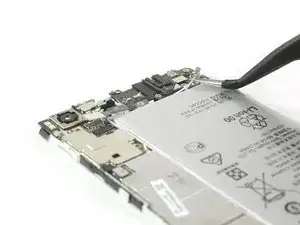
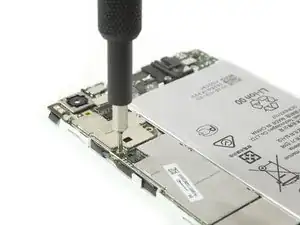
Unscrew the four Phillips #00 screws that hold down the motherboard of your Huawei P8.
-
Unplug the vibration motor flex connector.
-
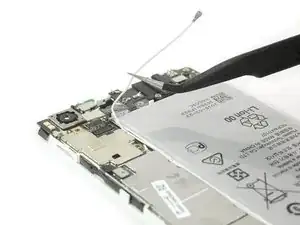
Disconnect the antenna cable.
-
-
-
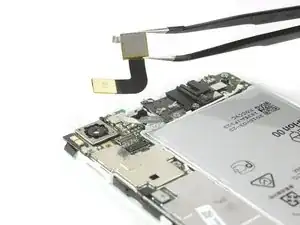
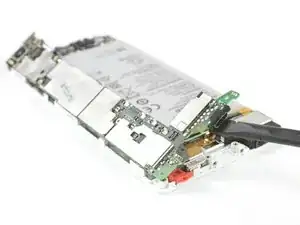
Unplug the display flex connector from the main board with a Spudger.
-
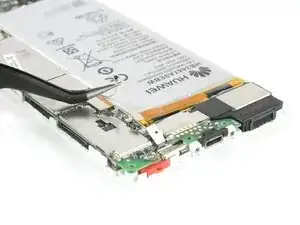
Disconnect and remove the antenna cable with a tweezer.
-
-
-
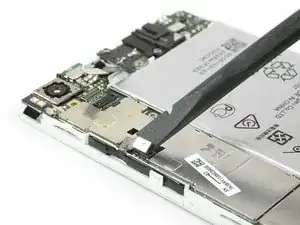
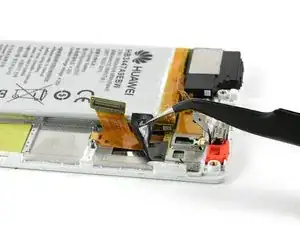
Use a spudger to disconnect the flex cable of the power and volume buttons.
-
Remove the liquid contact indicator that sits on top of the last screw holding down your main board.
-
-
-
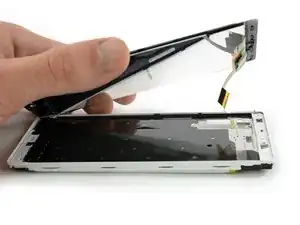
Remove the adhesive tape which is covering the display flex cable.
-
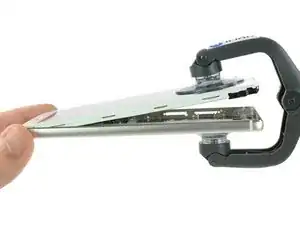
Loosen the adhesive around the mid frame with an iOpener.
-
When the glue is softened you can use a spudger to get behind the display through the camera bay and get between the frame and the display.
-
-
-
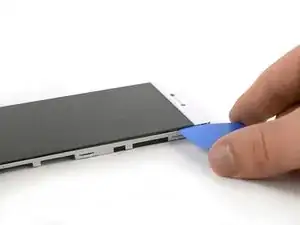
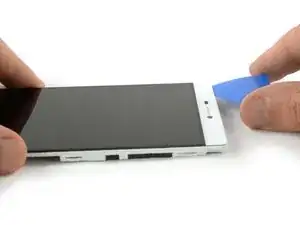
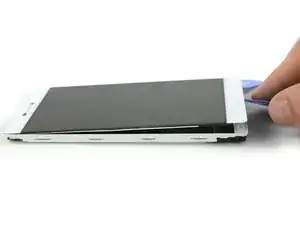
Insert an opening pick in the gap where you separated the display from the mid frame.
-
Insert just the tip of the opening pick and slide it along the right side to separate the display from the frame.
-
-
-
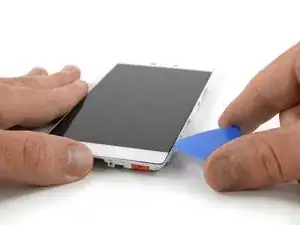
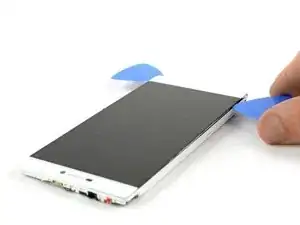
Insert another opening pick at the top of the phone and loosen the adhesive under the upper part of the display.
-
-
-
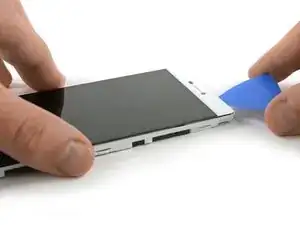
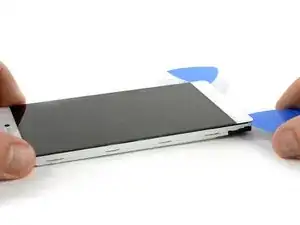
Insert just the tip of the opening pick and slide it along the left side of the phone to separate the display from the frame.
-
-
-
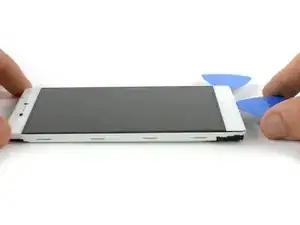
Loosen the adhesive under the bottom part of the display unit with the opening pick.
-
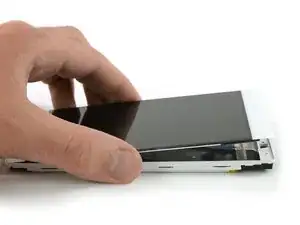
Flip the opening pick a little to separate the display from the mid frame.
-


To reassemble your device, follow these instructions in reverse order. Reapply adhesive where necessary.

2 comments
Is there any difference on screen frame between GRA-L09 and GRA-TL10??? The l09 is the single sim and the TL10 is the dual sim…
installing a new screen the first time, i was looking at darkness. then, taking it apart again and taking away the protective foil on the back of the screen, it just showed pink/purple colors and started heating up pretty bad around the charging connector. my idea would be a short circuit. any idea what is going wrong and can this still be saved?