Introduction
Use this guide to replace the display of your Huawei P9 Lite.
-
-
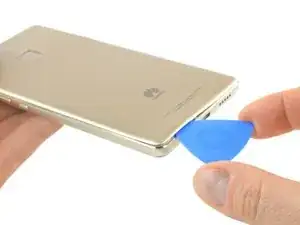
Use an opening pick to unclip the rear cover, starting from the bottom corner.
-
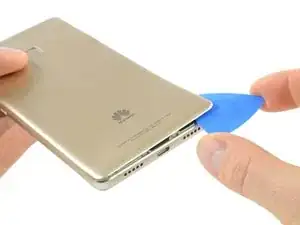
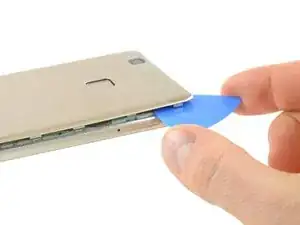
Work your way around counterclockwise and carefully pry the plastic tabs open one by one.
-
-
-
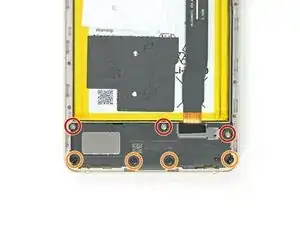
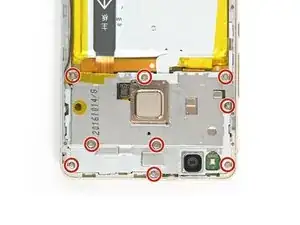
On the bottom of the phone remove the following screws:
-
Three 2.9 mm Phillips #00 screws
-
Four 3.8 mm Phillips #00 screws
-
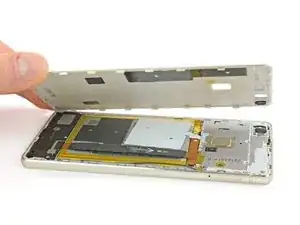
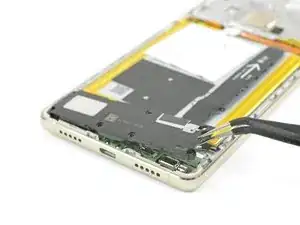
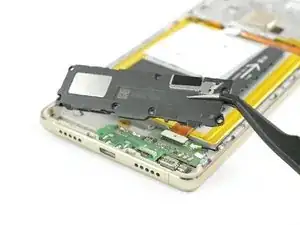
Now you can grab the loudspeaker unit and take it out.
-
-
-
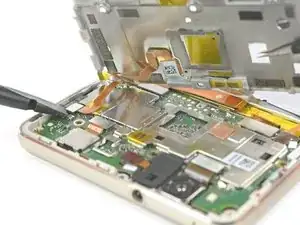
Use a spudger to disconnect the fingerprint sensor from the motherboard.
-
Peel the NFC antenna cable off of the metal plate.
-
-
-
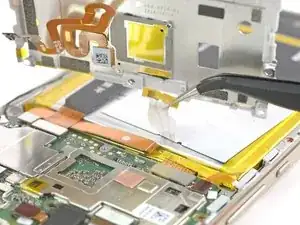
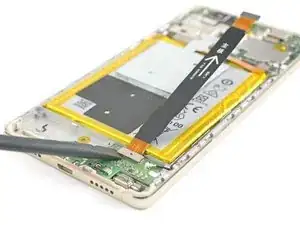
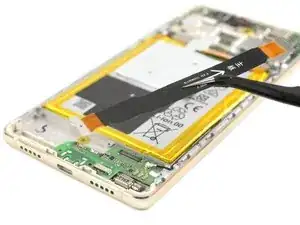
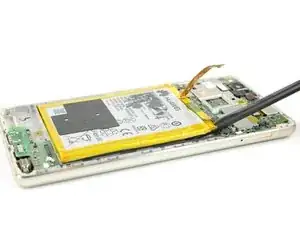
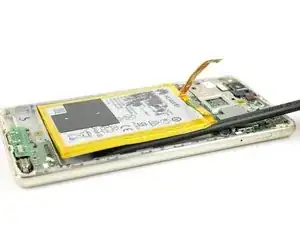
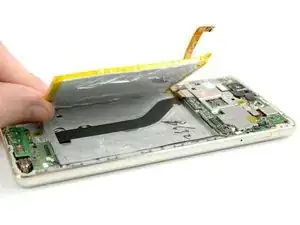
Slide the spudger under the battery at the place shown in the picture and pry it loose slowly.
-
When reassembling your phone replace old adhesive with double-sided tape or pre-cut adhesive strips.
-
-
-
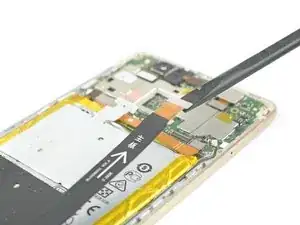
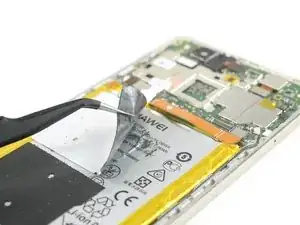
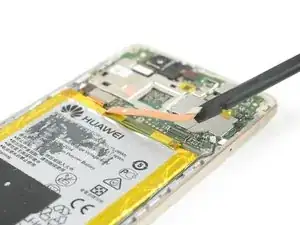
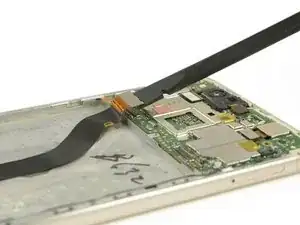
Take the flat end of a spudger to disconnect the display flex cable.
-
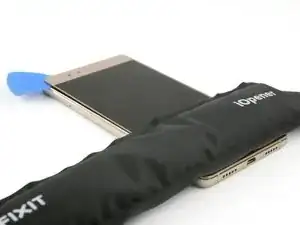
Flip the phone over and use an iOpener to soften the adhesive at the edge of the display.
-
-
-
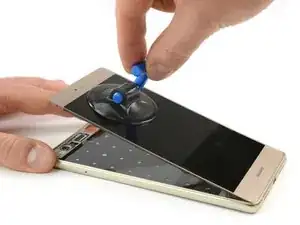
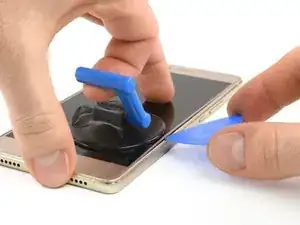
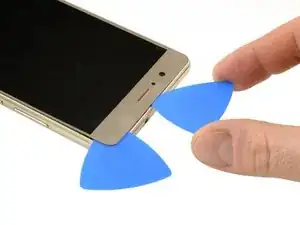
With a suction handle you can lift the display a little bit to create a gap.
-
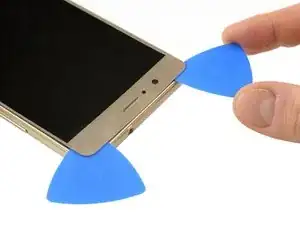
Insert just the tip of an opening pick in the gap and steadily slide it along the edge towards the top. You may need to go back and forth a few times.
-
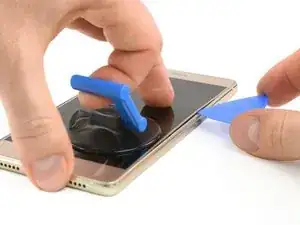
Try to get around the corner and behind the top part of the display. Re-position the suction handle if needed.
-
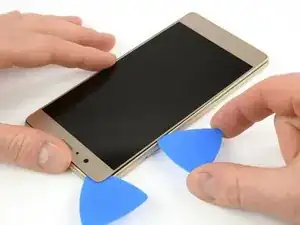
Leave the opening pick behind the display to avoid the re-sealing of the adhesive.
-
-
-
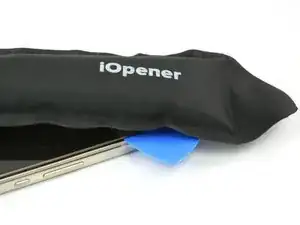
Heat up the iOpener once again and place it on the display to soften the adhesive at the top.
-
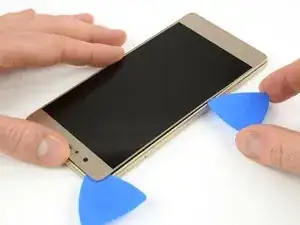
Use a second opening pick to slide along the top edge towards the next corner.
-
-
-
As long as the adhesive is warm try to continue to separate the display along the side towards the bottom. Re-heat the iOpener if necessary.
-
Also heat up the bottom part of the display for the next few steps.
-
-
-
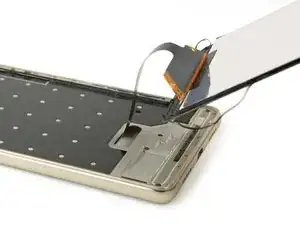
When you worked your way around the display, take a suction handle and lift the top part of the display away from the frame.
-
Slowly but steadily hinge open the bottom part of the display separating the adhesive.
-
Now you can thread the display flex cable through the gap in the frame.
-


To reassemble your device, follow these instructions in reverse order.

3 comments
About release battery ... fishing braided line works better :) battery taken without any destruction.
Grazie a questa guida ho potuto sostituire batteria e schermo da me. Grazie!
Non si può sostituire solo il vetro? X forza anche lcd?
What could you use instead of an opening pick??
Alfredo -
Like, could a guitar pick wor? Or anything else?
Alfredo -
A guitar pick will also do.
Tobias Isakeit -
what can still be used besides guitar pick
Tarshia Thompson -
I had a hard time to open the back cover by opening pick. Then I used little, really little knife at first, and I continue to opening back cover using opening pick.
Andy B -
Heating up aroud the finger sensor to loosen the square adhesive tape ..
Hishamchohan -
If you do not have any picks, You can also adapt an old credit or utility card by cutting it in to thirds. Then with some fine emery or sand paper, rub a sharp point on the one edge of the card. This will help you get access to the clips that hold the rear cover on. The one i did yesterday had quite a lot of adhesive around the edge & around the finger print sensor. Another tip with an old credit card is to cut it in to narrow strips to insert in to where you have separated the cover from the frame to stop it getting stuck to the adhesive again.
gazza667 -