Introduction
Tools
Parts
-
-
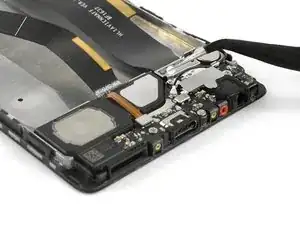
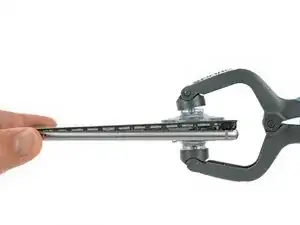
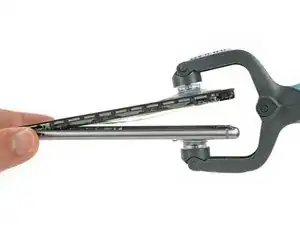
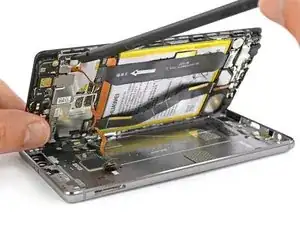
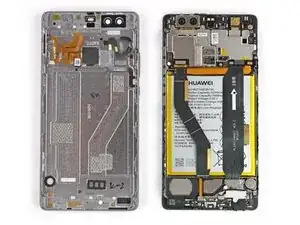
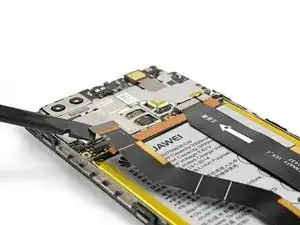
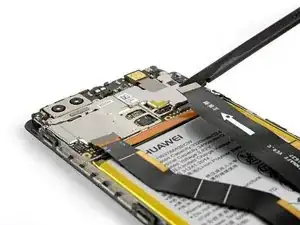
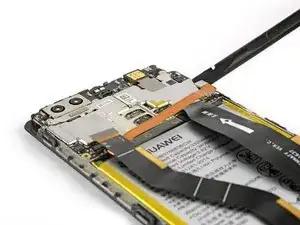
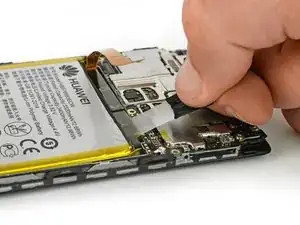
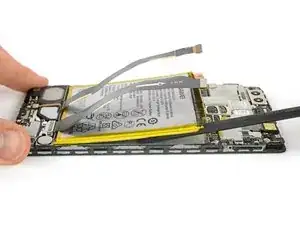
After separating the rear case flip the other half open to get to the flex connectors.
-
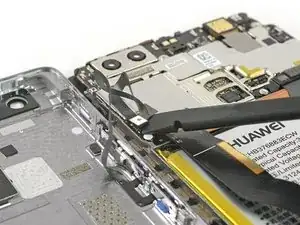
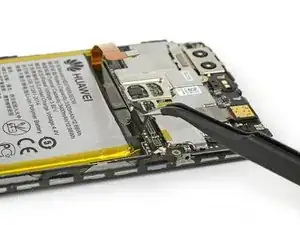
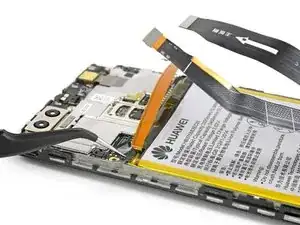
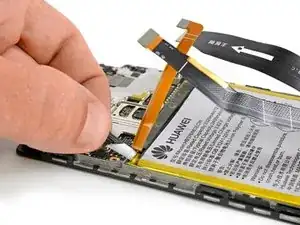
With a spudger unplug the flex connector of the fingerprint sensor and the one of the side buttons.
-
Remove the rear case.
-
-
-
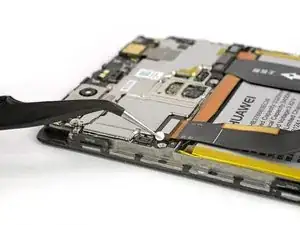
Remove the sticker that sits on top of the left screw above the battery.
-
Remove the three Phillips #00 screws that hold the metal plates in place.
-
-
-
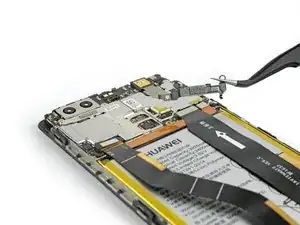
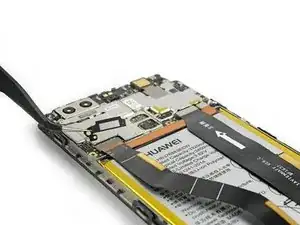
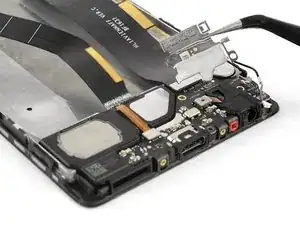
Both metal plates have little hooks. Use a tweezer to free them and unhinge the plates by carefully moving them upwards.
-
-
-
Use a spudger to unplug the screen flex cable.
-
Unplug the motherboard flex cable and the battery flex cable afterwards.
-
-
-
Use a set of tweezers to unfold the black tab enough to grab with your fingers.
-
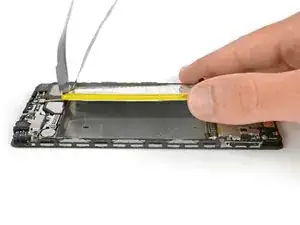
Pull the first adhesive strip in a slow and constant movement.
-
-
-
Loosen the end of the other adhesive strip with a tweezer and pull it out. If needed use the iOpener again to soften the glue a little.
-
-
-
Use a tweezer to remove the sticker that sits on top of the screw next to the antenna cable.
-
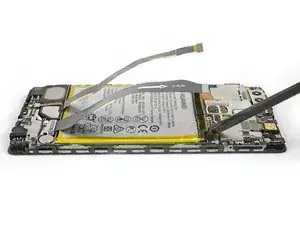
Unplug the antenna cable and release it from the bracket on the metal plate covering the main flex cable.
-
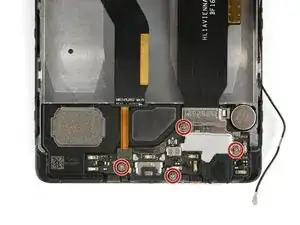
Remove the four Phillips #00 screws.
-
-
-
The plate, which is covering the motherboard flex cable, has little hooks on each side. Use a tweezer to free them and unhinge the plate by carefully moving it upwards.
-
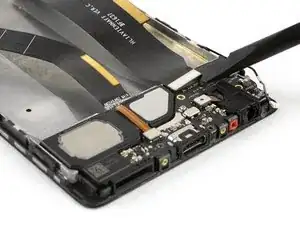
Use a spudger to unplug the motherboard flex cable and remove it.
-
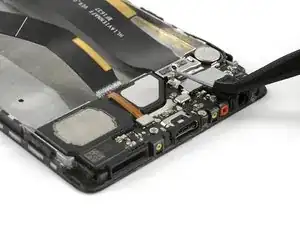
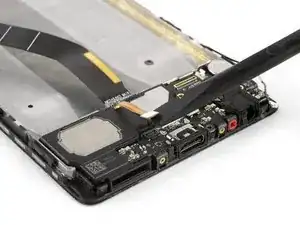
Unplug the flex connector of the loudspeaker.
-
-
-
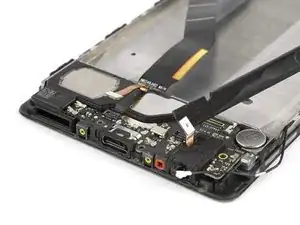
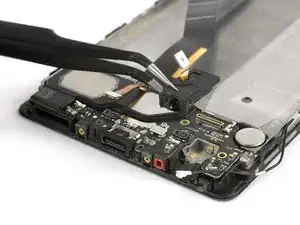
Use a spudger to unplug the flex connector of the headphone jack.
-
Remove the headphone jack.
-
-
-
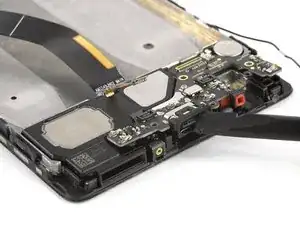
Use a spudger to lift out the daughter board.
-
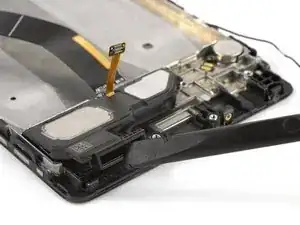
Lift the loudspeaker out of the mid frame. There is some adhesive underneath, so it can be a little bit sticky.
-
To reassemble your device, follow these instructions in reverse order. Reapply adhesive where necessary.
