Introduction
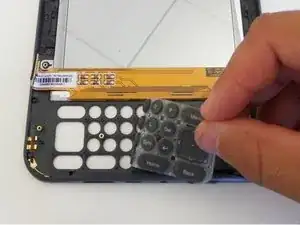
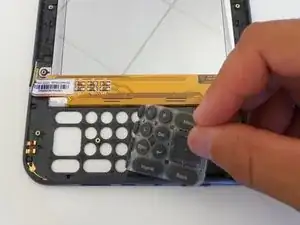
Use this guide for replacing the keyboard on a Kindle 3. The guide shows how to disassemble the device to replace the damaged keyboard.
Tools
-
-
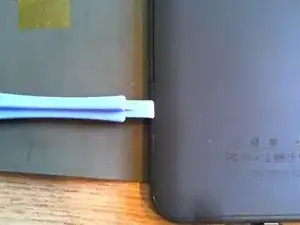
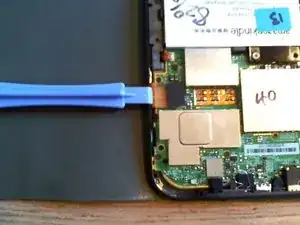
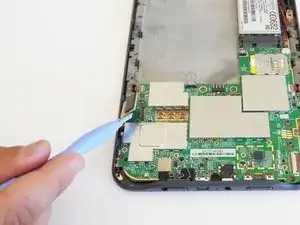
Starting 15mm below the right page-turning button, insert the middle of the pry tool. Pry open the back of the device using the pry tool, or similar plastic opening tool. The flexi cable for the screen is 10mm wide and passes 10mm to 20mm below the right page turn and is very easy to tear the edge.
-
-
-
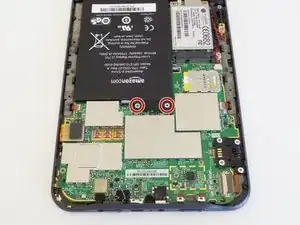
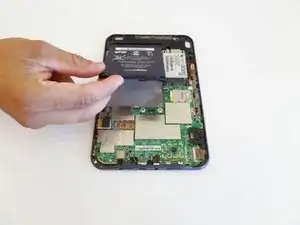
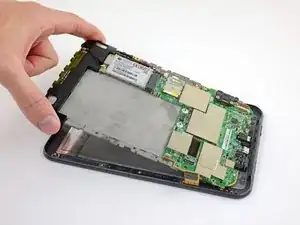
Lifting from the top edge, slide the entire motherboard and midframe assembly together away from the bottom edge of the Kindle, and remove it carefully.
-
To reassemble your device, follow these instructions in reverse order.
4 comments
It works, but seriously overdoes the dismantling required . I just did this on a wifi 3g version (serial number started with B00A) and it took less than 30 minutes.
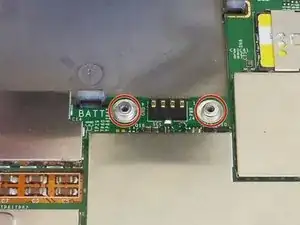
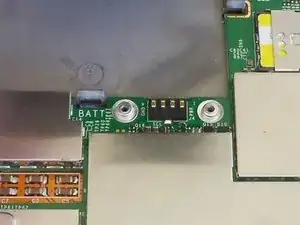
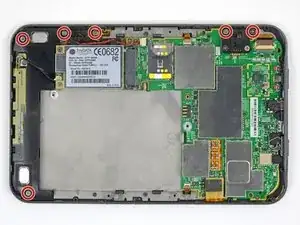
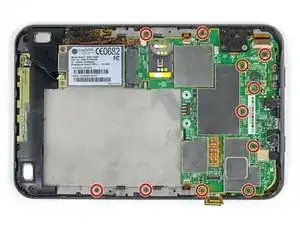
Steps 2,3 and 4 .You don't need to remove the silver screws holding the battery, the 3g unit or the inner ones on the black bit at lower right. None of them hold the board to the case, but ALL the grey screws do.
Step 5 You only need to undo the ribbon cable to the screen (marked orange) - the others don't need disturbing and are hard to put back correctly.
Steps 6 & 7 - Skip these.
Step 8 - the whole board lifts out - start at the top and be gentle - in case you've missed a screw or two.
Rebuilding - best to test before putting all the screws back, and refit the back starting at the switch end rather than the top or sides.
Dave -
Thanks for the guide. Used to strip down a device saturated with suntan lotion. Per Dave’s comments I skipped detaching the extra ribbon connectors, but needed to take out most of the silver screws to get the main boards apart. I also wanted to detach the battery before wading in with contact cleaner and baby buds. Now back working a treat. Daniel
This guide no longer includes any extra/unnecessary steps—the above comments refer to an old version of the guide.

Ah, I put it on in the wrong order, then figured out that starting at the bottom works best. I did the bottom, top and corners and then the sides, because I already had the top done.
kwood -
BE VERY CAREFUL HERE!! 15mm below the "next page" button was directly where the flex cable was. And it is an extremely fragile cable, even for flex cables. Which means I, of course, tore right through it without knowing until I got the cover off. So don't do that. Start 15mm above the lower corner, if anything, or start on the opposite side. Starting on the side with a single-point-of-failure is a really risky choice. The opposite side has basically nothing up against the edge, so you're free to poke it.
The other thing that isn't stated here is that the flex cable is inherently tied into the screen. Which means that if you, like me, damage that cable, the entire screen now broken and needs replacing. And if you, like me, was just trying to replace the battery or the motherboard, now it just makes sense to replace the entire device, both environmentally and financially. Whomp whomp.
bhurwitz -