Introduction
Use this guide to replace a cracked, scratched, or faulty display (screen) in your Kindle 3.
Tools
Parts
-
-
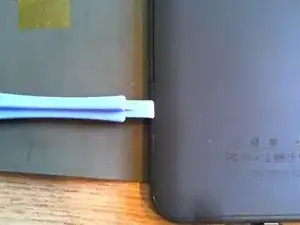
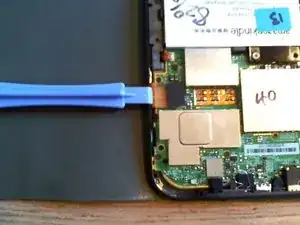
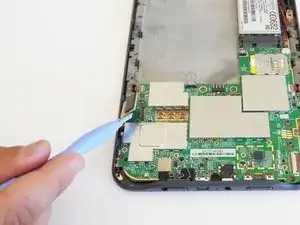
Starting 15mm below the right page-turning button, insert the middle of the pry tool. Pry open the back of the device using the pry tool, or similar plastic opening tool. The flexi cable for the screen is 10mm wide and passes 10mm to 20mm below the right page turn and is very easy to tear the edge.
-
-
-
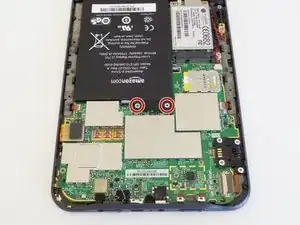
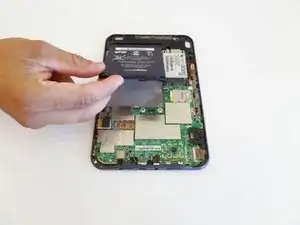
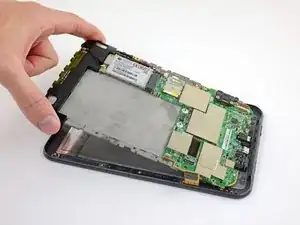
Lifting from the top edge, slide the entire motherboard and midframe assembly together away from the bottom edge of the Kindle, and remove it carefully.
-
-
-
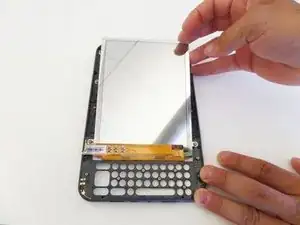
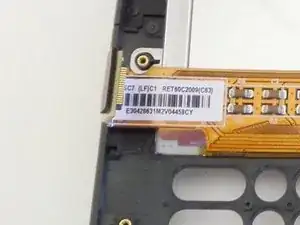
Remove the damaged screen from the housing.
-
Press gently from the outside to the inside. Be careful not to break the frame.
-
To reassemble your device, follow these instructions in reverse order.
35 comments
I did it!
But it worked only the third time I opened the kindle, the first and second time the screen stayed frozen with some horizontal lines, the third time I only unlatched and latched all the ribbon cables and...voila! it worked!
Thank you, Im VERY happy!
Hi!!where have you buy the screen??? I've broken my today, and I doesn't want to buy another e-book reader yet!!
Thank you
Awesome Guide!!!
Ebay or this place has them.
http://www.powerbookmedic.com/Amazon-Kin...
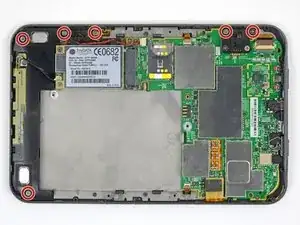
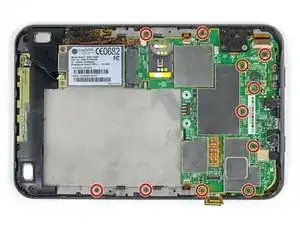
The screw diagrams for grey and silver sets were very helpful!
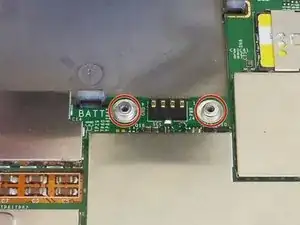
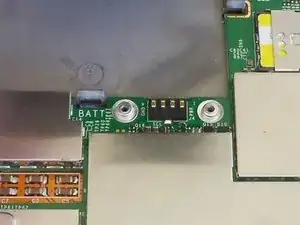
note: There 2 or 3 odd cup-shaped washers that differ between versions. 2 go under the batter screws to keep height/pressure constant, on may be under a screw for the modem/RF module.
Yes! I did it! Kindle works properly! Many tnx!!!

Ah, I put it on in the wrong order, then figured out that starting at the bottom works best. I did the bottom, top and corners and then the sides, because I already had the top done.
kwood -
BE VERY CAREFUL HERE!! 15mm below the "next page" button was directly where the flex cable was. And it is an extremely fragile cable, even for flex cables. Which means I, of course, tore right through it without knowing until I got the cover off. So don't do that. Start 15mm above the lower corner, if anything, or start on the opposite side. Starting on the side with a single-point-of-failure is a really risky choice. The opposite side has basically nothing up against the edge, so you're free to poke it.
The other thing that isn't stated here is that the flex cable is inherently tied into the screen. Which means that if you, like me, damage that cable, the entire screen now broken and needs replacing. And if you, like me, was just trying to replace the battery or the motherboard, now it just makes sense to replace the entire device, both environmentally and financially. Whomp whomp.
bhurwitz -