Introduction

In this video, I will show you how to replace LG V30 standard or wide-angle back camera.

This guide will show you how to replace both the standard and wide-angle rear cameras in the LG V30 smartphone. If your rear cameras are producing blurry or glitchy photos, or if your cameras are failing to function at all, replacing them should alleviate your issues.

  1. ApmSVLOxEfwJyar2
    ApmSVLOxEfwJyar2
    RQYhU55HDtTa4BNp
    aX5WJmidwLxMUaJO
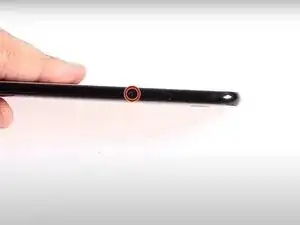
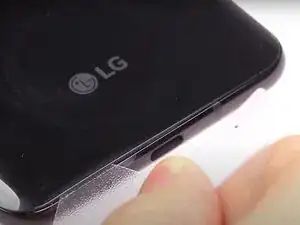
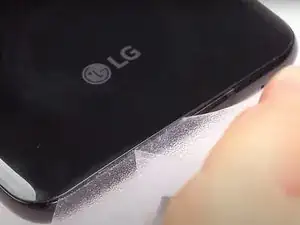
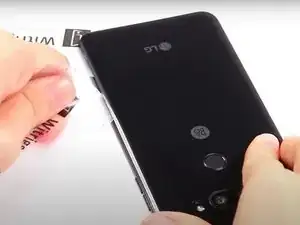
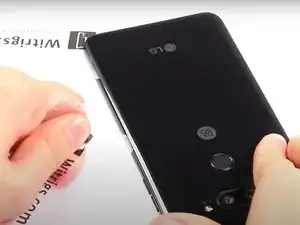
    • Insert a SIM card eject tool into the small hole on the right side of the phone to release the SIM card tray from the phone.

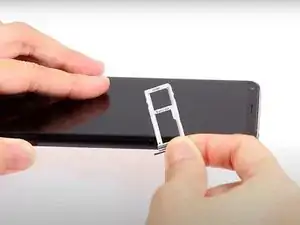
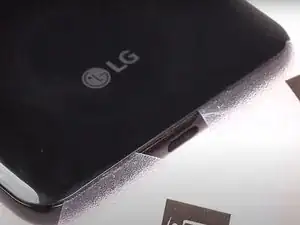
    • Pull the SIM card tray out from the phone.

  2. VgnuJPAImNmIkL4J
    VgnuJPAImNmIkL4J
    UjB5eU4UHnt2sqVY
    • Use a heat gun to apply heat to the back cover.

  3. ZXNcXCGLyRcEPJFR
    ZXNcXCGLyRcEPJFR
    dMHXLTMDbNS3sXFp
    eDUWEoYVAoamZOgy
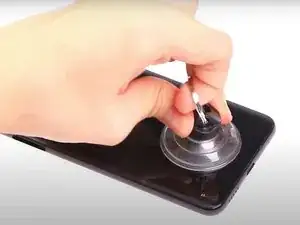
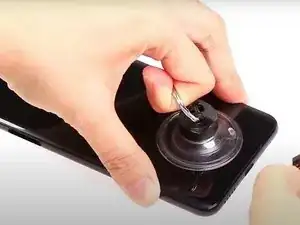
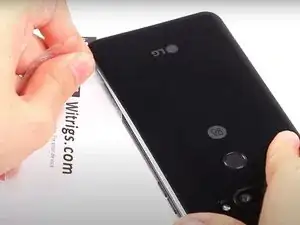
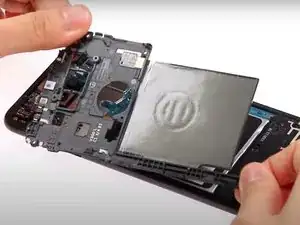
    • Use a suction cup to lift up the back cover up.

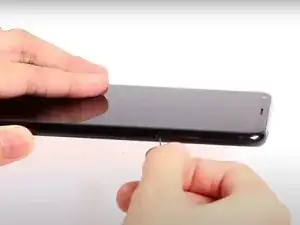
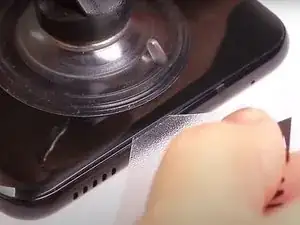
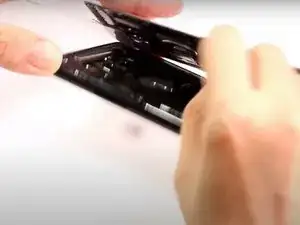
    • Insert the edge of a plastic card into the space created between the cover and frame.

  4. vC6FVGRuWbGmWixB
    vC6FVGRuWbGmWixB
    pQMLkbJtEV1on5tG
    lXp2T1ZhZvbEHbeK
    • Insert a second card where you have created an opening with the first card and slide it along the bottom edge of the phone.

  5. GTJVOsOq4COEIAYS
    GTJVOsOq4COEIAYS
    xfNOdHgDsw5ftwWn
    j3xSGlFtsIYIOI4q
    • Continue to slide the cards around the remaining three edges to release the adhesive.

  6. NNGrIFEtMYIIvxfE
    NNGrIFEtMYIIvxfE
    juJjcqimKL1guO5B
    HKotF1DLoTLGUNIv
    • Remove the back cover.

  7. UCENGFwnR1rVRjja
    • Remove the ten Phillips #000 screws from the midframe.

  8. 22gVgamPUgFZMrjt
    22gVgamPUgFZMrjt
    WjDRNDyA3QMRLMTh
    YtpY2XPfH2QafIQU
    • Using a plastic spudger, pry up the midframe of the phone.

  9. Jhrf1tfL2BphkgjC
    Jhrf1tfL2BphkgjC
    YXoIyGPVRDHYm5gn
    • Remove the midframe.

  10. j3Cl4mLx1JEF4fX3
    j3Cl4mLx1JEF4fX3
    DDWaAy3UWTKMNDHm
    LnvSnIEWGsjkPDLv
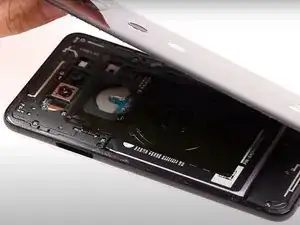
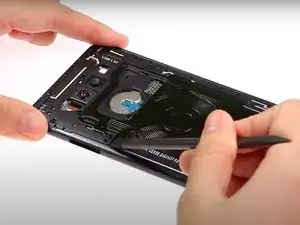
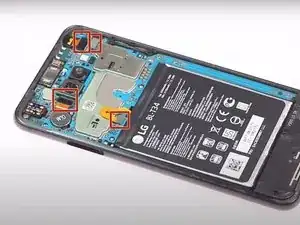
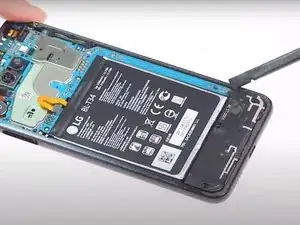
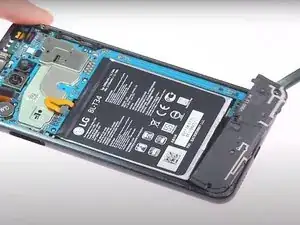
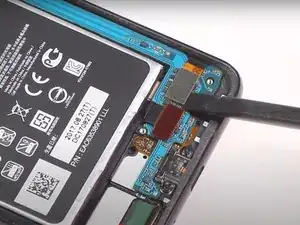
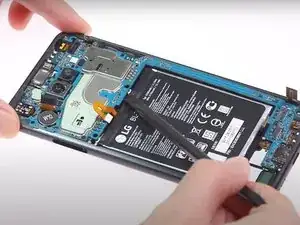
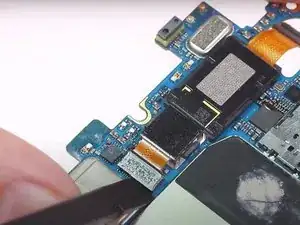
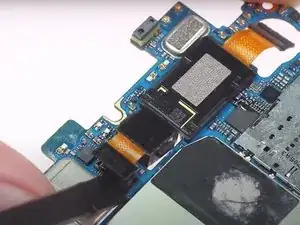
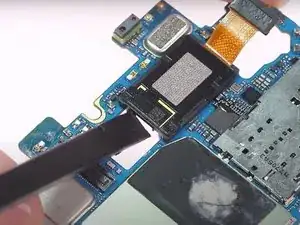
    • Use the plastic spudger to pry up the four press fit connectors on the top portion of the motherboard.

  11. x1ZLC6d5Xjx5F3q5
    x1ZLC6d5Xjx5F3q5
    XtJHwndyI1XRM2da
    PO3DUcI5Jaffu5rD
    • Pry up the speaker panel with a plastic spudger and remove it from the phone.

  12. rMWntOGcASQTR34b
    rMWntOGcASQTR34b
    DPZCtB2lXHl3yeHh
    5WTxsoSZDxWjU41K
    • Use a spudger to pry up the two press fit connectors on the bottom portion of the midframe.

  13. kL5t1XfXXgaUUTHX
    kL5t1XfXXgaUUTHX
    TBcFTcUkbeCETFuy
    JKZTIXlFFGT4wkZk
    • Use a spudger to pry up the motherboard and lift it out of the phone's frame.

  14. DaSvmVXtBtDudfuS
    DaSvmVXtBtDudfuS
    1MIPquo2wSxgFJZn
    NtvESJvNHQqJJkkv
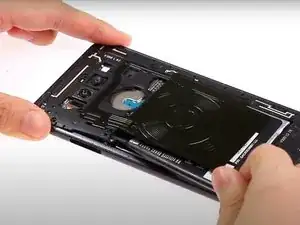
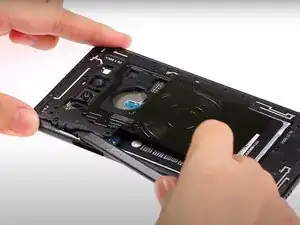
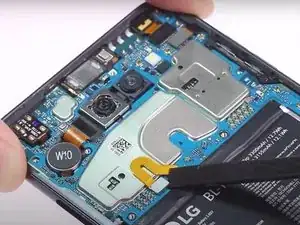
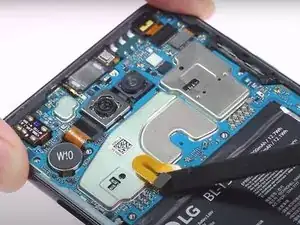
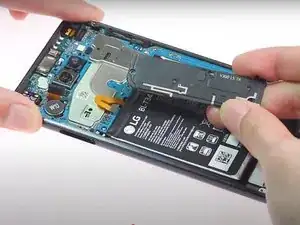
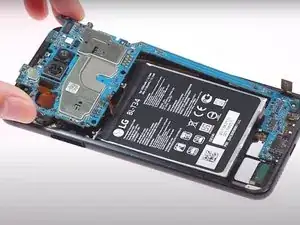
    • Flip over the motherboard.

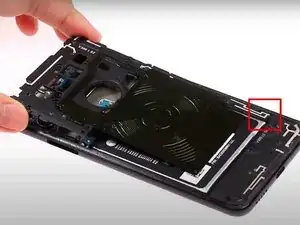
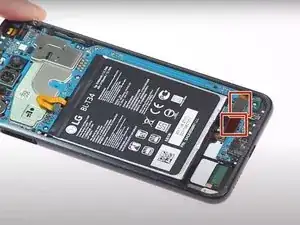
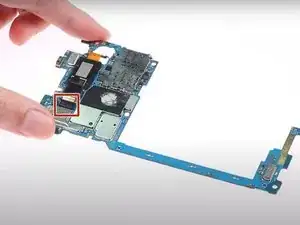
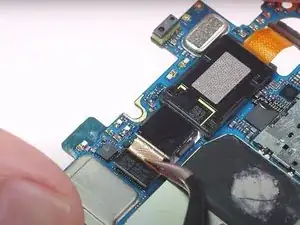
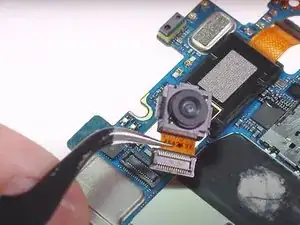
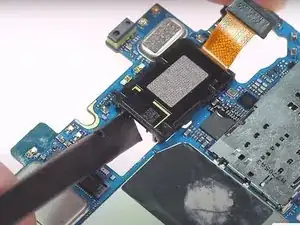
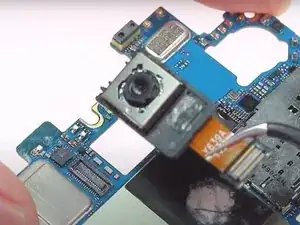
    • Using a plastic spudger, pry up the press fit connector for the first camera.

  15. CGaNQakyxpbTGcYk
    CGaNQakyxpbTGcYk
    bJUsXnNxM1foV2Yg
    • Remove the camera with a pair of ESD safe tweezers.

  16. qoIM2kYsBCatplUN
    qoIM2kYsBCatplUN
    cwTv4wLLpQZFquia
    j1gTbRRdXQQUNKTD
    • Pry up the second camera with a spudger.

    • The press fit connector has already been disconnected, but the camera module is still lightly adhered to the motherboard.

    • Remove the second camera with a pair of tweezers.

Conclusion

To reassemble your device, follow these instructions in reverse order.

Witrigs

Member since: 24/11/15

68612 Reputation

One comment

Does this make it no longer waterproof?

Rob Hoover -