Introduction
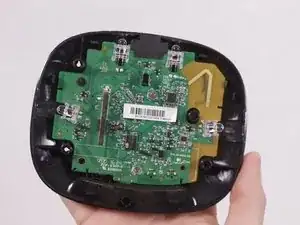
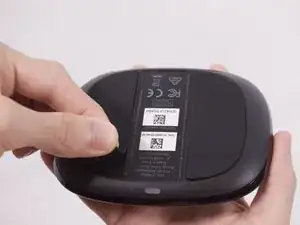
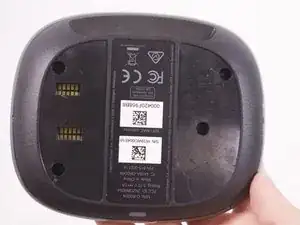
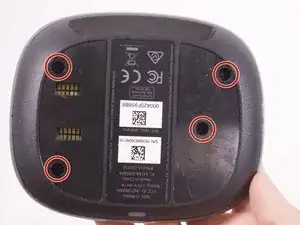
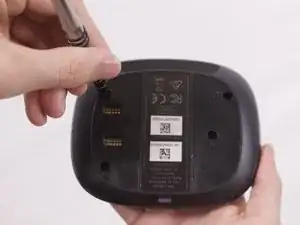
If you are having trouble with your Harmony Hub, the motherboard may need to be replaced. For this guide, all you need is a Phillips #0 screwdriver. There are many screws, so be sure to set them on a mat so none of them get lost.
Tools
-
-
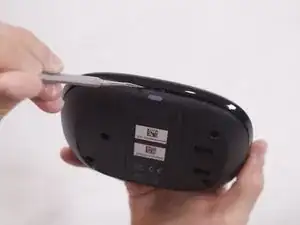
Insert the metal opening tool in the slit by the sensor.
-
Carefully separate the Harmony Hub cover from the base.
-
-
-
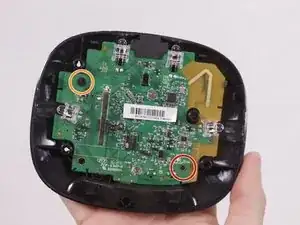
Unscrew the 2.0 mm Phillips #0 at the bottom right of the motherboard.
-
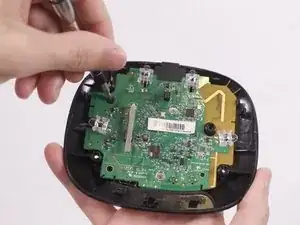
Unscrew the 4.0 mm Phillips #0 at the top left of the motherboard.
-
-
-
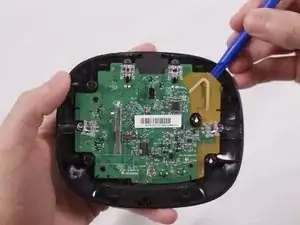
Face the Harmony Hub base so the sensor is facing out.
-
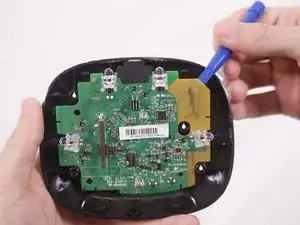
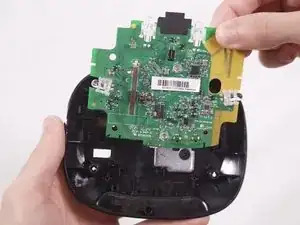
Insert the plastic opening tool behind the motherboard on the gold section, which is to the right of the sensor.
-
Lift until you hear a click.
-
Conclusion
To reassemble your device, follow these instructions in reverse order.
