Introduction
Replacing the bottom housing requires removing nearly every component of your mini.
Tools
-
-
Power down your Mac mini, disconnect all of the cables, and flip it over.
-
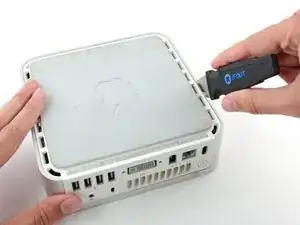
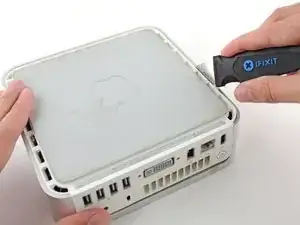
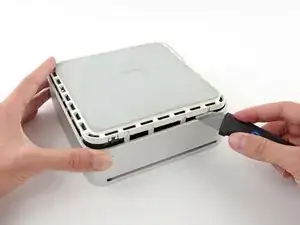
Insert the Jimmy into the crack between the aluminum top housing and the plastic lower housing.
-
The Jimmy should reach a stop about 3/8" down.
-
-
-
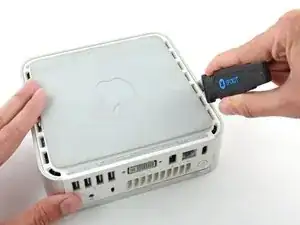
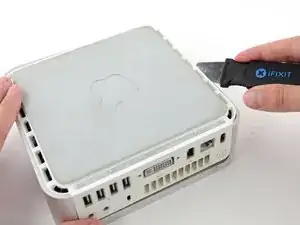
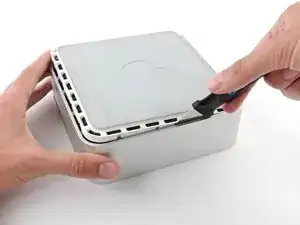
Gently bend the Jimmy outwards to pry the crack open a little larger and lift the lower housing up a small amount.
-
-
-
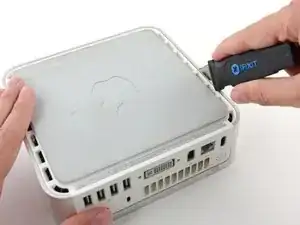
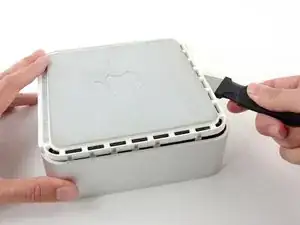
Once you have the first side free, rotate the Mac mini and start prying up on the front edge.
-
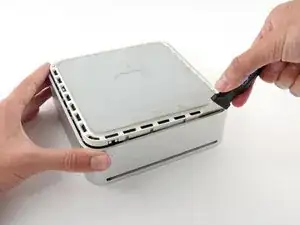
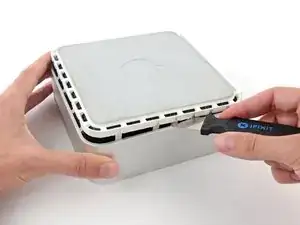
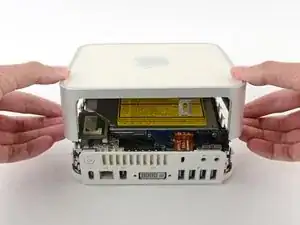
Use the same prying motion to both bend the clips inward and lift the lower housing up out of the top housing.
-
-
-
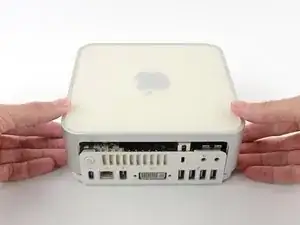
You may need to move the Jimmy along the edge to pry up all of the clips. Be patient and do a little bit at a time.
-
-
-
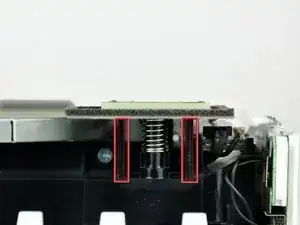
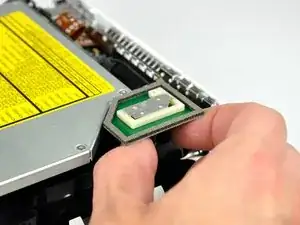
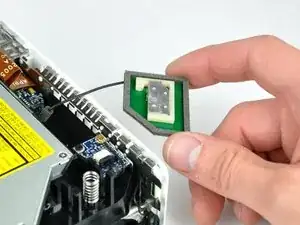
Slightly squeeze the two retaining arms toward each other and lift the AirPort antenna off its post.
-
-
-
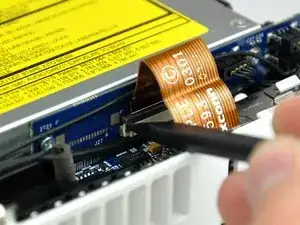
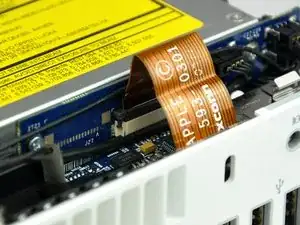
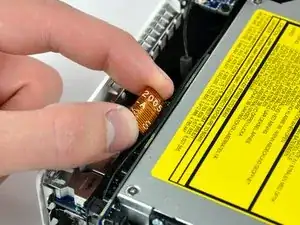
Use the tip of a spudger to slightly lift the left side of the ZIF cable lock up from its socket.
-
-
-
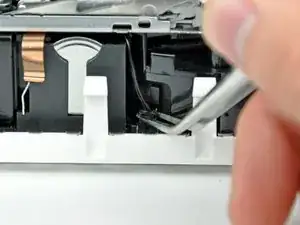
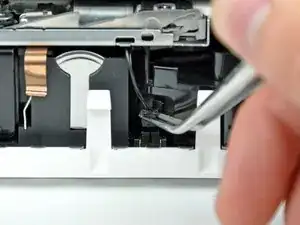
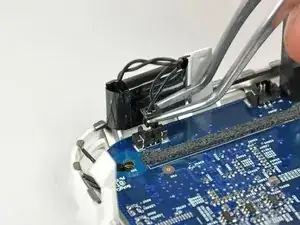
Use a pair of tweezers to lift the hard drive thermal sensor cable connector up off its socket on the logic board.
-
-
-
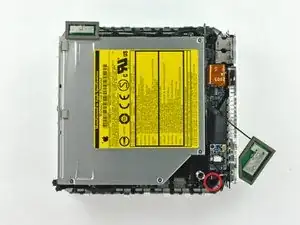
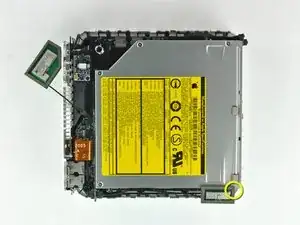
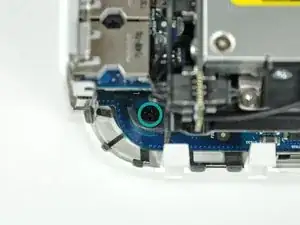
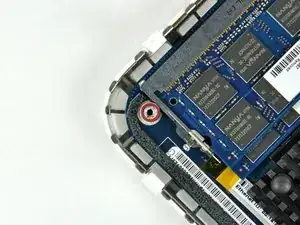
Remove the recessed Phillips screw near the power button securing the internal frame to the bottom housing.
-
-
-
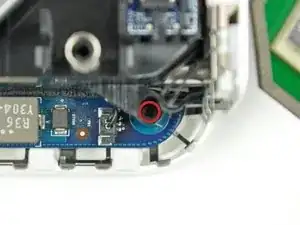
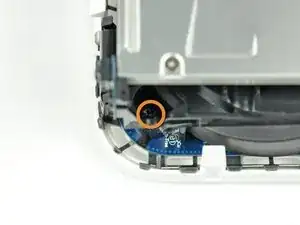
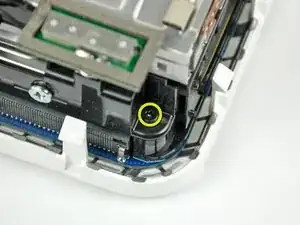
Remove the recessed Phillips screw near the sleep light securing the internal frame to the bottom housing.
-
-
-
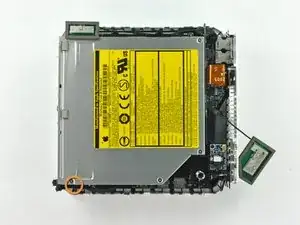
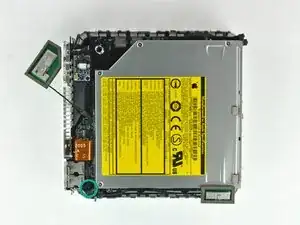
Remove the Phillips screw near the audio ports securing the internal frame to the bottom case.
-
-
-
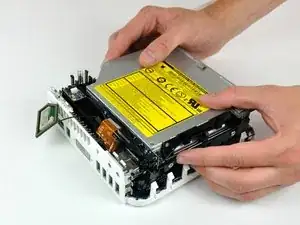
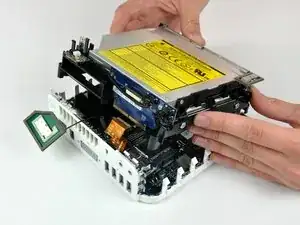
Gently lift the internal frame up from the bottom housing, minding the AirPort antenna and any other cables that may get caught.
-
-
-
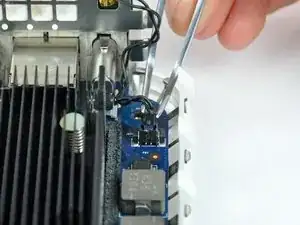
Firmly grasp the power button cable connector with a pair of tweezers and lift it straight up off the logic board.
-
-
-
Firmly grasp the sleep light cable connector with a pair of tweezers and lift it straight up off the logic board.
-
-
-
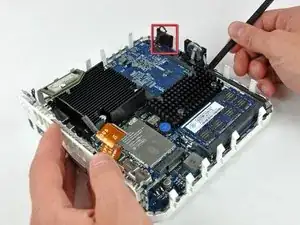
Use the flat end of a spudger to slightly lift the logic board near the PRAM battery to separate it from the bottom housing.
-
-
-
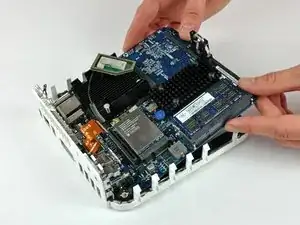
Gently lift the free end of the logic board and wiggle the board as you pull it away from the I/O ports.
-
-
-
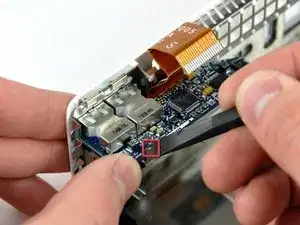
Use a spudger to depress the metal finger (shown in red) while pushing the edge of the audio board upward with your thumb.
-
-
-
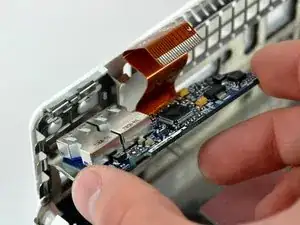
Lift the free end of the audio board slightly and pull it away from the port side of the bottom housing.
-
To reassemble your device, follow these instructions in reverse order.


A spackle knife makes these steps go much faster.
jouniseppanen -
A double sided letter opener or a thin non-serrated butter knife will suffice.
To prenent cosmetic blemishes, place a matchbook cover or similar thin cardboard on the outer perimeter under the “jimmy”.
Mike -