Introduction

Prereq to upper case guide—remove the I/O board after the logic board

  1. Q5cfafDa4aA4NLKN
    Q5cfafDa4aA4NLKN
    U4KQbyUNqGLrCjBL
    NqKMRgYSWtw3SrkR
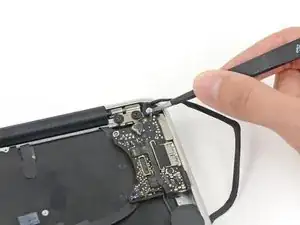
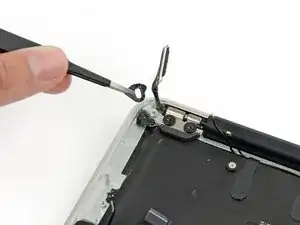
    • Remove the small rubber gasket from the corner of the upper case nearest the the I/O board.

    • Remove the gasket from the corner nearest display cable connector.

  2. GKgtUf2TURKHaSYQ
    GKgtUf2TURKHaSYQ
    YQMBoNguWkmSQJvy
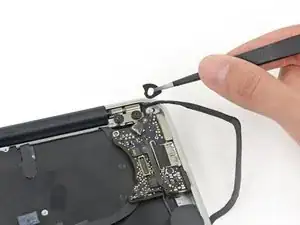
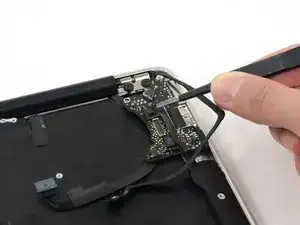
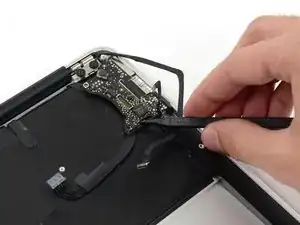
    • If necessary, use tweezers to remove any tape covering the microphone cable ZIF connector.

  3. QH1rf3kwJHNSGwRS
    QH1rf3kwJHNSGwRS
    1UQUsslFVhcQWGZq
    LPCZHOPxx1FpJKKE
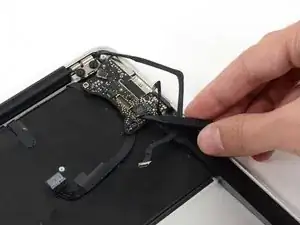
    • Use the tip of a spudger to carefully flip up the retaining flap on the microphone cable ZIF socket.

    • Be sure you are prying up on the retaining flap, not the socket itself.

    • With a pair of tweezers, pull the microphone ribbon cable straight out of its socket.

  4. MxgIwJRhDNbRRhWZ
    MxgIwJRhDNbRRhWZ
    iM6FjqtWp133WmkJ
    Grdl36hHwIOTELlT
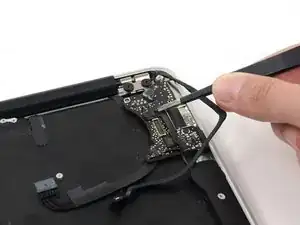
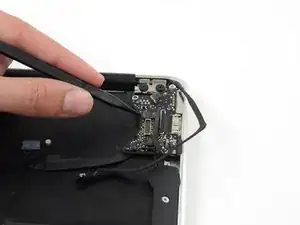
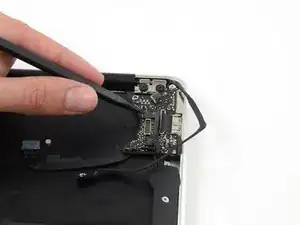
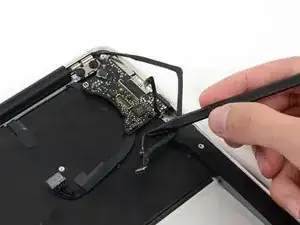
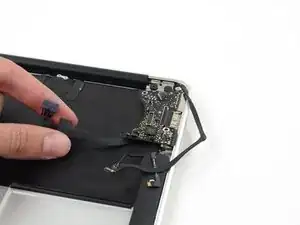
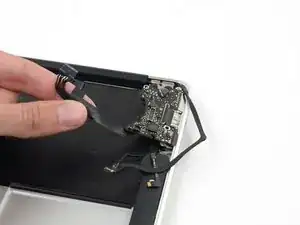
    • Use the tip of a spudger to pry under the speaker cable near the connector, lifting it straight up from its socket.

    • De-route the cable from its notch in the logic board.

    When I reassembled it these wouldn't click back in?

    Carson Banker -

  5. o1lEoFZfeosaFJ1P
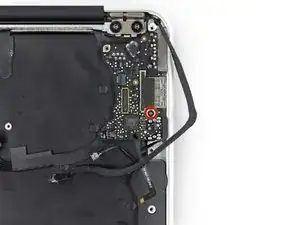
    • Remove the single 3.6 mm T5 Torx screw securing the I/O board to the upper case.

  6. OGf5MS4bwIj2VQBq
    OGf5MS4bwIj2VQBq
    xAIIjCgHGXyHDY5D
    KaOrmGPXvaCrFq2l
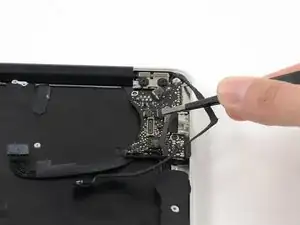
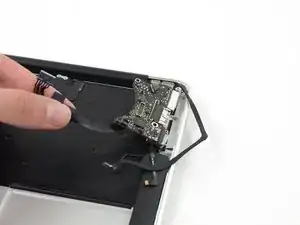
    • Carefully lift the I/O board by its power cable and pull it away from the edge of the case.

Conclusion

To reassemble your device, follow these instructions in reverse order.
Sam Goldheart

Member since: 19/10/12

457524 Reputation

0 comments