
Introduction
-
-
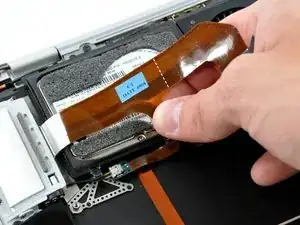
Disconnect the port hatch ribbon cable from the logic board by pulling it straight up by its black pull tab.
-
Pull the audio out ribbon cable off the adhesive securing it to the upper case.
-
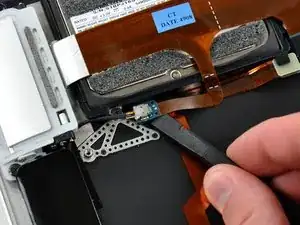
Use a spudger to pry the audio out ribbon cable connector board off the hard drive bracket.
-
-
-
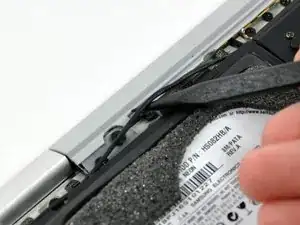
Use the sharp end of a spudger to de-route the microphone cable from the hard drive bracket.
-
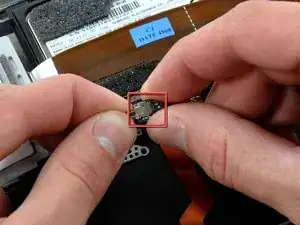
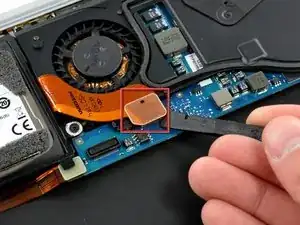
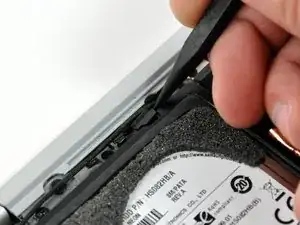
Remove the cosmetic screw cover from the adhesive securing it to the hard drive bracket.
-
-
-
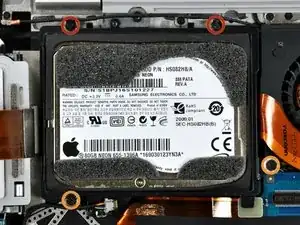
Remove the four Phillips screws securing the hard drive assembly to the upper case:
-
Two 4.7 mm screws.
-
Two 3.9 mm screws.
-
Conclusion
To reassemble your device, follow these instructions in reverse order.

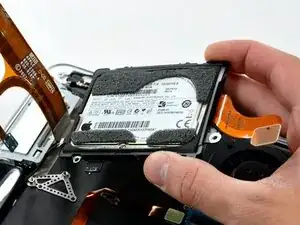
I skipped the step (6c) of prying the audio out ribbon cable connector board off the hard drive bracket (& disconnecting it), since it doesn't come off real easily, and I didn't want to damage it. It only requires a little more care when removing the HD from it's bracket if you skip step 6c.
amiller770 -