
-
-
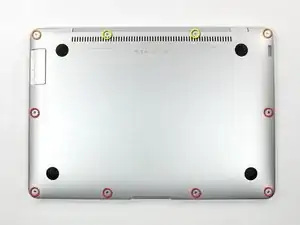
Remove ten Phillips screws securing the lower case to the MacBook Air:
-
Six 2.8 mm screws
-
Two 3.8 mm screws
-
Two 5.4 mm screws
-
-
-
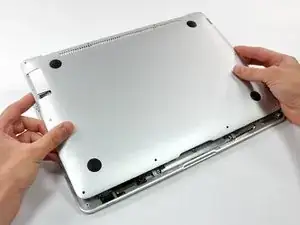
Slightly lift the lower case near the vents and push it toward the rear of the computer to free the mounting tabs.
-
-
-
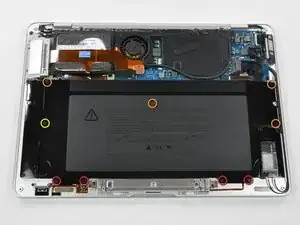
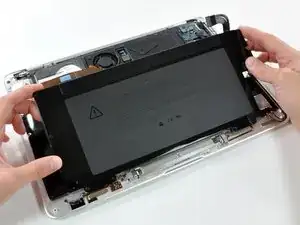
Remove the following nine screws securing the battery to the Air:
-
Four 2.9 mm Phillips.
-
Four 3.8 mm Phillips.
-
One 7.2 mm Phillips.
-
-
-
Lift the battery out of the Air.
-
Charge it to 100%, and then keep charging it for at least 2 more hours. Then, unplug and use it normally to drain the battery. When you see the low battery warning, save your work, and keep your laptop on until it goes to sleep due to low battery. Wait at least 5 hours, then charge your laptop uninterrupted to 100%.
-
If you notice any unusual behavior or problems after installing your new battery, you may need to reset your MacBook's SMC.
-
-
-
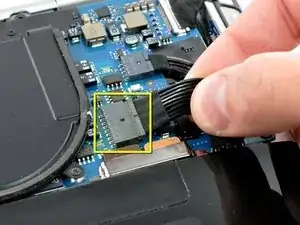
Disconnect the port hatch ribbon cable from the logic board by pulling it straight up by its black pull tab.
-
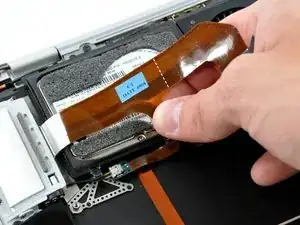
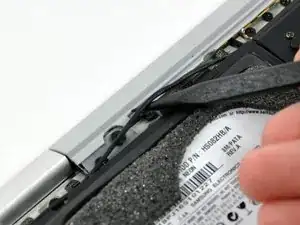
Pull the audio out ribbon cable off the adhesive securing it to the upper case.
-
Use a spudger to pry the audio out ribbon cable connector board off the hard drive bracket.
-
-
-
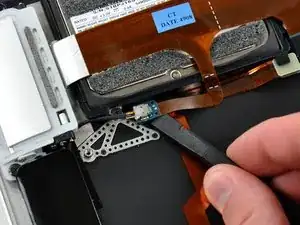
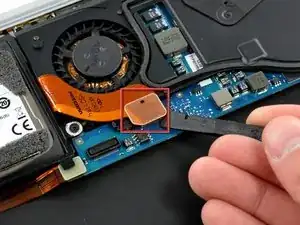
Use the sharp end of a spudger to de-route the microphone cable from the hard drive bracket.
-
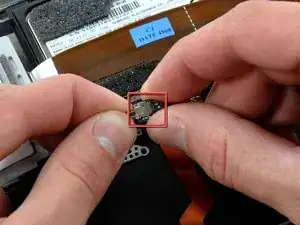
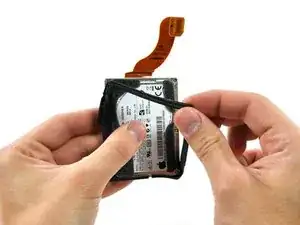
Remove the cosmetic screw cover from the adhesive securing it to the hard drive bracket.
-
-
-
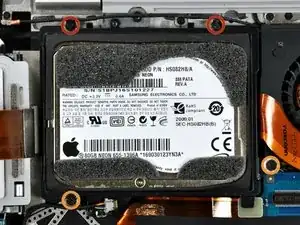
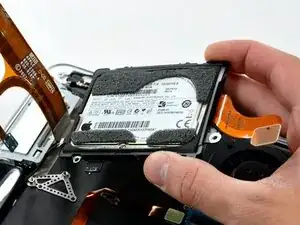
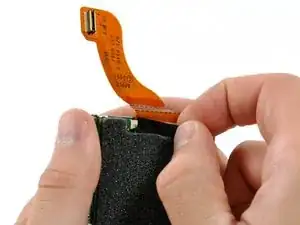
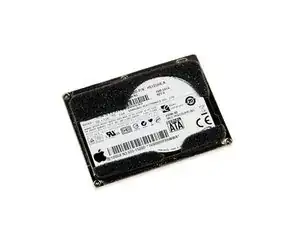
Remove the four Phillips screws securing the hard drive assembly to the upper case:
-
Two 4.7 mm screws.
-
Two 3.9 mm screws.
-
-
-
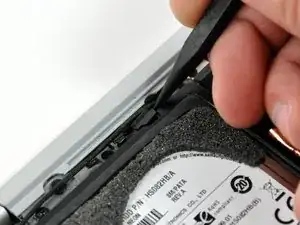
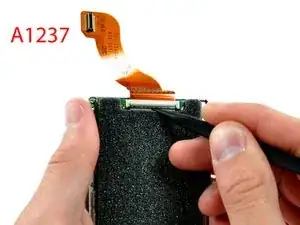
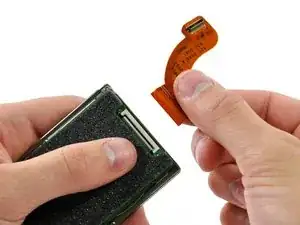
If you have the original MacBook Air (A1237), use a spudger or your thumbs to flip up the ribbon cable retaining flap TOWARD the cable (seen in picture 1).
-
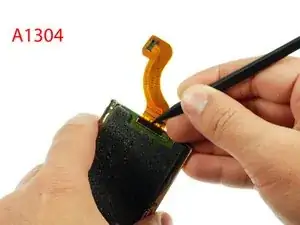
If you have the A1304 version of MacBook Air, use a spudger or your thumbs to flip up the ribbon cable retaining flap AWAY from the cable (seen in picture 2).
-
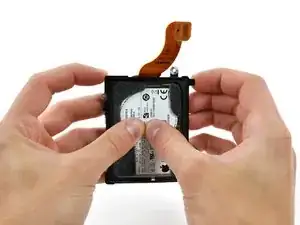
Pull the hard drive cable straight away from its socket.
-
-
-
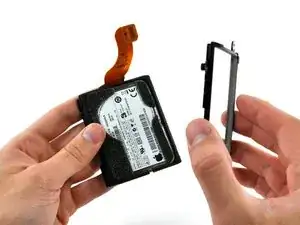
If you need to, transfer the foam from your current hard drive to the new one. The foam does come off by using a spudger and some patience.
-


To reassemble your device, follow these instructions in reverse order.

22 comments
It is not necessary to remove the battery. The hard drive can easily be reached while the battery is in place, although you have a little bit more space if you do remove the battery.
It probably is a good idea to unplug the battery before replacing the hard drive, so you do not accidentally short-circuit anything.
My hard drive replacement (a Mach Xtreme Nano PATA ZIF 120GB SSD) actually went in the other way up from the stock Apple Drive. ie The ZIF connector is seen when put back together, rather than under the drive as is the case with the Apple Drive (as seen in Steps 10&11). This also meant the cable came up past the drive on the inside of the bracket then to the mother board. I had tried several times the same way as the Apple drive was, and the cable kept being pulled out of the ZIF connector when putting it back together. Luckily this did not damage my drive.
Charlie -
I cannot tell you how thankful I am for your comment. I bought exactly the same SSD and spent the better part of today trying to get the computer to see it in Disk Utility. I tried everything (at least I thought so!), tweaking the ZIF cable, resetting the rubber bumper, and so on. Must have done ten or more restarts to no avail. The only thing I didn't do was turn the drive upside down! Thank you so much!
SERIOUSLY. 2 hours trying to figure out WHY it wouldn't work, THANK YOU CHARLIE. YEARS LATER.
This guide was very helpful and accurate for our A1304 Air, I have commented/adjusted the guide to give some extra info which I felt was missing, useful for identifying the correct model/revision and related replacement part.
I fitted a RunCore 128GB SSD to our A1304 (Revision B) Air, it was easy enough and works exactly as we hoped! The A1304 (Revision B) model Air has a LIF connector. RunCore have different SSD products for the different Air revisions, it would be easy to order the wrong part, so be sure you you what modle/revision of Air you're working on!
Read the guide in full for, for all the details.