Introduction
The hard drive cable also contains the IR sensor/sleep indicator.
-
-
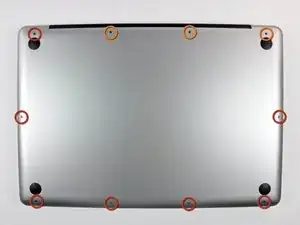
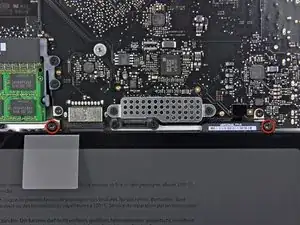
Remove the following ten screws securing the lower case to the upper case:
-
Seven 3 mm Phillips screws.
-
Three 13.5 mm Phillips screws.
-
-
-
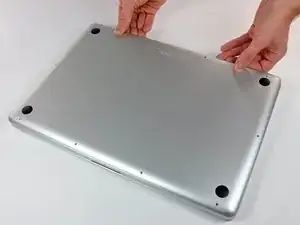
Using both hands, lift the lower case near the vent to pop it off two clips securing it to the upper case.
-
Remove the lower case and set it aside.
-
-
-
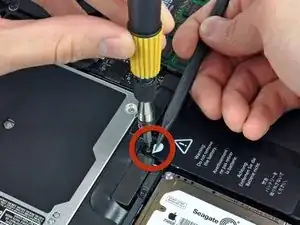
Three Pentalobe screws secure the battery to the upper case. They can be removed with this special driver.
-
-
-
Use the tip of a spudger to bend back the finger of the "Warning: Do not remove the battery" sticker while you remove the five-point Pentalobe screw hidden underneath.
-
-
-
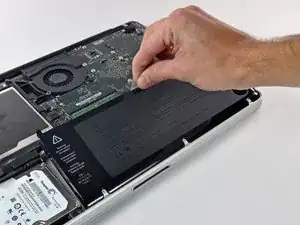
Lift the battery by its plastic pull tab and slide it away from the long edge of the upper case.
-
-
-
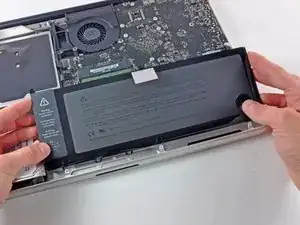
Tilt the battery back enough to access the battery cable connector.
-
Pull the battery cable connector away from its socket on the logic board and remove the battery from the upper case.
-
-
-
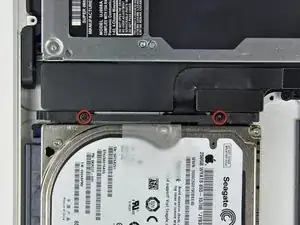
Remove two Phillips screws securing the hard drive bracket to the upper case.
-
Lift the the retaining bracket out of the upper case.
-
-
-
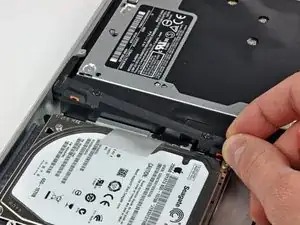
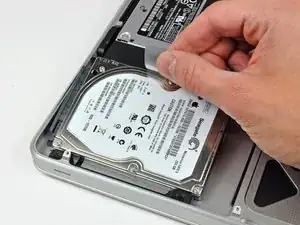
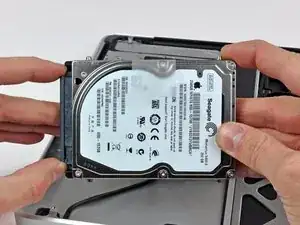
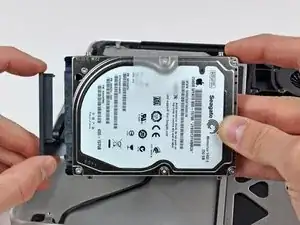
Lift the hard drive by its pull tab and pull it out of the chassis, minding the cable attaching it to the computer.
-
-
-
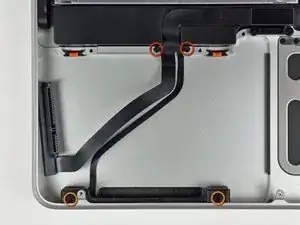
Remove the following four screws securing the hard drive and IR sensor cable to the upper case:
-
Two 1.5 mm Phillips screws.
-
Two 4 mm Phillips screws.
-
-
-
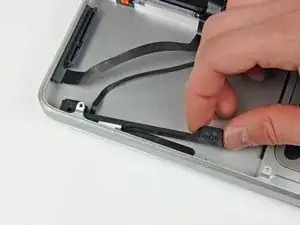
Slide the hard drive and IR sensor bracket away from the edge of the upper case.
-
Carefully peel the hard drive and IR sensor cable from the upper case.
-
-
-
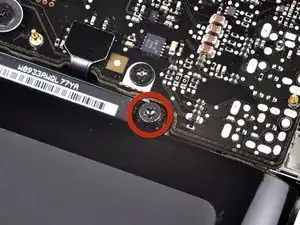
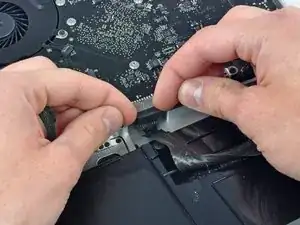
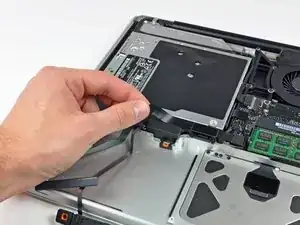
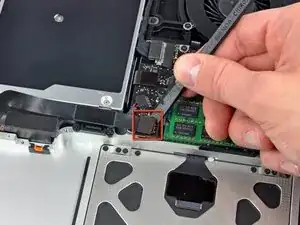
Use the flat end of a spudger to pry the hard drive cable connector up off the logic board.
-
Lift the hard drive and IR sensor assembly out of the upper case.
-
-
-
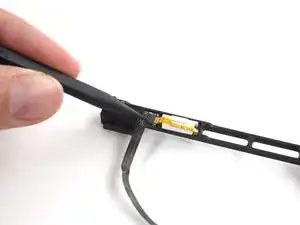
Use the tip of a spudger to flip the ZIF connector on the hard drive cable.
-
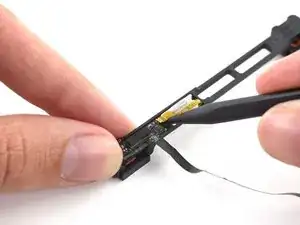
Gently pull the sensor bracket cable out of the ZIF connector.
-
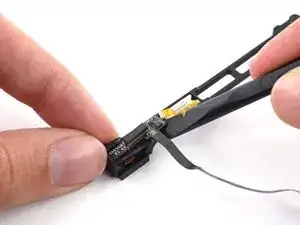
Use the flat end of a spudger to pry the hard drive cable up off the sensor bracket.
-
To reassemble your device, follow these instructions in reverse order.