Introduction
This guide will show you how to remove* the hard drive from your MacBook Pro.
*Note that opening up your MacBook Pro will void any Apple warranty.
-
-
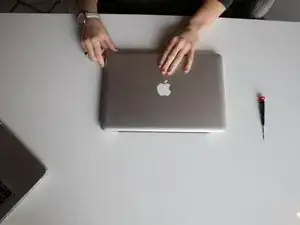
Turn the Macbook Pro off and unplug all power sources. There is a possibility of danger if the Macbook Pro has power when the hard drive is removed.
-
Flip the Macbook Pro over so the Apple logo is on the table and the black laptop hinge is furthest from you.
-
-
-
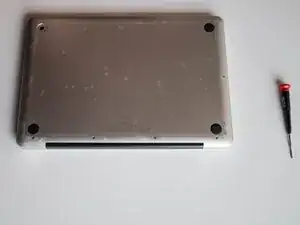
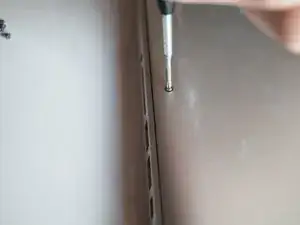
Unscrew ten screws using a Phillips #000 screwdriver. Push screwdriver into screw and then turn, keeping firm pressure on the screwdriver, to avoid stripping the screw.
-
After unscrewing a screw, place it next to the hole it was taken from. When it is time to replace the screws this will avoid any confusion, as there are several longer screws.
-
-
-
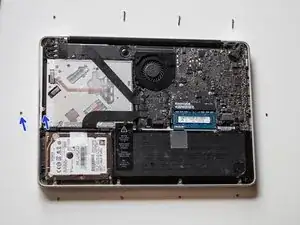
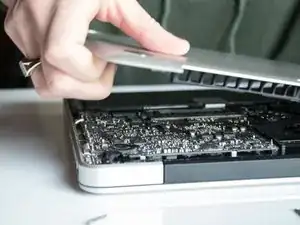
Lift back cover off of your MacBook Pro and set aside. It might make a loud sound and that is okay.
-
-
-
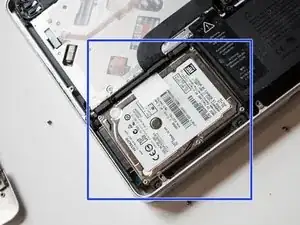
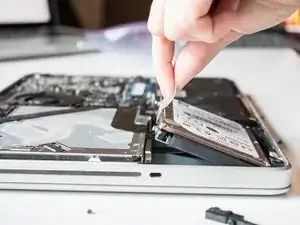
Locate the hard drive. With the hinge facing away from you, the hard drive can be found in the bottom left corner closest to you. It is rectangular and silver.
-
-
-
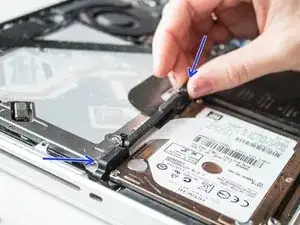
Locate the black bar holding the hard drive in place. This bar is on the top of the hard drive.
-
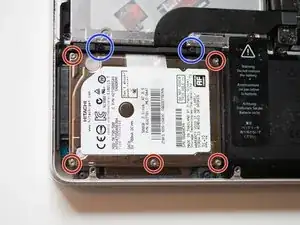
Loosen the two black screws on the black bar using the screwdriver. Make sure to not unscrew the silver screws.
-
Pull the black bar off of the hard drive. Set it aside.
-
-
-
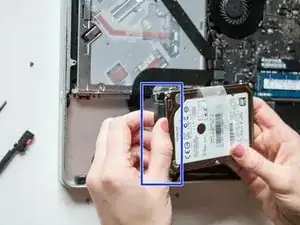
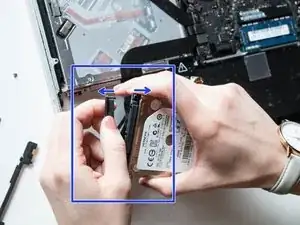
Carefully pull the black bar attached to side of hard drive off. This black bar will still be attached to the computer.
-

To install a new hard drive into this computer, follow these instructions in reverse order. Begin by unscrewing the mounting screws from the old hard drive and screwing them into the new hard drive.
If you plan to use the current hard drive as an external hard drive, leave the mounting screws in place. Purchase a hard drive enclosure to keep the hard drive in.
10 comments
Great documentation, photography was very good.
wonderful, thank you very much.
Will a T6 screwdriver work to remove the screws holding the back and hard drive?
Iris R -