Introduction
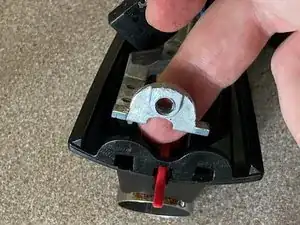
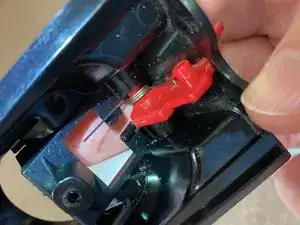
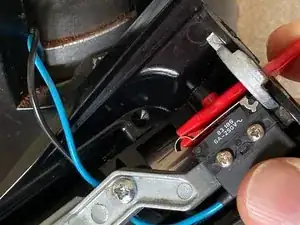
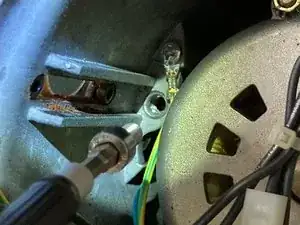
This guides shows the process to replace a broken trigger spring on a Macap M2M or M2D coffee grinder. The original spring design on these grinders was not robust – however, replacing it with this coiled spring should keep your Macap going for years. This repair does not need any specialist tools and, while fiddly in parts, is generally straightforward. The replacement spring itself (Part Number 248021) is available from a number of online retailers that sell Macap coffee grinders and parts.
Tools
Parts
-
-
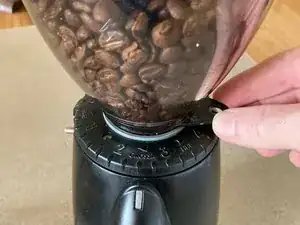
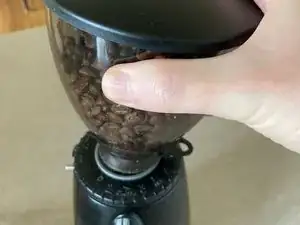
Push in the tab at the base of the beans hopper to close it, then remove the hopper. Remove any beans left behind in the top of the unit.
-
-
-
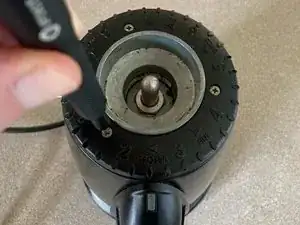
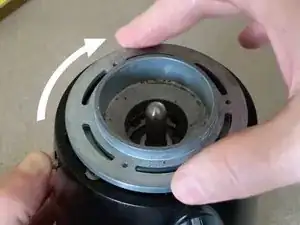
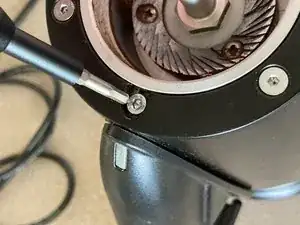
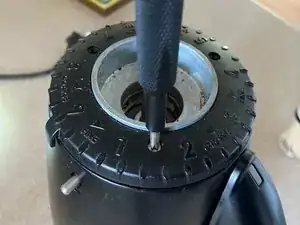
Using a PH1 screwdriver, remove the three (3) screws holding the grind adjustment collar to the top of the unit, then lift off the collar.
-
-
-
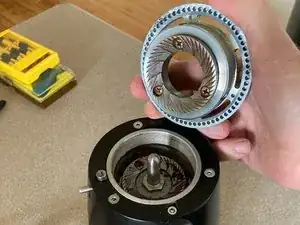
Remove the top grinding blade (burr)by holding down the grind adjustment lock with one thumb while turning the burr clockwise to unscrew it.
-
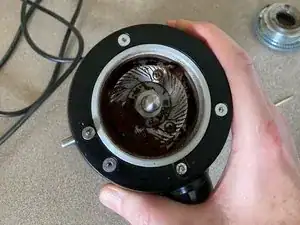
Carefully remove any loose grounds, trying not to get the lubricated thread for the grinding blade too dirty (if you get grounds on the thread, take care when cleaning it, as the lubricant on the thread is necessary to allow the grind adjustment collar to be turned smoothly).
-
It is important to clean loose grounds from the grinding bay, as you will be turning the machine upside-down in the next step.
-
-
-
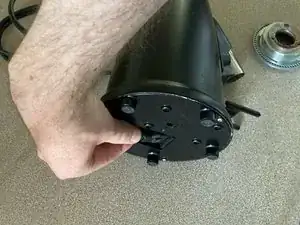
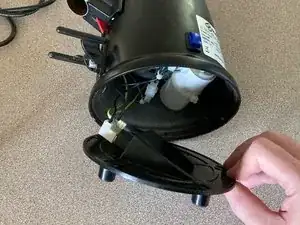
Turn the machine upside-down and remove the power plug.
-
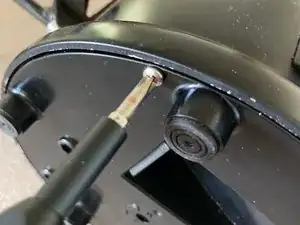
Then use a PH1 screwdriver to remove the 3 screws securing the base to the unit.
-
Carefully open the base to avoid any damage to the internal wiring.
-
-
-
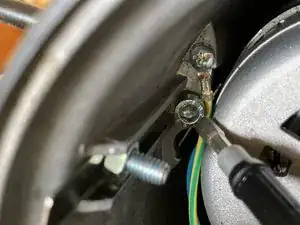
Using a number 5 Allen key / hex driver, remove the internal bolt securing the bottom of the trigger assembly / grounds chute.
-
-
-
Loosely replace the base and turn the machine upright again.
-
Using a number 3 Allen key / hex driver, remove the bolt securing the top of the trigger assembly / grounds chute.
-
Lift the trigger assembly away from the main unit, again taking care not to damage the wiring for the trigger switch. You can rest the trigger assembly on the portafilter rest while working to avoid putting strain on the wiring.
-
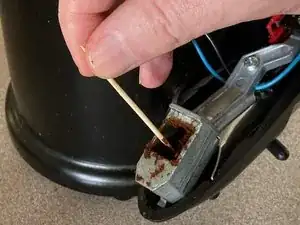
Take this opportunity to clean away any caked grounds from around/inside the chute.
-
-
-
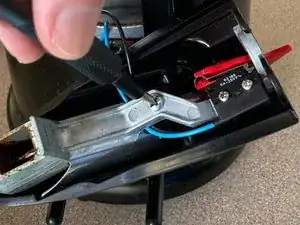
Use a PH1 screwdriver to remove the screw securing the chute bracket to the trigger assembly.
-
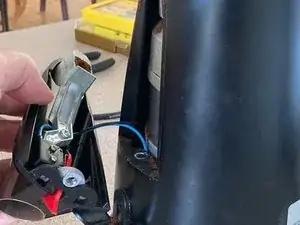
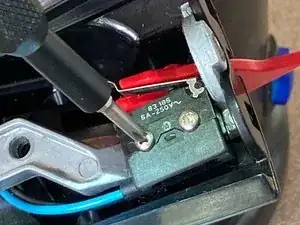
Use a PH0 screwdriver to remove the 2 screws securing the trigger switch to the bracket.
-
-
-
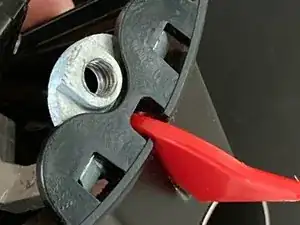
Remove the chute bracket by unclipping the base of the bracket from the trigger assembly (this is easier said than done, as the bracket is very tightly fitted – take care not to break the plastic retaining points when removing the bracket).
-
This is the most difficult step of the replacement but has to be done in order to get to the trigger.
-
I found one side was easier than the other and, having freed that side, I held it in place by pushing a small flat head screwdriver through the retaining point while using another, larger flat head screwdriver to lever back the other retaining point.
-
-
-
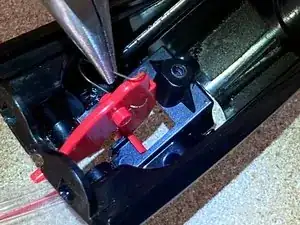
You now have access to the trigger itself, allowing removal of the old, broken spring.
-
Note that the new spring is a more robust, coiled design.
-
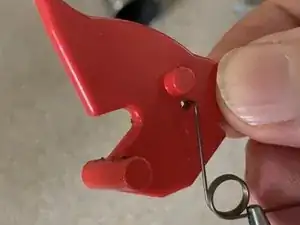
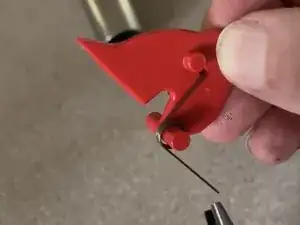
To fit the new spring, remove the trigger from the trigger assembly and fit the hook on the spring through the hole in the trigger, then slide the coil over the T-bar on the base of the trigger.
-
The long, straight wire leading from the coil should be extending away from the trigger.
-
-
-
Replace the trigger in the trigger assembly, making sure the straight end of the spring rests securely behind the raised plastic section of the trigger assembly.
-
Replace the chute, chute bracket and trigger switch (reverse of step 7) and test to make sure the trigger is secure, the trigger switch is depressed when the trigger is pushed, and the trigger springs back as expected when released.
-
-
-
Reassemble the machine by following steps 1–6 in reverse.
-
Note 1: depending on the tool you are using, you may have to remove the portafilter rest in order to replace the internal hex bolt securing the base of the trigger assembly. This can be done from the front of the unit by using the same number 5 Allen key / hex driver.
-
Note 2: when replacing the grind adjustment collar, make sure it is positioned correctly for grind adjustment. The easiest way to do this is to turn the blade anti-clockwise until it stops, then position the collar so the lowest numbers are over the trigger assembly / grounds chute at the front of the unit.
-
To reassemble your device, follow steps 1–6 in reverse order. Steps 1–6 can also be used on their own to clean built-up grounds from the machine.
