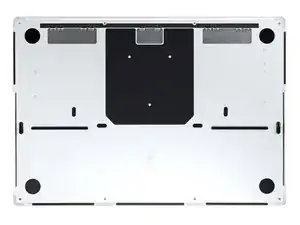
Introduction
Use this guide to replace the lower case in your MacBook Pro 14" 2023.
Tools
-
-
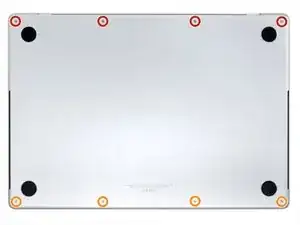
Use a P5 Pentalobe driver to remove eight screws securing the lower case:
-
Four 9.3 mm screws
-
Four 5 mm screws
-
-
-
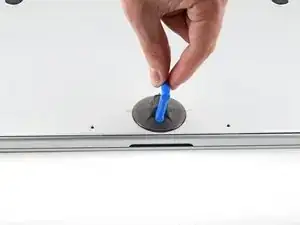
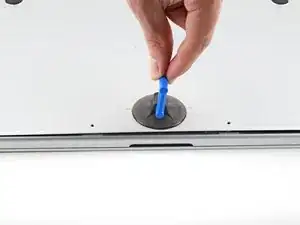
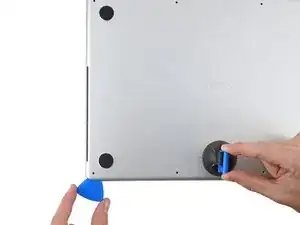
Press a suction handle into place near the front edge of the lower case, between the screw holes.
-
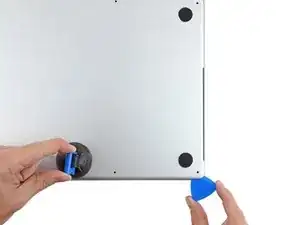
Pull up on the suction handle to create a small gap under the lower case.
-
-
-
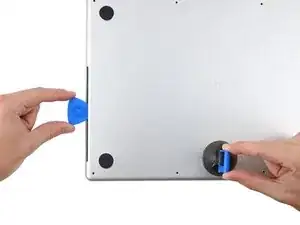
Insert an opening pick into the gap you just created.
-
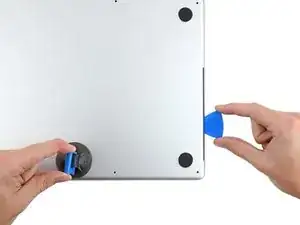
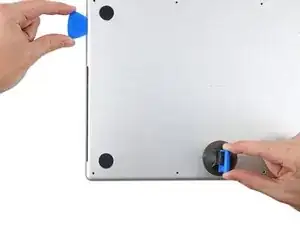
Slide the opening pick around the nearest corner and then halfway up the side of the MacBook Pro.
-
-
-
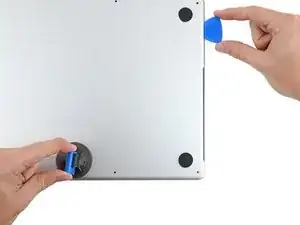
Repeat the previous step on the other side, using an opening pick to to release the second clip.
-
-
-
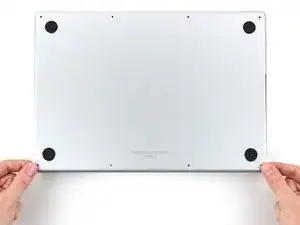
Pull firmly to slide the lower case towards the front edge of the MacBook (away from the hinge area) to separate the last of the clips securing the lower case.
-
Pull first at one corner, then the other.
-
-
-
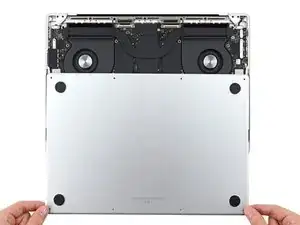
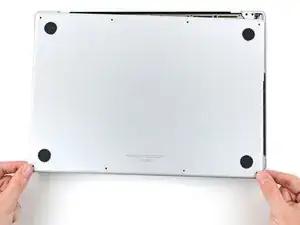
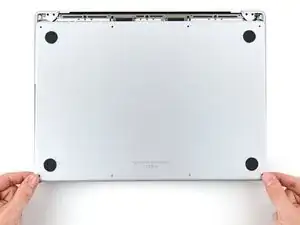
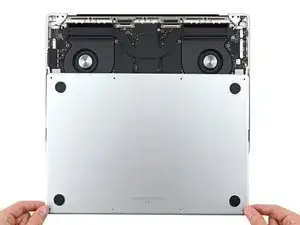
Remove the lower case.
-
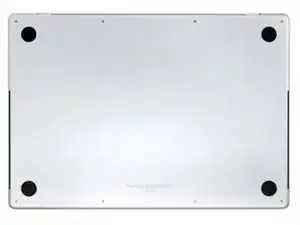
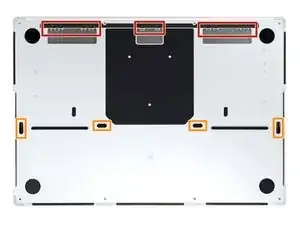
Set it in place and align the sliding clips near the display hinge. Press down and slide the cover toward the hinge. It should stop sliding as the clips engage.
-
When the sliding clips are fully engaged and the lower case looks correctly aligned, press down firmly on the lower case to engage the four hidden clips underneath. You should feel and hear them snap into place.
-
To reassemble your device, follow these instructions in reverse order.
Compare your new replacement part to the original part—you may need to transfer remaining components or remove adhesive backings from the new part before you install it.
Repair didn’t go as planned? Try some basic troubleshooting, or ask our MacBook Pro 14" 2023 Answers community for help.
