Introduction

  1. Y2CKG6MZ2OPyNTtc
    Y2CKG6MZ2OPyNTtc
    mU1LZxMZePlDArk5
    uohDDoUKT6jCwhXc
    • Turn off the computer.

    • Before each operation it is important to start with the removal of the accumulator.

    • Take the slide unlocked into position, remove the battery.

  2. EndPFjQMSFHatWTb
    EndPFjQMSFHatWTb
    avHkwGMSkrapuIQa
    • Using a Philips #1 screwdriver, unscrew the 5 screws securing the cover.

  3. rY4UfLZgN4SZNJaN
    rY4UfLZgN4SZNJaN
    ejyJamnXMOaXqMAU
    vWlPA2PXoAcAonk4
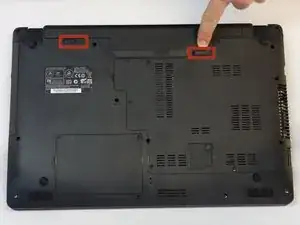
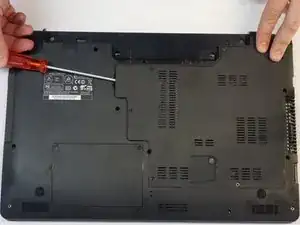
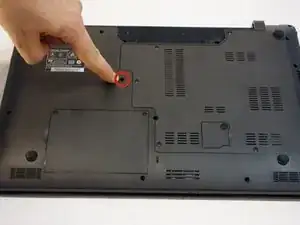
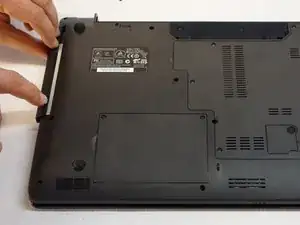
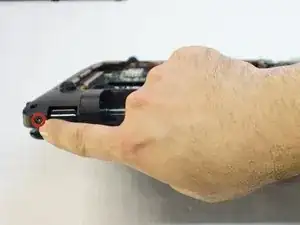
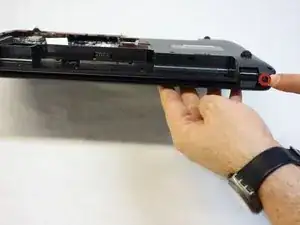
    • Push the screwdriver a few millimeters under the cover so that it can be touched with your fingers.

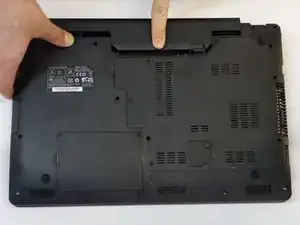
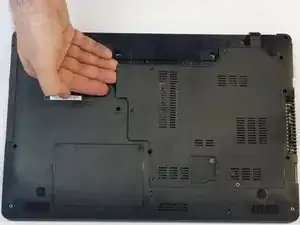
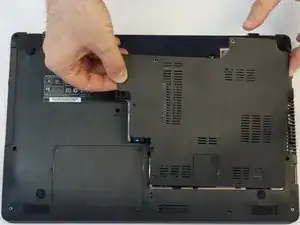
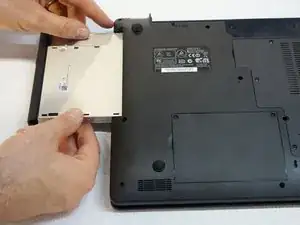
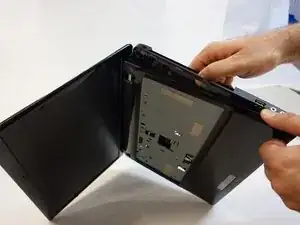
    • Now lift the cover carefully.

    • Attention! Disconnect the ventillator cable so that the cover can be completely removed (see next step).

  4. mKCJ2EDTfJBMpY6P
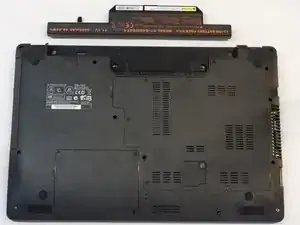
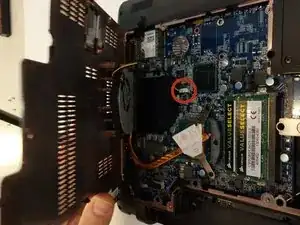
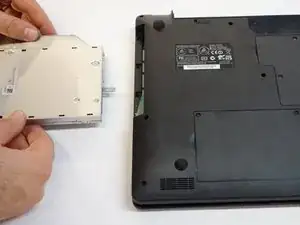
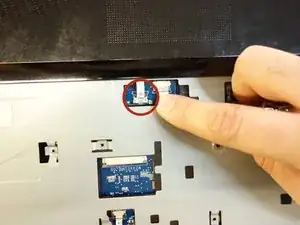
    • Since the ventillator is mounted under the cover, its power supply cable must first be disconnected so that the cover can then be completely removed.

  5. 6CKCcDRYnSL1nJ4r
    6CKCcDRYnSL1nJ4r
    JF3dZLOAE1eO2Gvl
    • Use a Phillips # 1 screwdriver to screw that holds the CD / DVD drive in place.

  6. LMP1POXem2lZYefQ
    LMP1POXem2lZYefQ
    lwG6wNAZZ1wxnlZI
    eiNvLyCJWrH6LW6i
    • Pull the CD / DVD drive carefully out

  7. lX6JdWKsnolioTOK
    lX6JdWKsnolioTOK
    tFMBDNkaIYbExm1q
    CalsOjakZ5EFGTgj
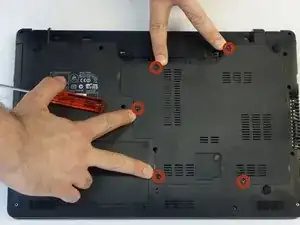
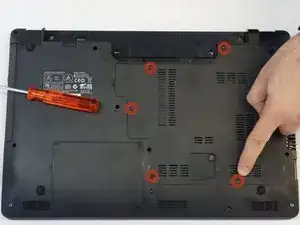
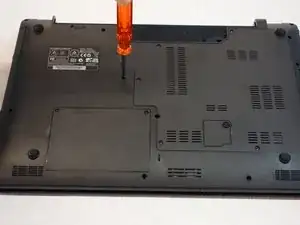
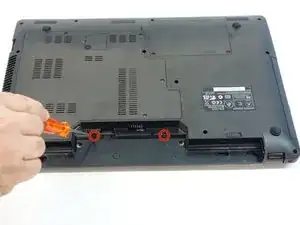
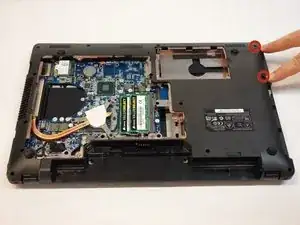
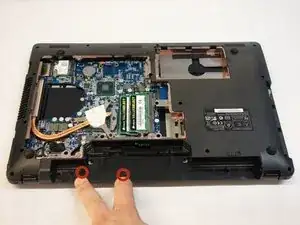
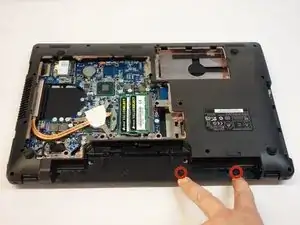
    • Use a Phillips # 1 screwdriver to remove the two screws located in the slot of the accumulator.

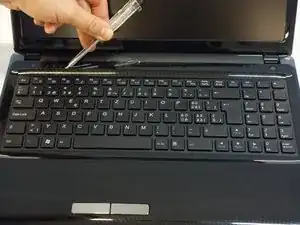
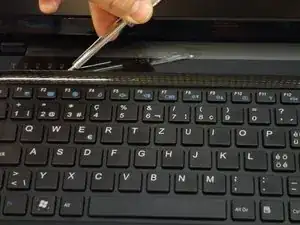
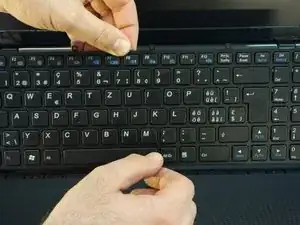
    • Insert a standard screwdriver into the slot in the cover above the keyboard.

    • Lift the cover with the usual care.

  8. UxRvTtofaDMKq6l4
    UxRvTtofaDMKq6l4
    6Wd56oxWWedpeJFW
    DIDbwnWcvIjfqG4M
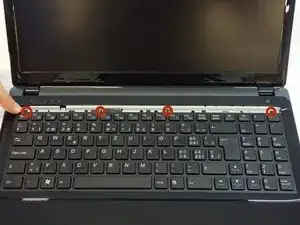
    • Use a Phillips # 1 screwdriver to remove the four screws securing the keyboard in the upper part.

  9. eY3qGPWKUbnSXJoV
    eY3qGPWKUbnSXJoV
    gODjLVqPrVhg4P14
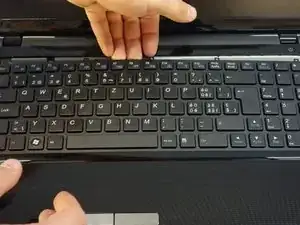
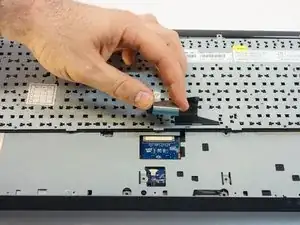
    • Turn the keyboard towards the screen.

    • Carefully remove the connection cable in the direction of the plug axis.

  10. P5hAL4f1ZfmERHTT
    P5hAL4f1ZfmERHTT
    T2eZEZeFZMmvqYIx
    • Remove plug A.

    • Remove plug B.

  11. MaYP2pYypxiAKwaP
    MaYP2pYypxiAKwaP
    aeUy6ZgFWD4tcqk2
    NLQrmbFy2kLLlNbm
    • Using the Phillips # 1 screwdriver, remove all 16 screws securing the entire cover.

  12. ZrTImrdVNbIONhJR
    ZrTImrdVNbIONhJR
    HCFSoLAaOwmJa5ww
    3QbXCgTakqaLwO5x
    • Using the Phillips # 1 screwdriver, remove all 16 screws securing the entire cover.

  13. pk6J56MeB1RnAub6
    pk6J56MeB1RnAub6
    G45PwLdvKtJvEgGF
    ucIrcH4XlovC6ux3
    • Using the Phillips # 1 screwdriver, remove all 16 screws securing the entire cover.

  14. qxd6IY21OvWawSSL
    qxd6IY21OvWawSSL
    4TrTacYaSBRcFRnJ
    CDFCfHNYQjISaBDW
    • Using the Phillips # 1 screwdriver, remove all 16 screws securing the entire cover.

  15. c4RkHZFcJZPWgB44
    c4RkHZFcJZPWgB44
    XtHEAFcICHcubLvm
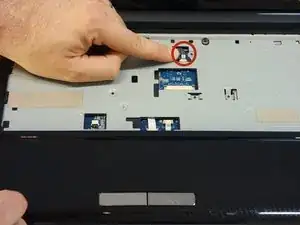
    • With the Phillips # 1 screwdriver, remove the other screw located on the back.

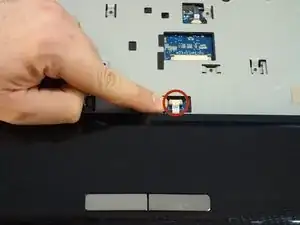
    • Remove the plug of the touchpad.

  16. BijkHGVUdiPoyYJP
    BijkHGVUdiPoyYJP
    GxM2LQR6m5txHqF3
    uEJEgBnSoR6qALPS
    • To remove the frame of the keyboard, start with the upper part on the right. (Visual access to the clips through the opening of the CD / DVD drive), by pushing in a small normal screwdriver or better a small guitar plate.

    • Then continue with the lower part.

  17. SRIEDKXvYDUJaBkD
    SRIEDKXvYDUJaBkD
    WQFTcCy4XexUFWJq
    1uPD3fFJWnAKPfDp
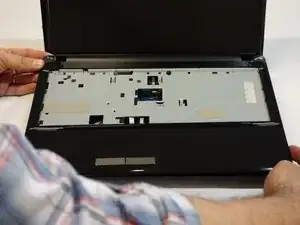
    • Proceed with the removal of the keyboard tab in a clockwise direction.

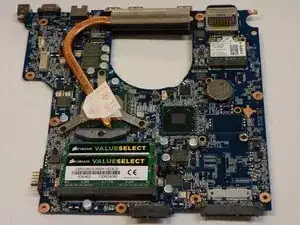
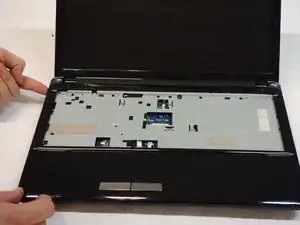
    • Remove the frame of the keyboard and the motherboard will appear.

  18. l5ZdKGh2LF1kmc26
    l5ZdKGh2LF1kmc26
    M1coj4hTC5olQYWA
    • Pull out the main plug.

    • Pull out the small plug in the middle.

  19. kELSXLXxgEUGtNG5
    kELSXLXxgEUGtNG5
    3obVjofBZuGUWO1T
    FnbbVdFdAXo1GmrP
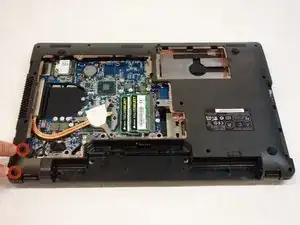
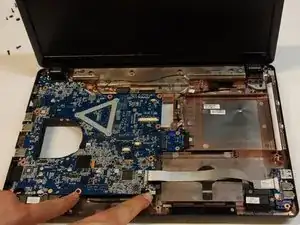
    • Flip the computer over and unplug the connector near the processor (CPU).

    • Remove the other connector located immediately to the right.

    • With the screwdriver Philips # 1, remove the 2 fixing screws of the Wi-Fi chipset.

  20. 6wOsZZFxkhDr1nME
    6wOsZZFxkhDr1nME
    AmiNRipbSWaTy1c1
    qTMXNhMU1KKNSlnF
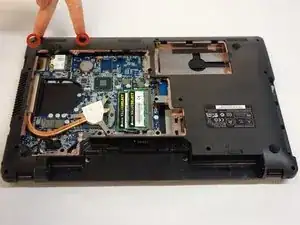
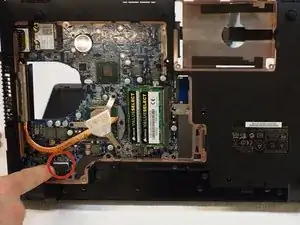
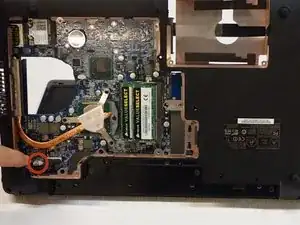
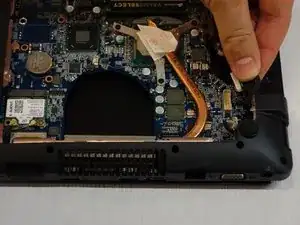
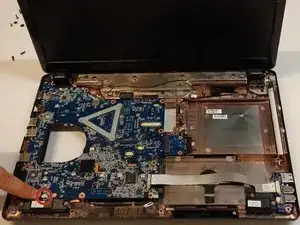
    • Pull out the rear plug.

    • Unplug the small plug that lies immediately next to the first plug.

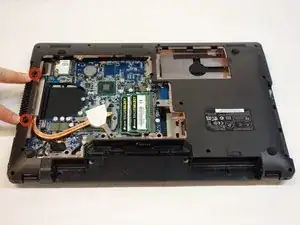
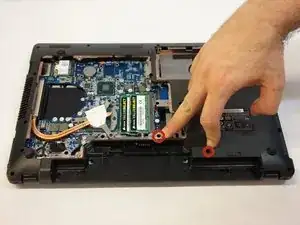
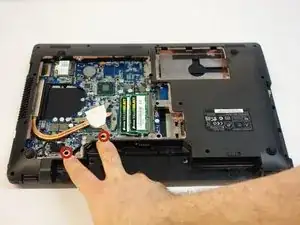
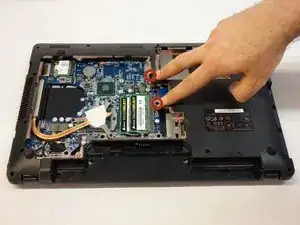
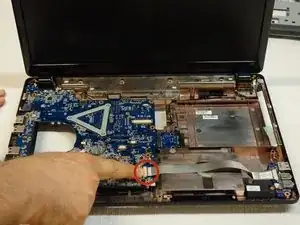
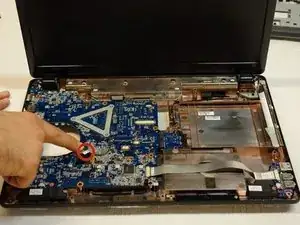
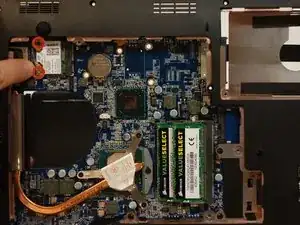
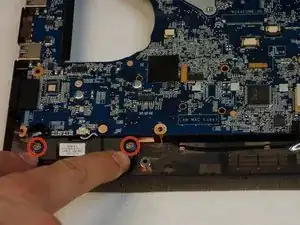
    • With the Philips # 1 screwdriver, remove the red-edged screws.

  21. XxVWmoAsO5e1treS
    XxVWmoAsO5e1treS
    V3qJQcIcf3fEsuWW
    AxyGjhcuTYODHaSO
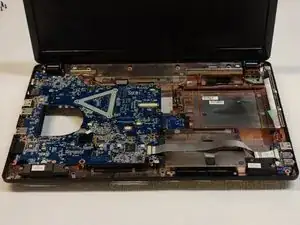
    • Using the Philips # 1 screwdriver, remove the 10 main board mounting screws.

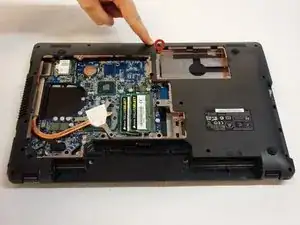
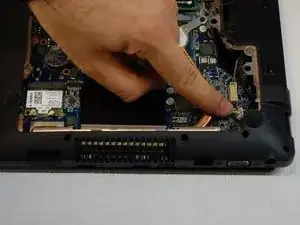
    • Unplug the small plug which lies in front.

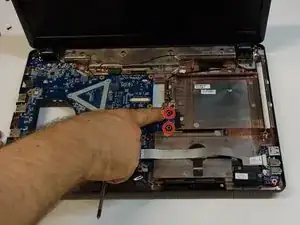
    • With the screwdriver Philips # 1, remove the 2 screws which are transversally marked and marked with blue circles.

    • Take out the motherboard.

Conclusion

For reassembly, follow the instructions in reverse order.

Felice Suglia

Member since: 15/06/13

29001 Reputation

0 comments