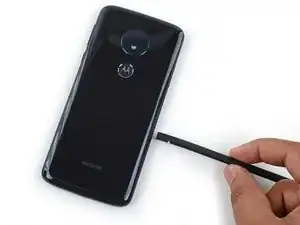
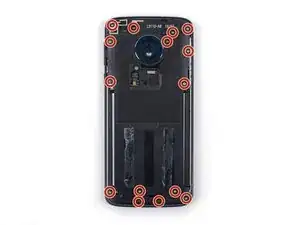
Introduction
Use this guide to replace a dead or low battery in your Moto G6 Play.
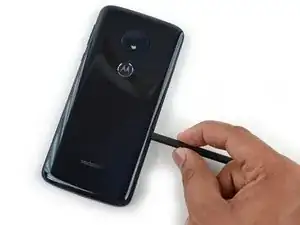
If your battery is swollen, take appropriate precautions.
-
-
If possible, drain the battery before disassembly. When the battery is charged, there's an increased risk of a dangerous thermal event if the battery is overheated or damaged during repairs.
-
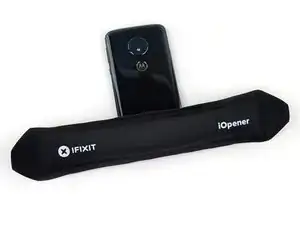
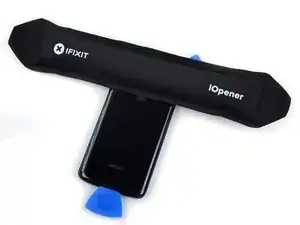
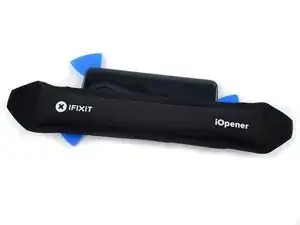
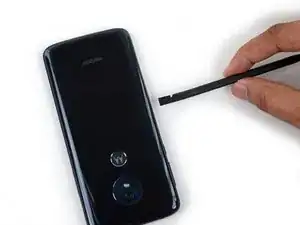
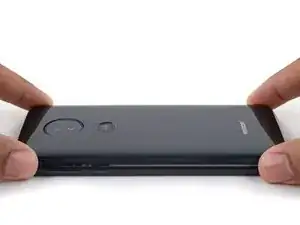
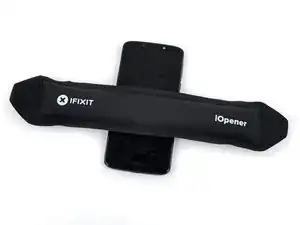
Prepare an iOpener and heat the back of the phone along its bottom edge for about two minutes, or until it's slightly too hot to touch. This will help soften the adhesive securing the rear glass.
-
-
-
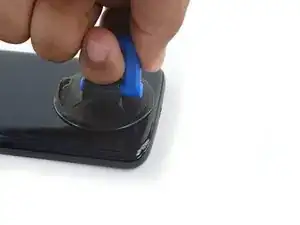
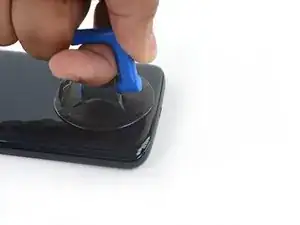
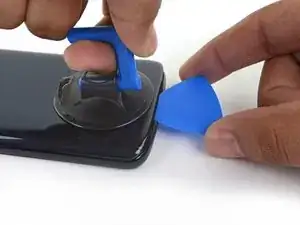
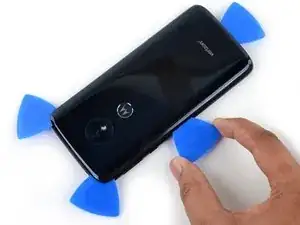
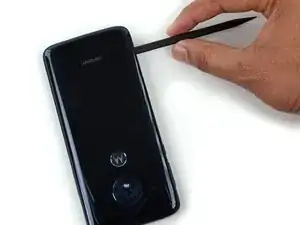
Apply a suction cup to the bottom edge of the rear glass.
-
Pull up on the suction cup with firm, constant pressure to create a slight gap between the rear glass and the frame.
-
If you have trouble, apply more heat to further soften the adhesive, and try again. The adhesive cools quickly, so you may need to heat it repeatedly.
-
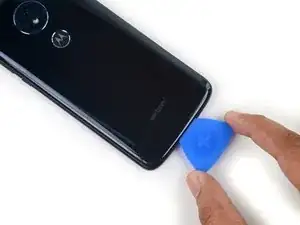
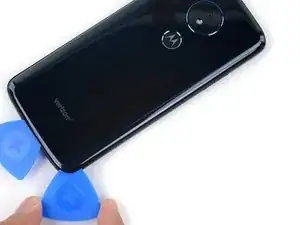
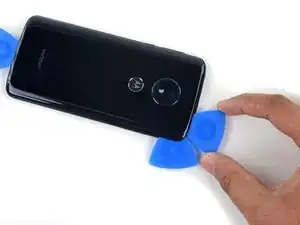
Insert an opening pick into the gap you created under the rear glass.
-
-
-
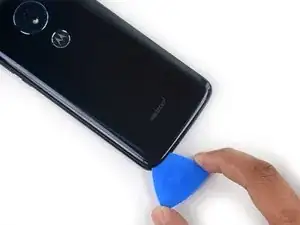
Slide the pick all along the bottom edge of the phone to slice through the adhesive securing the rear glass.
-
-
-
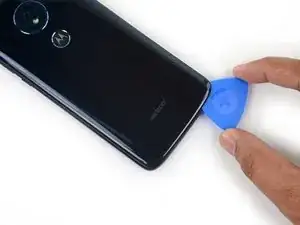
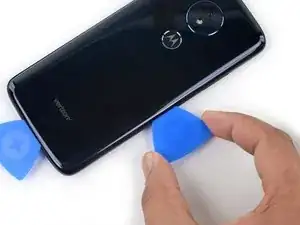
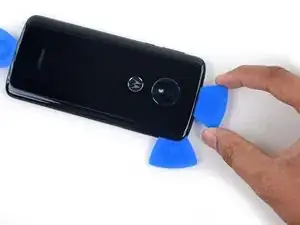
Slide the pick along the right edge of the rear glass to separate the adhesive underneath.
-
Leave the pick under the top right corner of the glass to prevent the adhesive from re-adhering. Continue with a new pick.
-
-
-
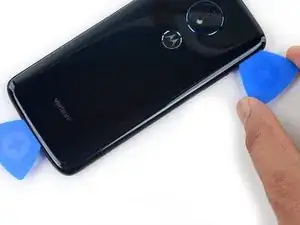
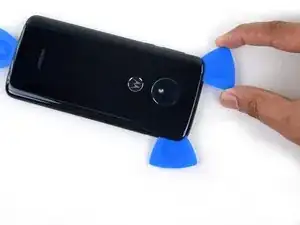
Slide the pick all along the top edge of the phone to slice through the adhesive securing the rear glass.
-
Leave the pick under the top left corner of the glass to prevent the adhesive from re-adhering. Continue with a new pick.
-
-
-
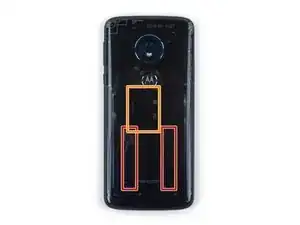
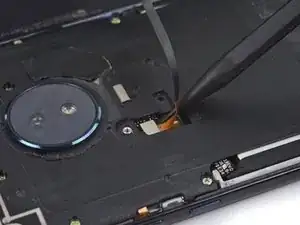
There are two strips of adhesive on either side of the lower half of the phone that must be separated to remove the rear glass panel.
-
You will need to release these adhesive strips without damaging the fingerprint sensor cable located in the center of the phone.
-
-
-
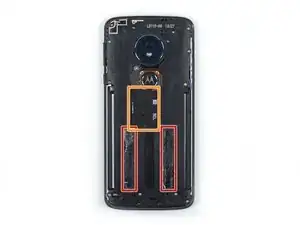
Insert the flat end of a spudger into the lower half of the right side of the phone about 2 cm and slide it down the right edge to release the right strip of adhesive.
-
-
-
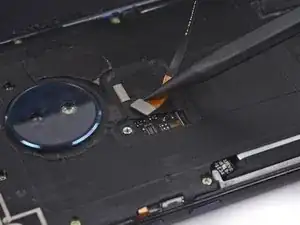
Insert a spudger into the lower half of the left side of the phone about 2 cm and slide it down the left edge to release the left strip of adhesive.
-
-
-
If the glass remains stuck, re-heat and slice any remaining adhesive repeatedly as needed.
-
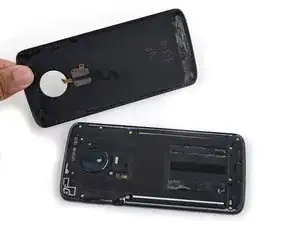
Lift the rear glass carefully, making sure it's fully separated from any adhesive.
-
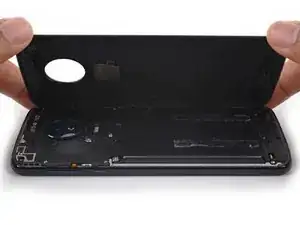
Open the rear glass.
-
-
-
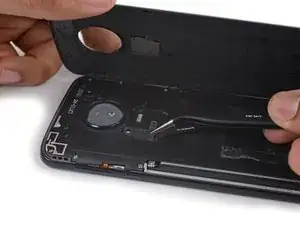
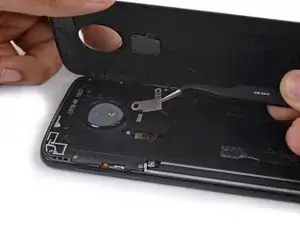
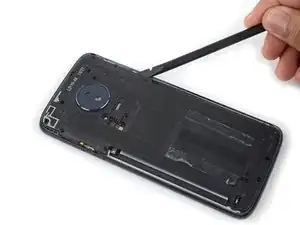
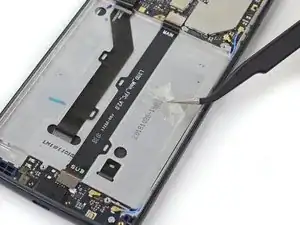
Use a Phillips screwdriver to remove the two screws securing the fingerprint sensor cable retention bracket:
-
One silver 1.5 mm screw
-
One gold 3.5 mm screw
-
-
-
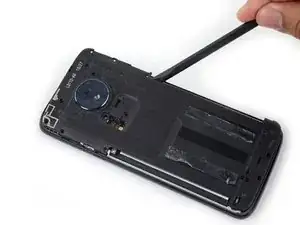
Use a Phillips screwdriver to remove the fifteen gold 3.5 mm screws securing the plastic midframe.
-
-
-
Insert a spudger into the notch on the upper right edge of the midframe.
-
Pry the midframe up to release the clips securing it to the device's aluminum frame.
-
Remove the plastic midframe.
-
-
-
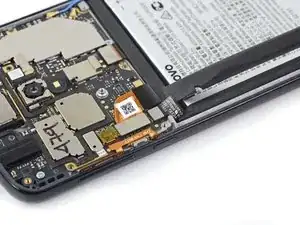
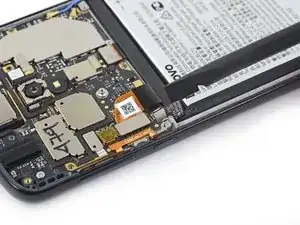
Prepare an iOpener and apply it to the middle of the screen, directly behind the battery, for at least two minutes, in order to soften the battery adhesive underneath. Reheat and reapply the iOpener as needed.
-
-
-
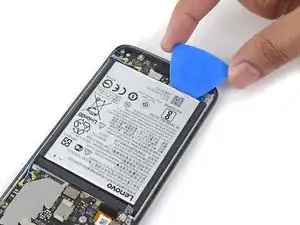
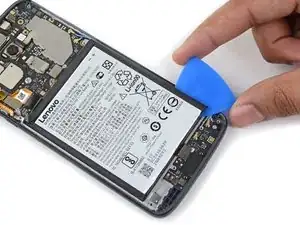
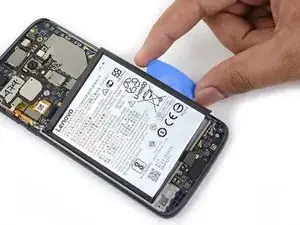
Carefully insert an opening pick under the bottom of the battery.
-
Gradually push the pick further under the battery to pry up the bottom edge.
-
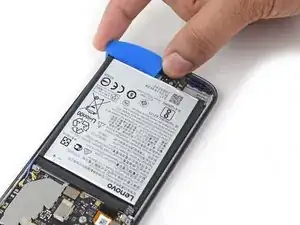
Slide the pick all along the bottom edge to release the bottom of the battery.
-
-
-
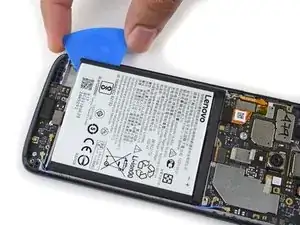
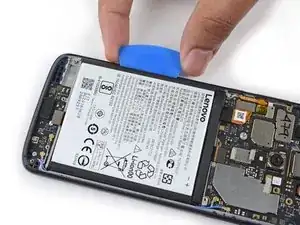
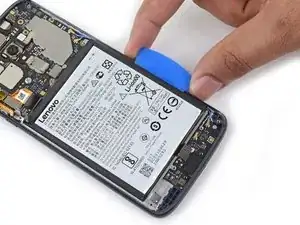
Move the pick to the bottom left corner of the battery and begin prying the left edge.
-
Slide the pick all along the left edge to release the adhesive strip under the left side of the battery.
-
-
-
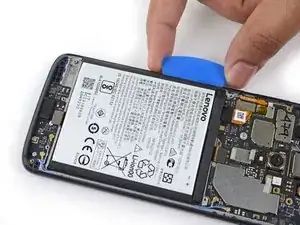
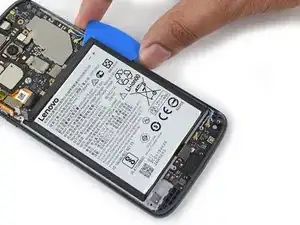
Move the pick to the bottom right corner of the battery and begin prying the right edge.
-
Slide the pick all along the right edge to release the adhesive strip under the right side of the battery.
-


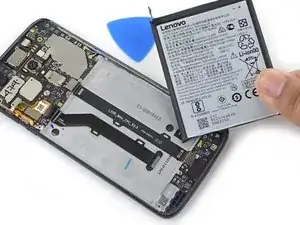
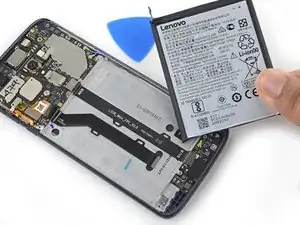
Compare your new replacement part to the original part—you may need to transfer remaining components or remove adhesive backings from the new part before installing.
To reassemble your device, follow the above steps in reverse order.
For optimal performance, after completing this guide, calibrate your newly installed battery.
Take your e-waste to an R2 or e-Stewards certified recycler.
Repair didn’t go as planned? Try some basic troubleshooting, or ask our Moto G6 Play Answers Community for help.

2 comments
Excellent guide. I did ultimately need to start from the side, but all the photos and caveats are exactly right.
mttwlk -
This guide was so helpful and well-written! I also started opening the back glass from the side as other commenters have mentioned. I found the diagrams about where the adhesive strips are especially valuable. When you are removing the battery, be a bit careful not to pry it out and therefore push on the screen. This repair worked great for me but I was a little impatient removing the battery itself and now have a few small glowing spots/damaged pixels on the side of my screen where I was prying up a corner of the battery. Small price to pay for a new battery!
Laura -