
Introduction
Use this guide to replace the charging board in your Motorola Moto E4 (XT1762).
-
-
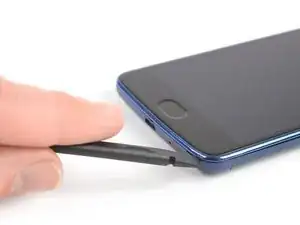
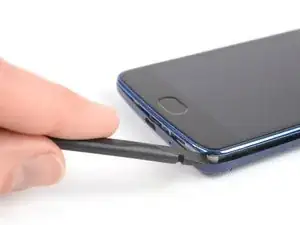
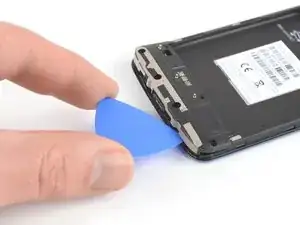
Insert a fingernail, or spudger, into the notch on the bottom right corner to start separating the phone unit from the back cover.
-
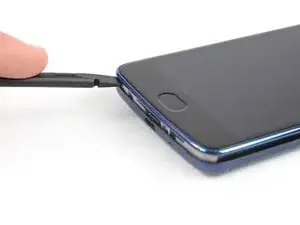
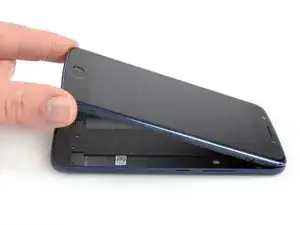
Move to the bottom left corner to pry the phone out of the back cover.
-
-
-
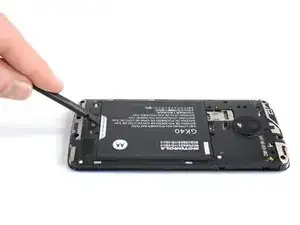
Use a fingernail or spudger to pry at the notch at the bottom end of the battery.
-
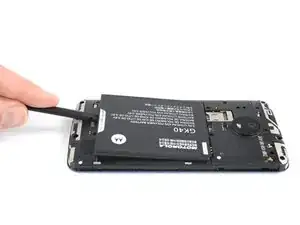
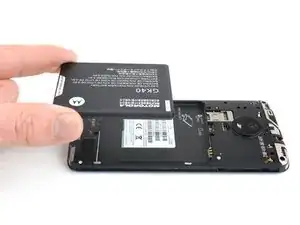
Lever the battery out of its recess and remove it.
-
-
-
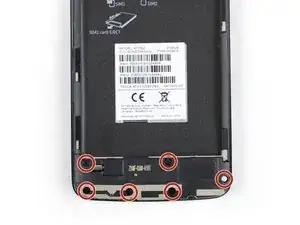
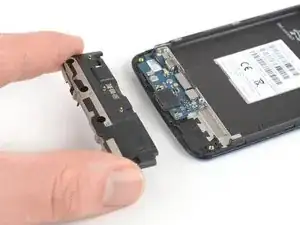
Insert an opening pick between the loudspeaker and the frame to pry it up by twisting the opening pick.
-
Remove the loudspeaker unit.
-
-
-
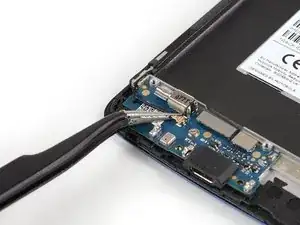
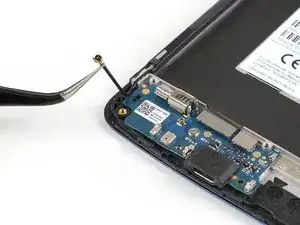
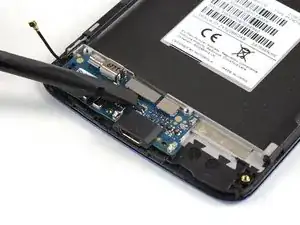
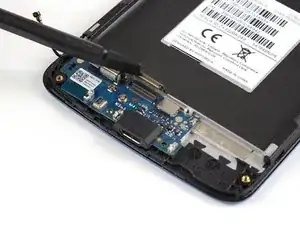
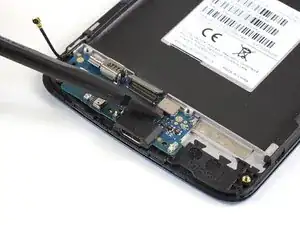
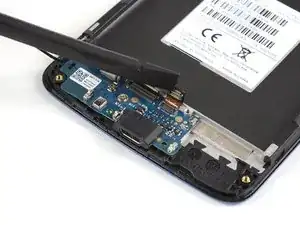
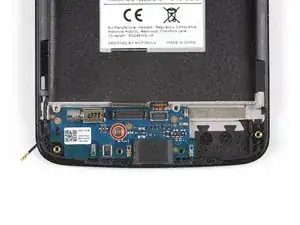
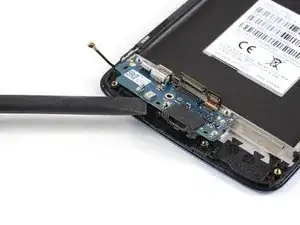
Pry under the bottom end of the charging board and lift it upwards.
-
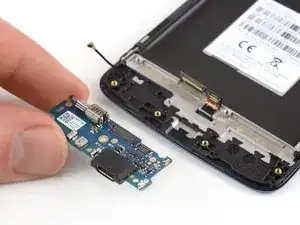
Remove the charging board.
-

Before reassembly check your new part for any components that might need to be transferred from the old one (e.g. microphone rubber gasket).
To reassemble your device, follow these instructions in reverse order.
Take your e-waste to an R2 or e-Stewards certified recycler.
Repair didn’t go as planned? Check out our Answers community for troubleshooting help.

I hve a question not a comment. I would like to know if this battery model will work in my moto E 4 Model # XT1775. Thank you.
Gamaliel Gooding -
This models battery is compatible with the Moto G4 Play, E4, and E5 Play:
Motorola Moto G4 Play, E4, and E5 Play Battery - Genuine
You’re probably looking for the Moto E4 Plus (XT1775) battery:
Moto E4 Plus Battery - Genuine
Tobias Isakeit -
My US XT1768 did not have a notch here. I used my fingernails to pop the back cover off. Also, I followed this guide to successfully repair my US XT1768 in about 2 hrs. I’ve added a few comments below to point out the slight differences I found along the way
Tom Bartol -