Introduction
Use this guide to replace the motherboard assembly of your Motorola Moto E4 (XT1762).
-
-
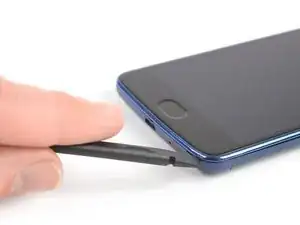
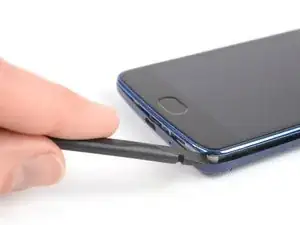
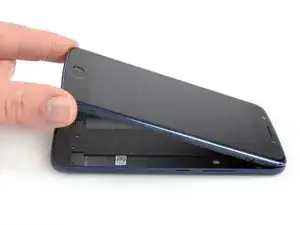
Insert a fingernail, or spudger, into the notch on the bottom right corner to start separating the phone unit from the back cover.
-
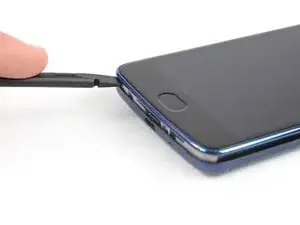
Move to the bottom left corner to pry the phone out of the back cover.
-
-
-
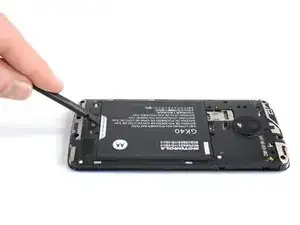
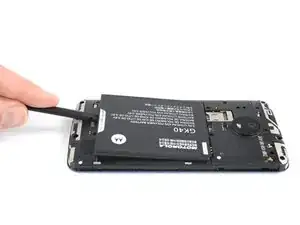
Use a fingernail or spudger to pry at the notch at the bottom end of the battery.
-
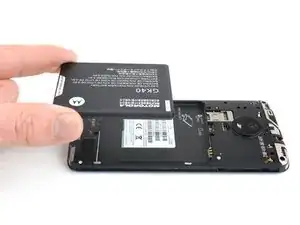
Lever the battery out of its recess and remove it.
-
-
-
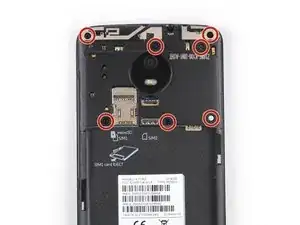
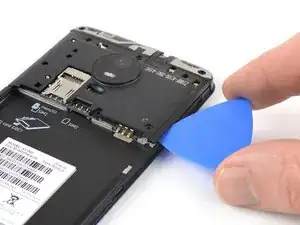
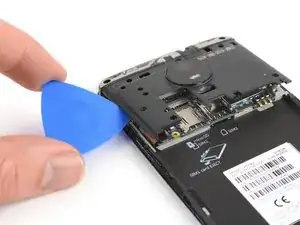
Insert an opening pick between the cover and the motherboard at the bottom right corner.
-
Slide the opening pick upwards to open the plastic clips.
-
-
-
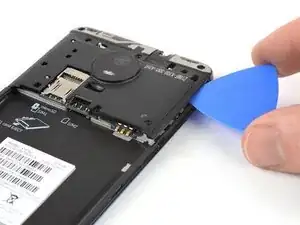
Insert an opening pick between the cover and the motherboard at the bottom left corner.
-
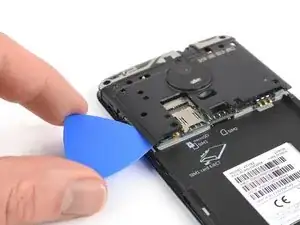
Slide the opening pick upwards to open the plastic clips.
-
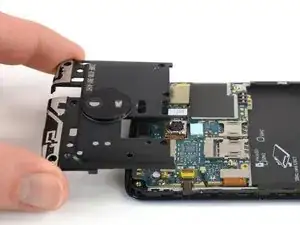
Pry up the motherboard cover by twisting the opening pick.
-
-
-
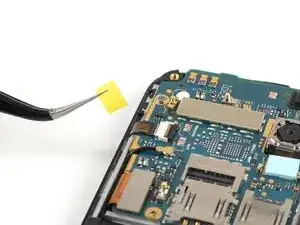
Use a pair of tweezers to peel off the yellow tape of the ZIF connector located on the left of the motherboard.
-
-
-
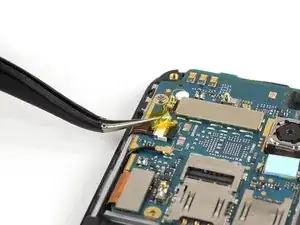
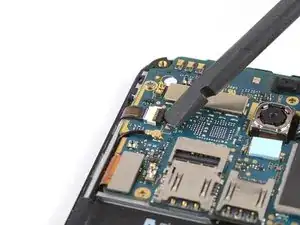
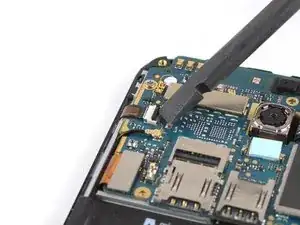
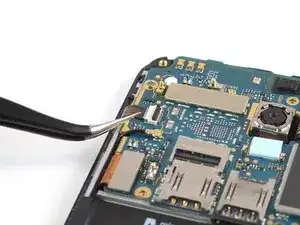
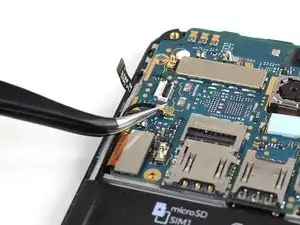
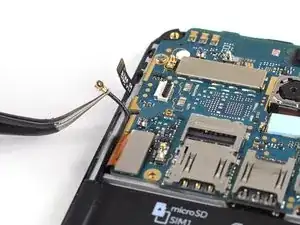
Use a pair of tweezers to pry up and disconnect the antenna cable located on the left of the motherboard.
-
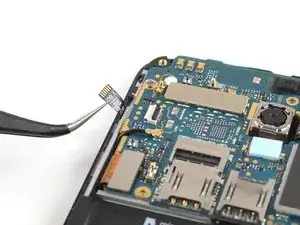
Fold the antenna cable out of the way.
-
-
-
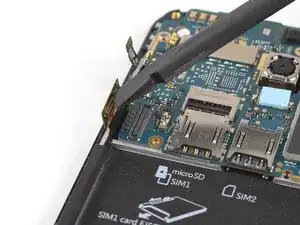
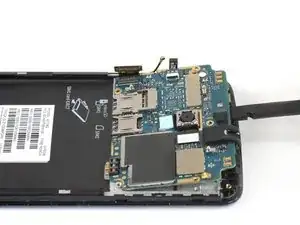
Use the edge of a spudger to pry up and disconnect the display flex cable located on the bottom left of the motherboard.
-
-
-
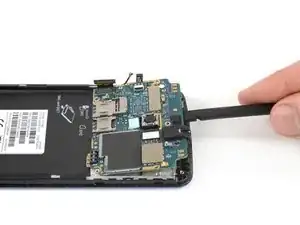
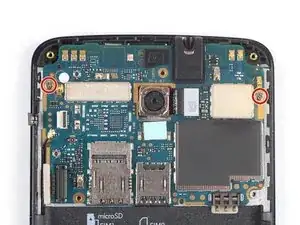
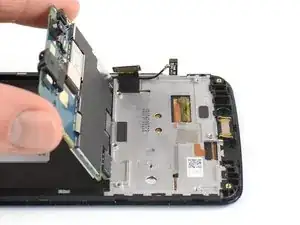
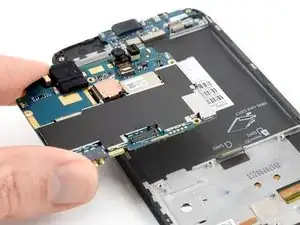
Use a spudger to carefully lift the motherboard from the top and fold it towards the battery compartment.
-
-
-
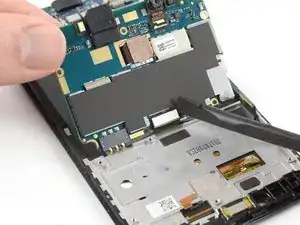
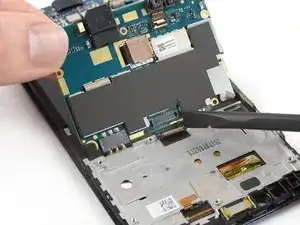
Use the edge of a spudger to disconnect the interconnect cable from the motherboard.
-
Remove the motherboard.
-


To reassemble your device, follow these instructions in reverse order.

I hve a question not a comment. I would like to know if this battery model will work in my moto E 4 Model # XT1775. Thank you.
Gamaliel Gooding -
This models battery is compatible with the Moto G4 Play, E4, and E5 Play:
Motorola Moto G4 Play, E4, and E5 Play Battery - Genuine
You’re probably looking for the Moto E4 Plus (XT1775) battery:
Moto E4 Plus Battery - Genuine
Tobias Isakeit -
My US XT1768 did not have a notch here. I used my fingernails to pop the back cover off. Also, I followed this guide to successfully repair my US XT1768 in about 2 hrs. I’ve added a few comments below to point out the slight differences I found along the way
Tom Bartol -