
Introduction
In this guide, you will learn to replace the rear facing camera in your Moto G, in the event that it malfunctions or breaks. While the part itself if very easy to disconnect from the phone, getting to it requires you to remove the motherboard, which may take a while. Luckily, all you will need to complete this repair is a Torx T5 screwdriver and a plastic opening tool.
-
-
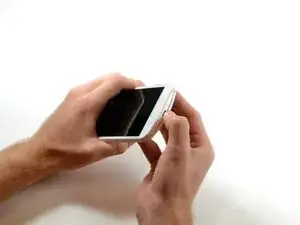
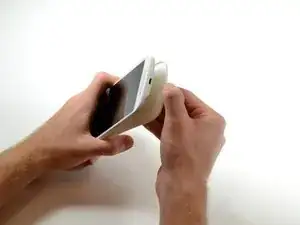
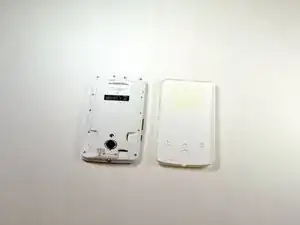
Starting at the USB port on the bottom, remove the rear cover by prying it off with your finger.
-
Work your way down the sides to avoid cracking the rear cover.
-
-
-
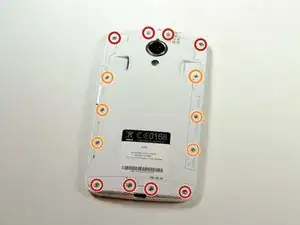
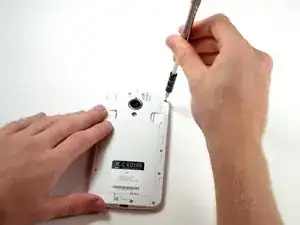
Remove the eight 4.2 mm screws at the top and bottom of the phone using a T5 Torx screwdriver.
-
Using the same screwdriver, remove the six 3.2 mm screws on the sides.
-
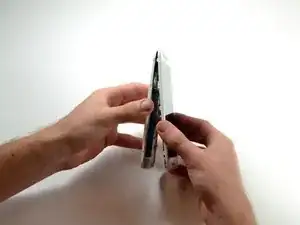
Remove the next layer of the phone by prying it off with your fingers.
-
-
-
Using a plastic opening tool or tweezers, disconnect the SIM/SD card reader at the top of the phone.
-
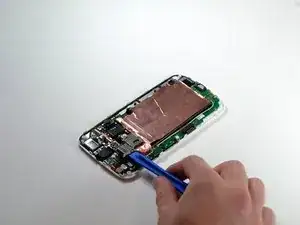
Disconnect the battery connector by prying it off of the motherboard.
-
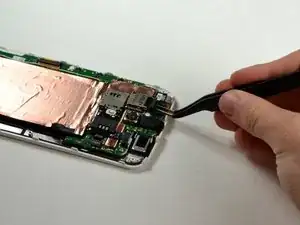
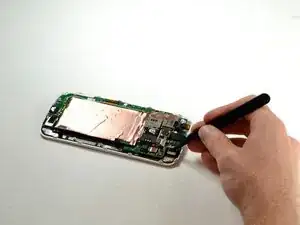
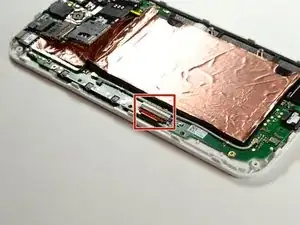
Disconnect the vibration motor by prying its connector off of the motherboard.
-
-
-
Peel off the two black stickers on the right side of the battery using your fingers.
-
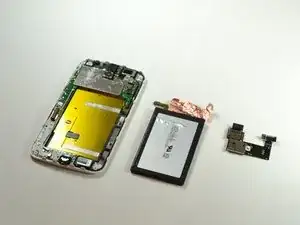
Remove the battery by pulling the right side of it upwards.
-
-
-
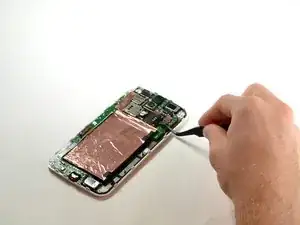
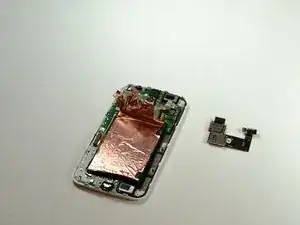
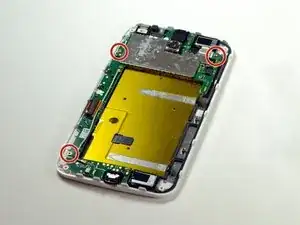
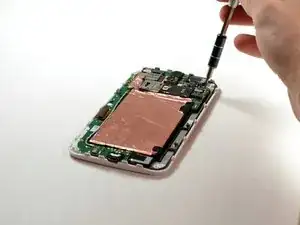
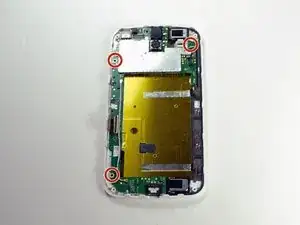
Using a T5 Torx screwdriver, unscrew the three 2.2 mm screws holding the motherboard in place.
-
-
-
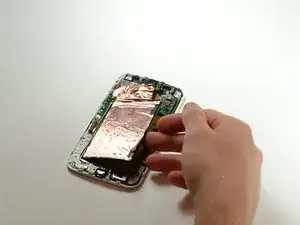
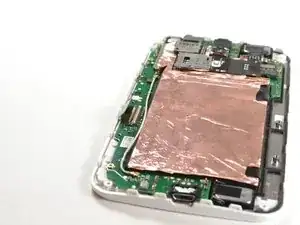
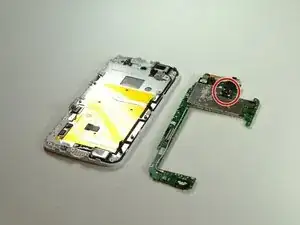
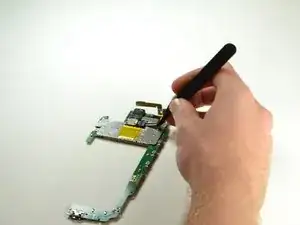
Flip over the motherboard.
-
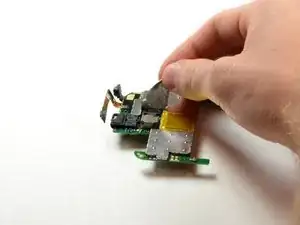
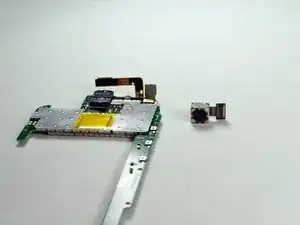
Remove the tape that is covering the rear camera using your fingers.
-


To reassemble your device, follow these instructions in reverse order.
Important - remove SIM cards before opening the phone.
Wojciech Dyba -