Introduction
This guide will show you how to remove the LCD touchscreen from your Moto G 3rd Generation. Follow these step for access into the phone's interior as well as for replacing the touchscreen. This guide requires the use of a heat gun or an iOpener.
-
-
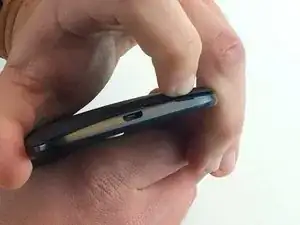
Use your fingernail to pry under the notch on the bottom of the phone and remove the back cover.
-
-
-
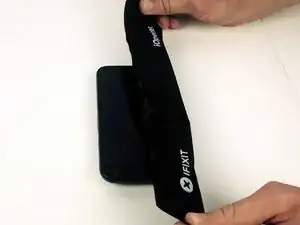
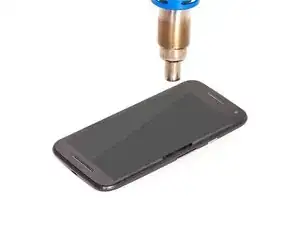
Evenly apply heat to the edges of the touchscreen to loosen the adhesive. Continue to Step 3 once the edge of the screen is warm to the touch.
-
-
-
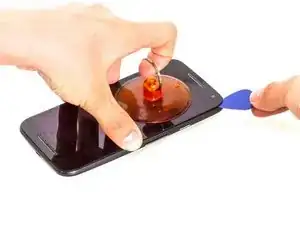
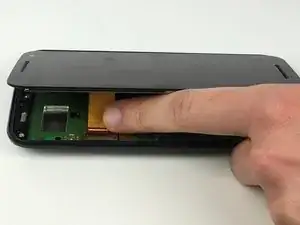
As the adhesive loosens, pry up an edge of the screen with a plastic opening tool or an opening pick. A suction cup may also be useful here.
-
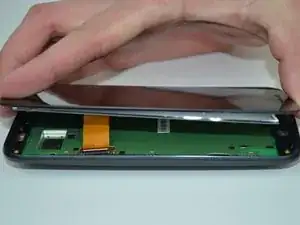
Use an opening pick to hold that edge in place and continue this process around the entire screen, applying more heat as necessary.
-
-
-
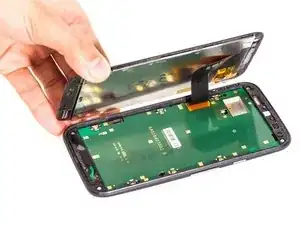
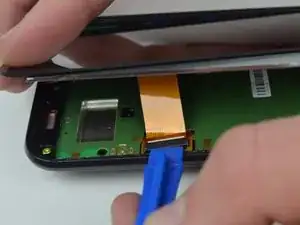
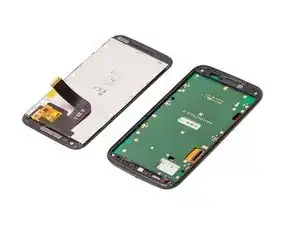
Use a plastic opening tool to flip up the lock on the display cable ZIF connector.
-
Pull the display cable from its socket on the motherboard.
-

To reassemble your device, follow these instructions in reverse order.

20 comments
If your original screen has any adhesive tape on it's back (near to where the flat cable connects to the board), remove it from the original and put on the replacement piece, i've spent a lot of hours trying to undestand why my replacement screen worked fine out of the phone, but had some problems after puting it on the phone. After a lot of time i noticed this tape and did what i said, and the problem stoped, aparently is some kind short circuit betwen board and the screen aluminum back. Sorry bad english.
Could you explain where the addhesive was a little bit more? I have my screen falling off from that corner and I've tried adding more addhesive but still... Wondering if the replacement is faulty.. I don't have the original anymore
rpalesh -
Thank you soooooo much! I just had the same problem! many thanks for posting und best wishes. You are a great human being!
I had the same problem, now i ordered better adhesive. where is this tape? Do you have a picture?
In my case it was a yellow stripe unter the ZIF connector that prevents the socket from connecting with the back of the screen.
I created an account just to thank you! Nice find! This problem was driving me nuts!
I tested the display before assembly and everything worked fine. I applied the glue and put it together and suddenly the screen had problems! You saved me from going insane!
Leonardo, thanks for the insight. I just replaced my battery and upon putting the screen back in place the screen stops working. There is no problem with the adhesive. And I don’t see how the aluminum back of the screen would cause a short with the board because it has contacts touching the board in many places. Any more thoughts as to where this short could be happening?
Gage -
only half of the screen is operative after replacement! I don't know what is wrong;
I already tried, removing adhesive and cleaning contacts and other parts.
Need help guys :(
If you're certain that the connecter is seated properly then it could be that the replacement display is faulty.
Hi and thanks for the advice. I am going to order a replacement screen and install as instructed. However, I am confused about which screen i should order as there seem to be numerous options for the Motorola G 3rd Gen (XT1541 XT1542 XT1543 XT1544...). There is no indication on the phone or original screen as to which I should order. Any advice would be much appreciated
Zander -
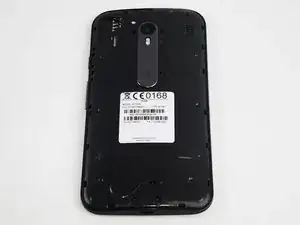
If you remove the back, there is a white type label. First Point is "Model" and there is the "xt" number
This repair is much, much more difficult than it appears. The LCD connection and the battery connection are borderline impossible. Everything else is simple or nearly simple. The glue is about a tenth as tough as Samsung phones.
Thomas Hayes -