Introduction
This guide will show you how to remove the motherboard of your Moto G 3rd Generation. Follow these step for access into the phone's interior. The disassembly requires the use of a heat gun or an iOpener.
-
-
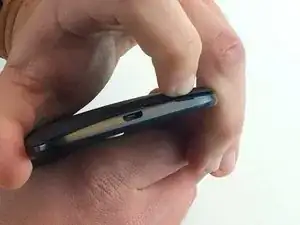
Use your fingernail to pry under the notch on the bottom of the phone and remove the back cover.
-
-
-
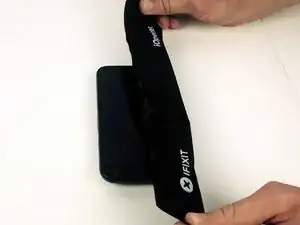
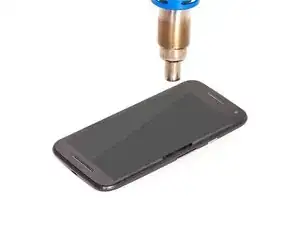
Evenly apply heat to the edges of the touchscreen to loosen the adhesive. Continue to Step 3 once the edge of the screen is warm to the touch.
-
-
-
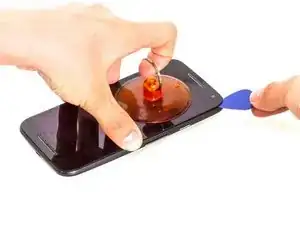
As the adhesive loosens, pry up an edge of the screen with a plastic opening tool or an opening pick. A suction cup may also be useful here.
-
Use an opening pick to hold that edge in place and continue this process around the entire screen, applying more heat as necessary.
-
-
-
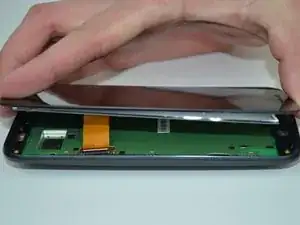
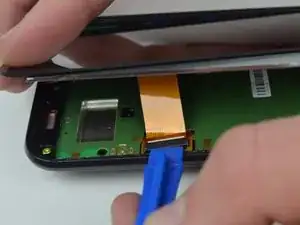
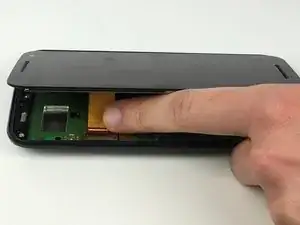
Use a plastic opening tool to flip up the lock on the display cable ZIF connector.
-
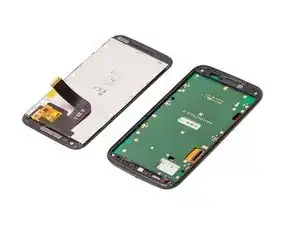
Pull the display cable from its socket on the motherboard.
-
-
-
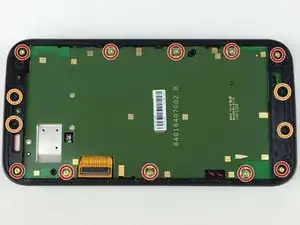
Remove the ten 2.4 mm T4 screws from the sides of the motherboard.
-
Remove the four 4.5 mm T4 screws from the top and bottom of the motherboard.
-
-
-
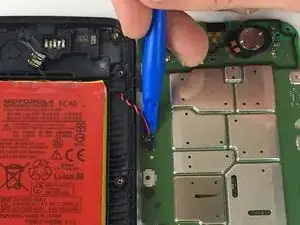
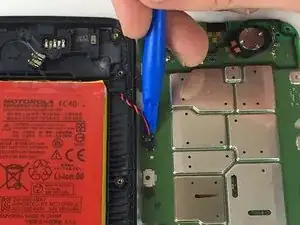
If adhesive residue is holding the motherboard in place, use a Jimmy to cut the adhesive between the motherboard and the back of the phone.
-
Carefully lift the right edge of the motherboard from the phone.
-


To reassemble your device, follow these instructions in reverse order.
2 comments
My phone is broken inside, it’s not cracked but it did fall off the table i need it fixed
my moto g3 display light problem,this display have no light what can i do
This repair is much, much more difficult than it appears. The LCD connection and the battery connection are borderline impossible. Everything else is simple or nearly simple. The glue is about a tenth as tough as Samsung phones.
Thomas Hayes -