Introduction
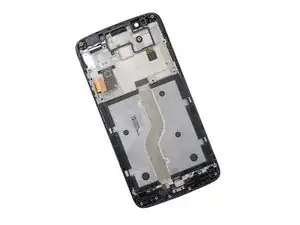
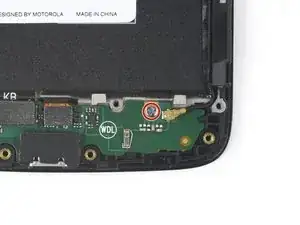
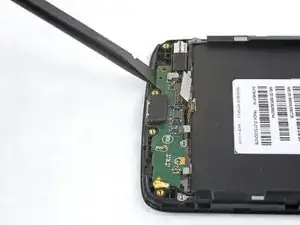
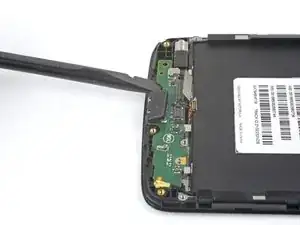
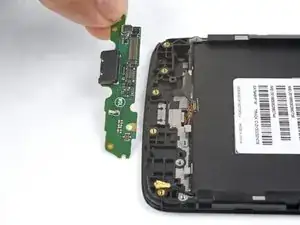
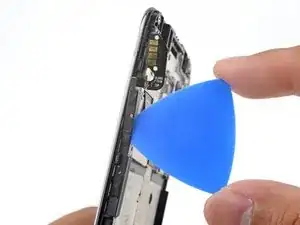
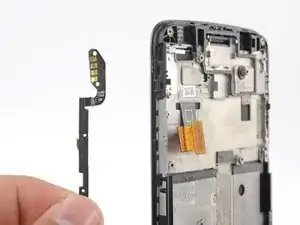
Follow this guide to replace the display assembly for the Motorola Moto G5. This includes the digitizer assembly as well as the display frame.
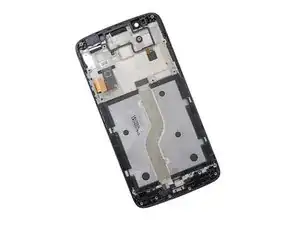
Your replacement part should look like this. You will be transferring components from the previous display frame onto the new one. If your part did not come with a display frame, you will need to complete additional steps, which are not covered in this guide.
For your safety, discharge your existing battery below 25% before disassembling your phone. This reduces the risk of a dangerous thermal event if the battery is accidentally damaged during the repair.
Tools
Parts
-
-
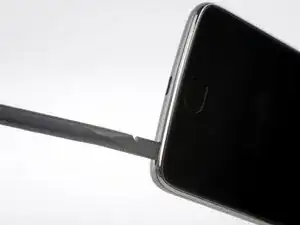
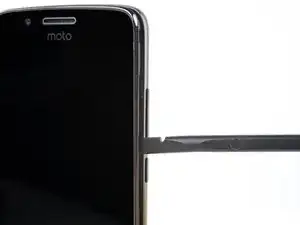
Insert your fingernail or the flat end of a spudger into the notch on the bottom edge of the phone near the charging port.
-
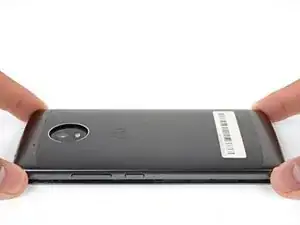
Pry with your fingernail or twist the spudger to release the back cover from the phone.
-
-
-
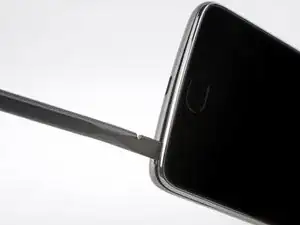
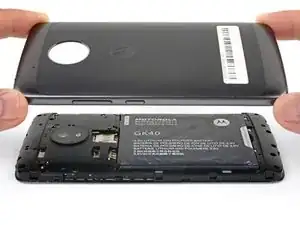
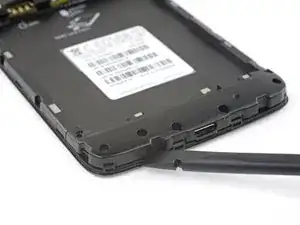
Insert the flat end of a spudger into the seam and slide it along the bottom edge to release the clips holding the back cover to the phone.
-
-
-
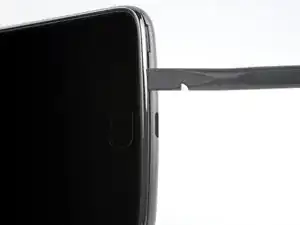
Continue sliding the flat end of the spudger along the seam for the remaining sides of the phone.
-
-
-
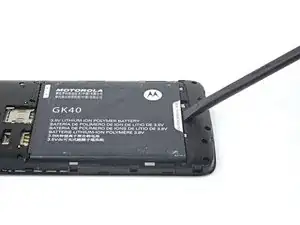
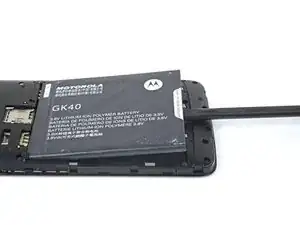
Insert your fingernail or the flat end of the spudger into the notch below the battery.
-
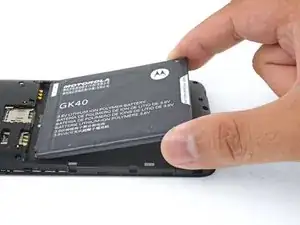
Pry with your fingernail or spudger until you free the battery from its recess.
-
-
-
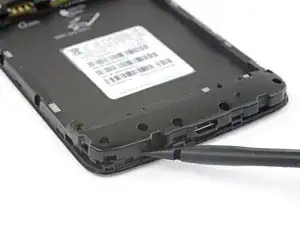
Insert the flat end of a spudger into the seam below the daughterboard cover.
-
Twist the spudger slightly to free the daughterboard cover.
-
Remove the daughterboard cover.
-
-
-
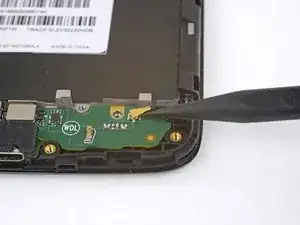
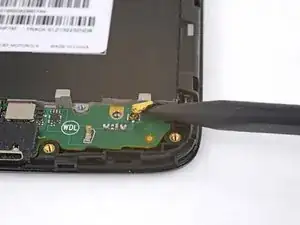
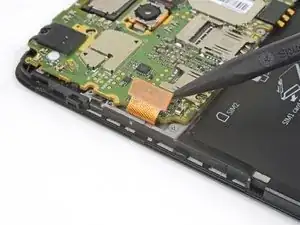
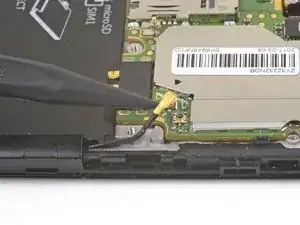
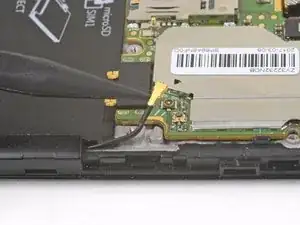
Use the point of a spudger to pry up and disconnect the antenna cable from the daughterboard.
-
-
-
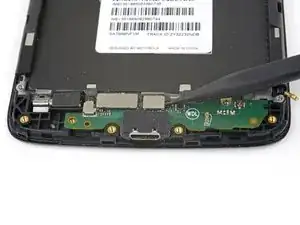
Use the point of a spudger to pry up and disconnect the two flex cable connectors from the daughterboard.
-
-
-
Insert the flat end of a spudger below the daughterboard, near the charging port.
-
Pry the daughterboard up slightly with the spudger to loosen it from its recess.
-
Lift and remove the daughterboard, taking care not to snare any cables.
-
-
-
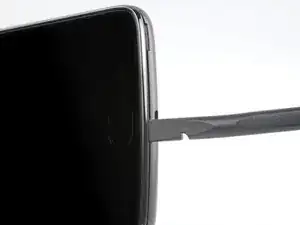
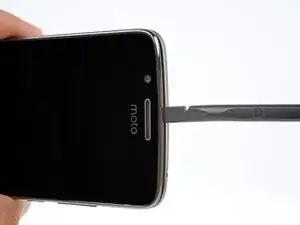
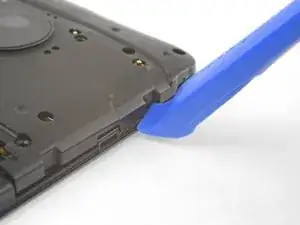
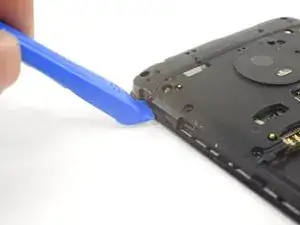
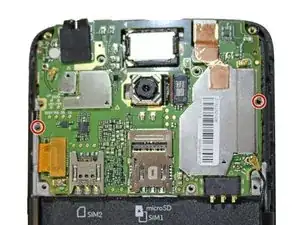
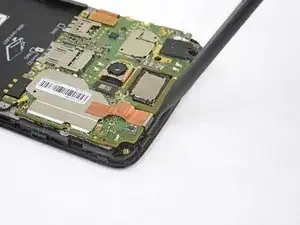
Insert an opening tool into the seam on the right side of the phone near the top.
-
Gently pry upwards until the hidden clip on the motherboard cover releases.
-
-
-
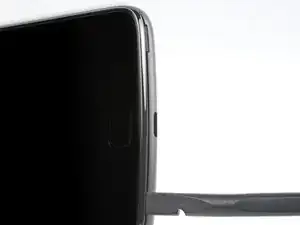
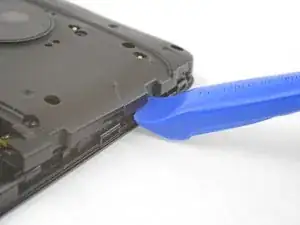
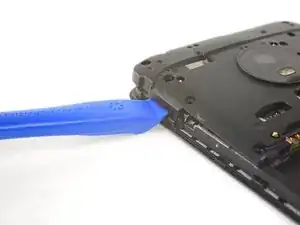
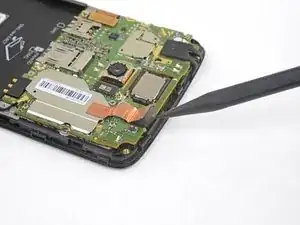
Insert an opening tool into the seam on the top of the phone, to the right of the indent.
-
Gently pry upwards until the hidden clip on the motherboard cover releases.
-
-
-
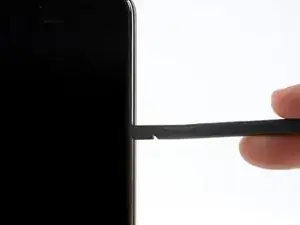
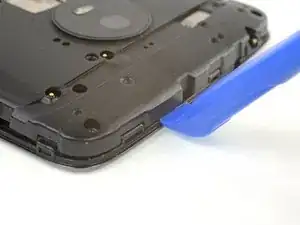
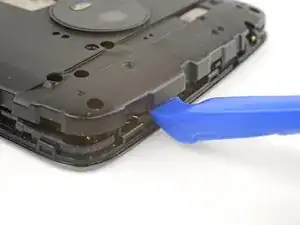
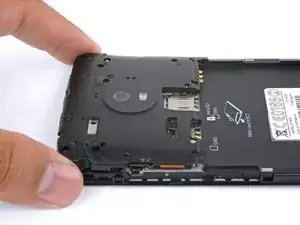
Insert an opening tool in the seam on the left edge of the phone, near the top.
-
Gently pry upwards until the hidden clip on the motherboard cover releases.
-
-
-
Use the point of a spudger to pry up and loosen the front facing camera module from its recess.
-
-
-
Use the point of a spudger to pry up and disconnect the display connector from the motherboard.
-
-
-
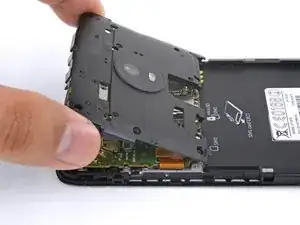
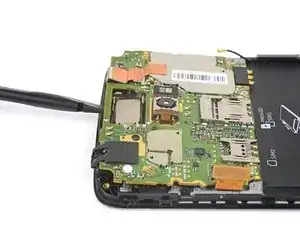
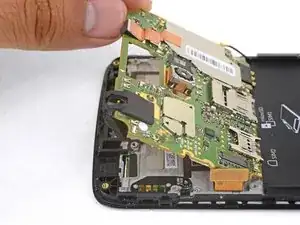
Insert the flat end of a spudger underneath the motherboard, near the top edge of the phone.
-
Twist the spudger slightly to loosen the motherboard from the frame.
-
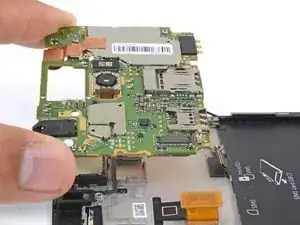
Swing the top edge of the motherboard upwards, making sure it does not snag any cables.
-
-
-
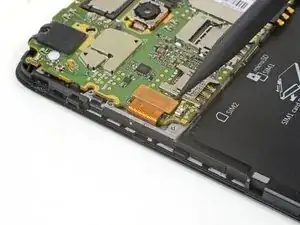
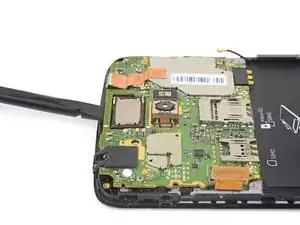
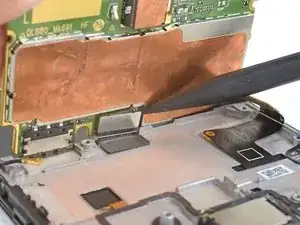
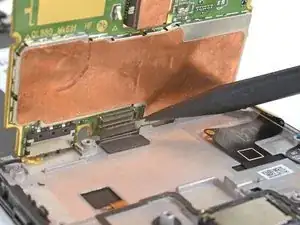
While supporting the motherboard at an angle, use the point of a spudger to pry out and disconnect the flex cable connector underneath the motherboard.
-
-
-
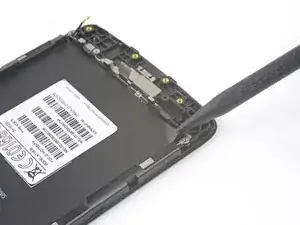
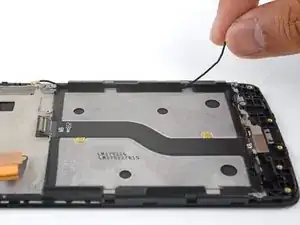
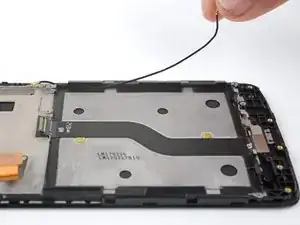
Use the point of a spudger to pry up a corner of the black battery mat.
-
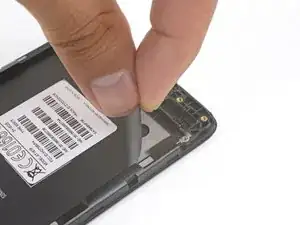
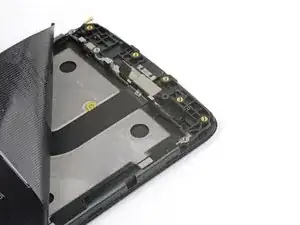
Use your fingers to peel the battery mat from the frame.
-
-
-
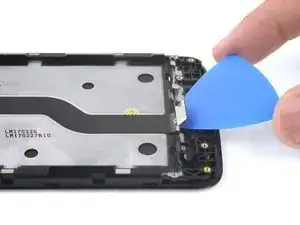
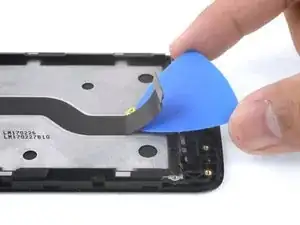
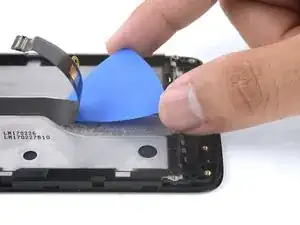
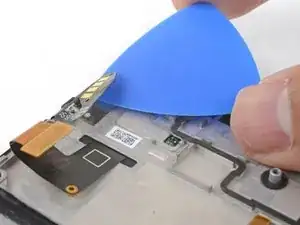
Insert an opening pick under the daughterboard flex cable.
-
Slide the pick along the underside of the cable, releasing it from the frame.
-
Remove the daughterboard flex cable.
-
-
-
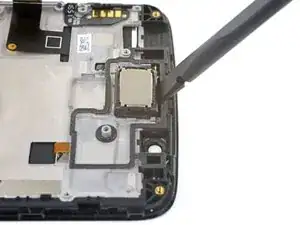
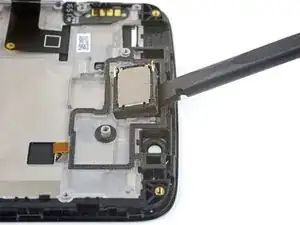
Use the flat end of a spudger to pry up and loosen the earpiece module from its recess.
-
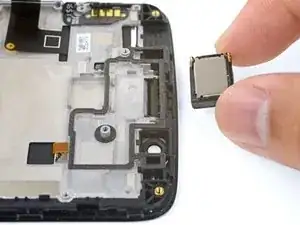
Remove the earpiece module.
-
-
-
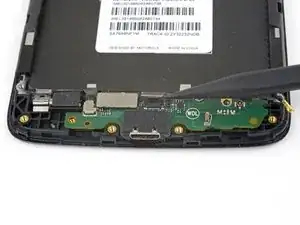
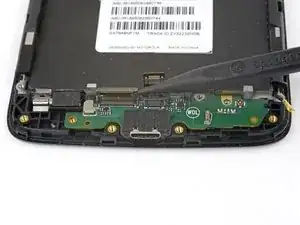
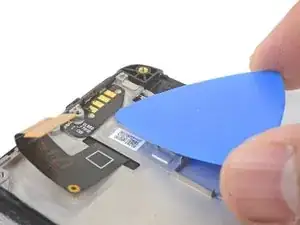
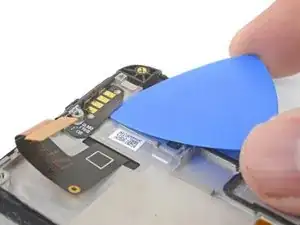
Insert an opening pick underneath the button contact flex cable.
-
Slide the opening pick to loosen the button contact flex cable from the frame.
-
-
-
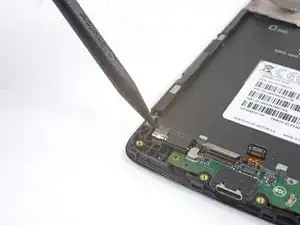
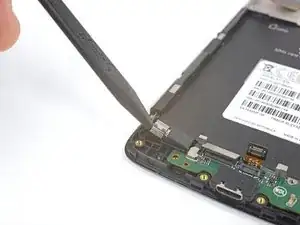
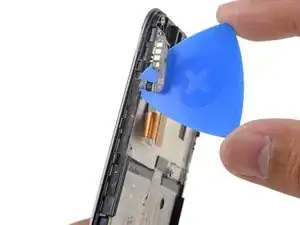
Insert an opening pick between the button assembly and the frame.
-
Gently slide the pick to release the button assembly from the frame.
-
Remove the button assembly.
-
-
-
Only the LCD screen and digitizer assembly (with frame) remains.
-
Compare your new replacement part to the original part. You may need to transfer remaining components or remove adhesive backings from the new part before installing.
-
To reassemble your device, follow these instructions in reverse order.
Take your e-waste to an R2 or e-Stewards certified recycler.
Repair didn’t go as planned? Check out our Motorola Moto G5 Answers community for troubleshooting help.
9 comments
Thanks. These tips, plus the Moto G5 Plus guide solved my problem. The replacement I purchased was only for the LCD (needed to heat and remove the glass after disassembling the whole phone). Again, thanks.
Thanks a lot for this guide! A few things I noticed while I was doing it:
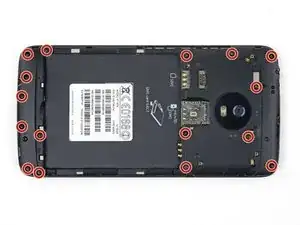
-There’s no screws to remove on one of the red circles on the bottom right (it’s not a hole for a screw!)
-The front speakers are not in the right position in the picture. I followed that, and I didn’t had any sound anymore. Flipping it fixed the problem.
Otherwise I’m really glad you made that tutorial, thank you very much !!!
Hi Quentin,
Thank you for the notes! I have updated the guide to reflect the changes!
There are seams between housing and display assembly, as well as between various other parts of the phone. These become overstretched and unusable during disassembly. Buy a set of seams and double-sided tape specifically made for the G5, or it will become even less waterproof than before. Unfortunately, I have only found sources for those parts in the US.
