Introduction
If you want to perform advanced repairs on the Motorola Moto G7 Plus (model XT1965), you will likely need to remove the screen first. This guide will show you how to quickly and easily do so. If additionally you want to replace the screen, follow the steps of this guide in reverse using a new screen and adhesive as necessary.
If you are removing a shattered screen, applying force may cause glass shards to pop off. Be gentle and, if necessary, use eye protection.
There are some required tools that are listed below. Ensure the phone is turned off before beginning.
-
-
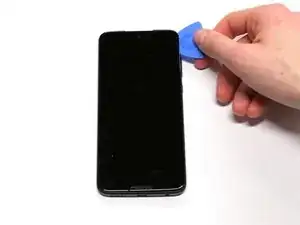
Insert an opening tool pick under the screen, starting at the top of the phone.
-
Slide the pick around the entire perimeter of the display to break the adhesive.
-
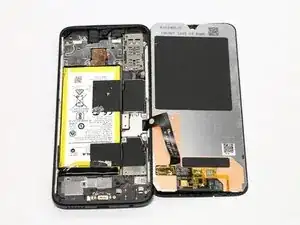
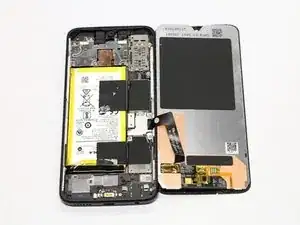
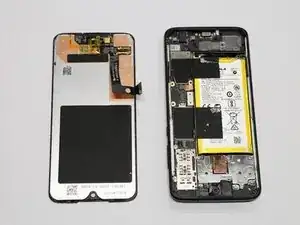
Once enough adhesive has been removed, you should be able to separate the screen by gently lifting it from the left side of the phone.
-
-
-
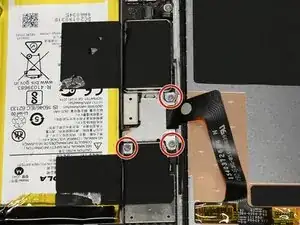
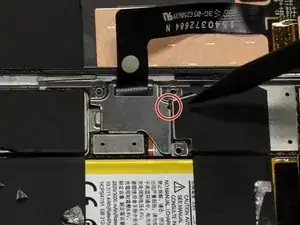
Remove the three 2.7 mm screws that surround the base of the display cable using the Torx T5 screwdriver.
-
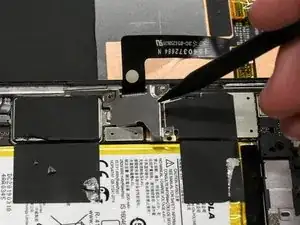
Gently remove the metal piece that covers the base of the display cable.
-
-
-
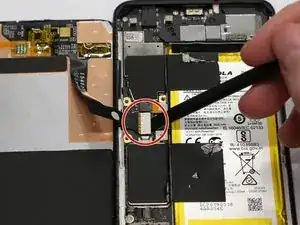
Underneath this metal piece is the base of the cable. Use a spudger to vertically lift the connection out of its port.
-

To reassemble your device, follow these instructions in reverse order.
9 comments
Althrough a simple fix, one should be weary if the glass is shattered. I just did this, and there were a few spliters left on the adhesive, and of course sticking to it. So if you want to replace your screen due to broken glass, make sure to wear protection and remove the splinters carefully, otherwise you may be tempted to press on the new display to strongly, because you want to stick it to the whole brim.
I completed this fix, and it wasn’t too bad. Just watch out when gluing back the screen not to put glue over the microphone hole at the bottom. This would be the phone microphone mouthpiece, you can see a small notch on the bottom of the screen, beside the “motorola” “m” on the front . I put glue there without knowning and the microphone is now very muted.
Thank you for the heads up about the. microphone hole…
Great article! Keep it up, this really helps out us broke fellows.
DIY OR DIE!!!
What can I do if I broke the cable connected to the back
Dont pry deeper than 3 mm. If you are deeper and just under the glass you will damage the display. The sceen are two layers. Obe witk the veru thin glass and one with a metal frame with display. Yoy want to get under both layers to lift the screen.
Magnus Tuvendal -
Correcting autocorrect… Dont pry deeper than 3 mm. If you are deeper and just under the glass you will damage the display. The screen is two layers. One with the very thin glass and one with a metal frame with the lcd-display. Yoy want to get under both layers to lift the screen.
Magnus Tuvendal -
I don’t have a thermal gun. Here’s what I did. I wrapped my phone in a baggie and an added an oven thermometer into a heating pad and monitored the heat that way. I left it for awhile (to allow all heat to dissipate) and the heat was 189-degrees Fahrenheit. One hour, toasty warm. So I worked with that.
Harry A -
So after one hour at 180 degrees Fahrenheit the base already started buckling and removed itself from the screen. So it was easy to remove the base from the screen. There was some rubber thread that I had to remove. Because of that, I understand that now my phone is not water-tight and I need to treat it as such. But the battery replacement went fine and everything is working great after it was all placed back together. I hope to get a few more years out of my G7 plus!
Harry A -