Introduction

This guide details how to remove the camera buttons.

  1. BwvcMvGqLrOUAhZZ
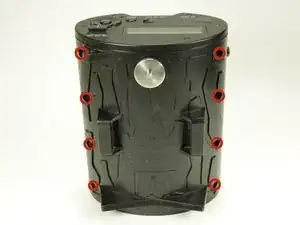
    • Using a Philips head screwdriver, remove the eight 6mm screws located at the bottom of the device.

    make sure to add commas.

    Step 1- remove the 8, 6mm...

    Step 2- Using a philips head screwdriver, remove the 6, 4mm screws...

    Same thing with step 6. Good page!

    Jesica Bartell -

  2. SQXniMkER5vXGpHx
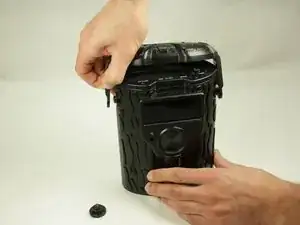
    • Remove the butterfly nut from the lid arm.

  3. iL5KTccQPcT4Sixf
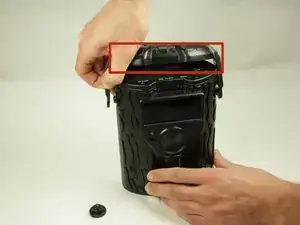
    • Remove the lid-covering.

  4. rH3u6SDRySbXMnkp
    • Using a Phillips head screwdriver, remove the six 4mm screws from the face of the camera.

  5. FVk6w2GKwx5vjQRj
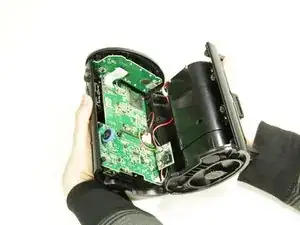
    • Gently separate the two halves of the case.

    • The two halves are connected by a wire. Pulling too roughly can damage the wires and cause the camera to stop functioning.

  6. LF6YFMXpFRFPPSuW
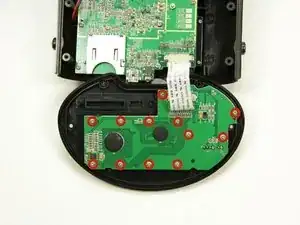
    • Using a Phillips head screwdriver, remove the twelve 3mm screws from the circuit board.

  7. kAycqPQC44SYPBLT
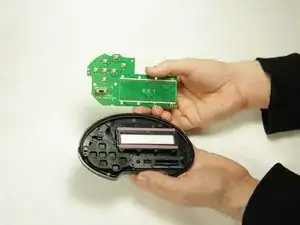
    • Gently remove the circuit board from the face of the camera.

  8. RnNXuISeWBXUBbGe
    • Remove the buttons.

Conclusion

To reassemble your device, follow these instructions in reverse order.
Sean Hill

Member since: 30/01/15

458 Reputation

0 comments