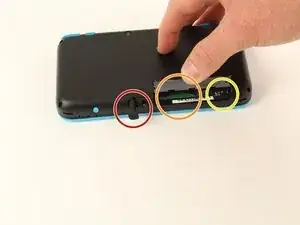
Introduction
My 2DS XL was disassembled at the time of writing this guide, because there was no guide here yet. However, everything pertinent to removing the top screen and replacing it are listed here.
-
-
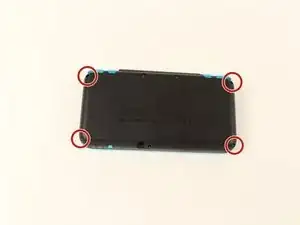
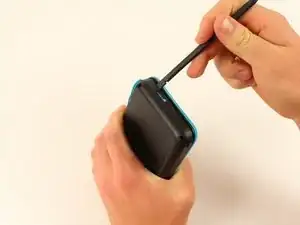
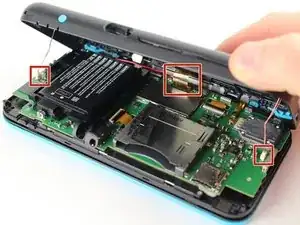
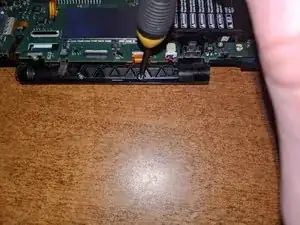
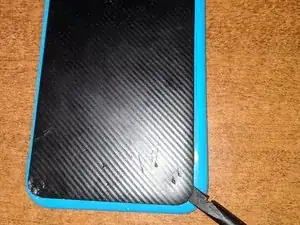
Using a spudger, separate the back panel from the front casing by gently prying around the panel.
-
There are many clips along the hinge of the case, so it is recommended to work your way along one short side and the two long sides before finishing the last short side.
-
-
-
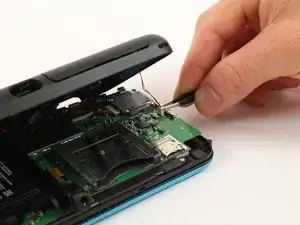
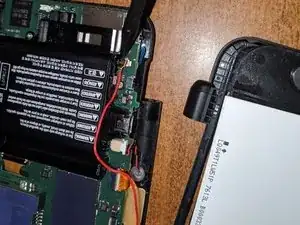
Using tweezers, disconnect the two cables that connect the rear buttons on either side to the motherboard by gently pulling them upwards.
-
-
-
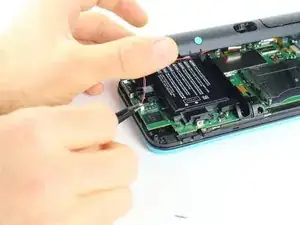
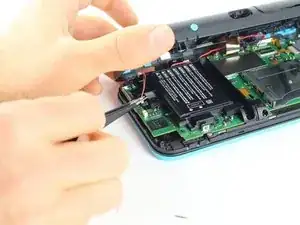
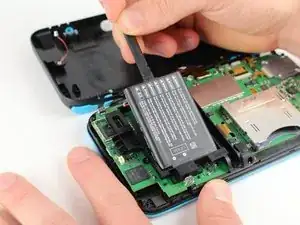
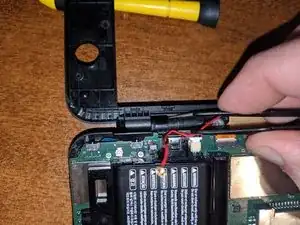
Using a spudger, lift out the battery.
-
Be aware that there is a sticky pad holding the battery into its tray. It may be necessary to use multiple tools to gently pry the battery away from the tray and motherboard.
-
-
-
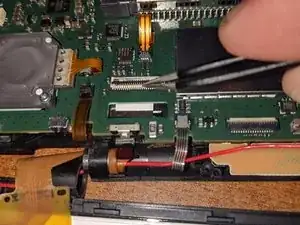
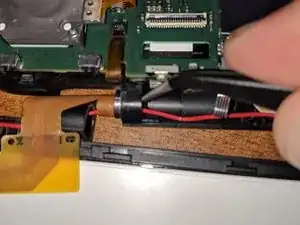
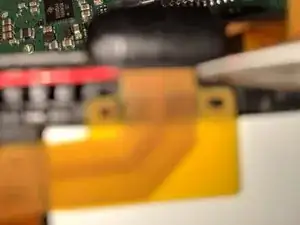
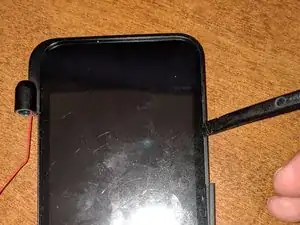
Release the top screen ribbon cable in image 1. Thread it through the rectangular slot below the tweezers.
-
Carefully coil the ribbon cable and prepare to slide it through the cylinder hinge.
-
-
-
Remove the two screws holding the plastic cover plate down to reveal the red wifi wire which will come out along with the top screen and case.
-
-
-
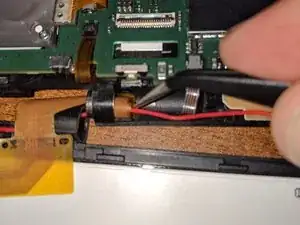
Disconnect the wifi wire and unclip it along its path around the battery tray and under the plastic plate we removed before.
-
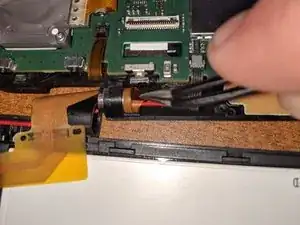
Slide out the cylinder that holds the other side of the hinge together.
-
On my 2DS XL, I wiggled the top half of the case and the cylinder wiggled out enough to grab it with the tweezers.
-
-
-
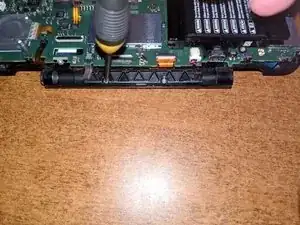
Finish sliding the ribbon cable through the hinge and free the red wifi wire, as well.
-
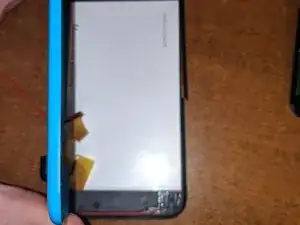
The top part of the case is now free, and you are okay to set the rest of the 2DS XL aside for reassembly.
-
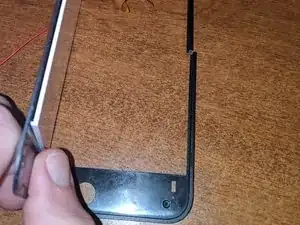
I apologize for the quality of the picture, but as you can see, the cable slides through a slot on the top case's hinge body. carefully slide the cable out of the slot and free the cable from the two pins holding it down to the case frame.
-
-
-
Insert a spudger along the edge of the plastic plate on the top shell. Pry up gently until the glue releases. There is a large glue pad under this plate, but there is nothing else holding it on.
-
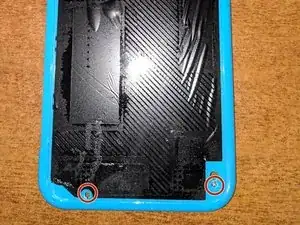
After prying off the plate, there are four screws marked in the rings to release the back plate from the screen plate.
-
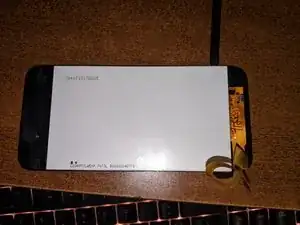
Once the screws are removed, lift off the back plate to reveal the screen and plastic trim.
-
-
-
Gently pry around the top edge of the case. As you can see, my case is cracked, but not as a result of this repair. This plastic is very thin, so do be careful working your way around the case.
-
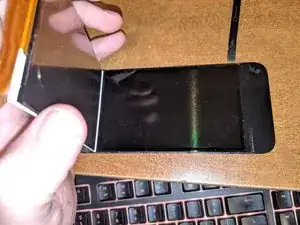
The front lens is plastic, but it is held to the frame with glue pads. Using multiple soft tools, work your way around the lens to free the lens and the screen from the frame bezel.
-
You can now set aside the bezel for reassembly.
-
-
-
Because the lens is plastic, I gently bent the lens away from the screen to release it. Using a spudger or pry tool will also be very useful here.
-
Once you have removed the screen, you are ready to replace the screen and begin reassembly.
-
Be very mindful of the ribbon cable as it goes back through the hinge during reassembly, as it can be damaged very easily.
-

To reassemble your device, follow these instructions in reverse order.
9 comments
I think there is a missing step between step 5 and 6. I followed the instructions until step 5, but couldn’t figure out how to separate the top case from the bottom case. In step 6, you can see the top case has been separated from the bottom case. But no instruction is given on how to do that.
The hinge only has one component holding it together from coming apart. It is on the left hi he as you look at it like you're playing. The hinge component is a small barrel that resides inside the hinge. You have to open and close it while it is on its right side and try to grab with a pair of tweezers onto the edge of the barrel.
Didn’t follow exactly how to disconnect the top section fully.
Hopefully I can assist you. Where are you getting stuck? The barrel on the left hinge is a bit difficult to remove. I opened and closed the hinge a few times with the left hinge up off the desk. While doing this, I watched for the edge of the barrel to poke out so I could grab it with angled tweezers. That was the hardest part of removing the top half for me personally, but it is almost exactly like the DSi XL, and I have disassembled many of those already. My kids are NOT gentle with electronics.
After getting the barrel out on the left hinge, coil up the ribbon cable around the wifi antenna and slide it through the right side of the hollow hinge.
This is a great repair instructional, but I would advise also looking at the below video link. (I used both.) Sometimes watching 2 repair guides can help when you think you think you’re stuck. For example, I had a really hard time getting the hinge off!
https://www.youtube.com/watch?v=Zuu_T2ls...
(HINT: Works best if you rotate it 180 degrees, so that you are repairing it from the same perspective as the technician)
skat1140 -