Introduction
pre req only
-
-
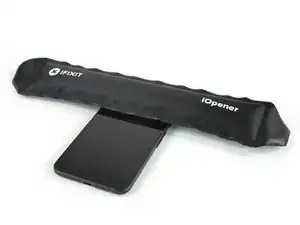
Use an iOpener to loosen the adhesive beneath the rear facing camera. Place the iOpener across the top part of the phone for about 30 seconds.
-
-
-
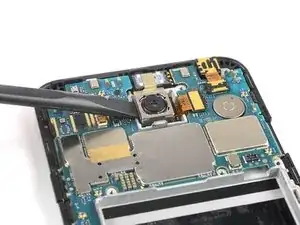
Apply the flat end of a spudger to the left side of the rear facing camera and carefully lever it up. Make sure all of the adhesive underneath is loosened.
-
-
-
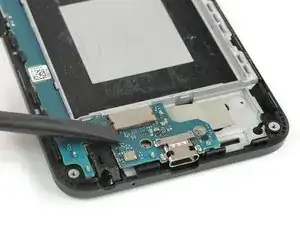
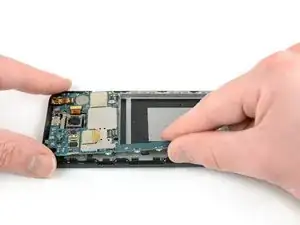
Grip the lower part of the motherboard with your fingers and carefully lift it upwards.
-
Gently pull the motherboard towards the bottom edge to free it from the plastic clip next to the rear-facing camera.
-
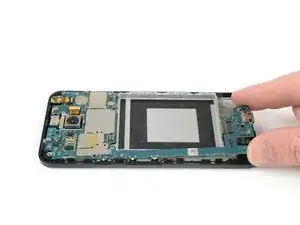
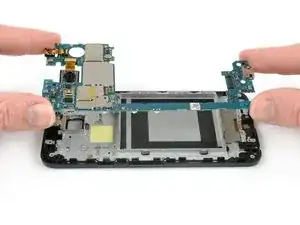
Carefully lift the motherboard out of the frame.
-


Conclusion
To reassemble your device, follow these instructions in reverse order.
