
Introduction
This guide will show you how to replace the lens to your camera. Refer to LCD screen disassembly for previous steps.
-
-
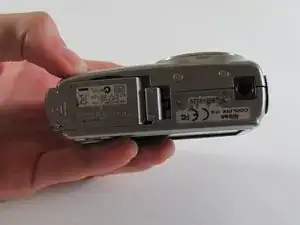
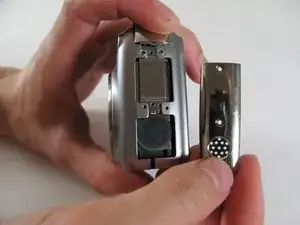
Open the battery door. Inside is the memory card and the battery.
-
Click over the orange tab and take out the battery.
-
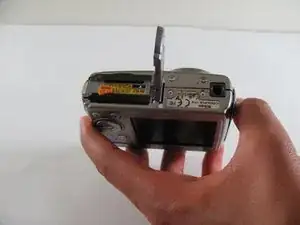
Close the battery lid by pushing it down and sliding it back.
-
-
-
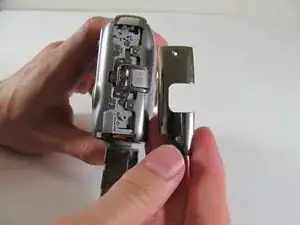
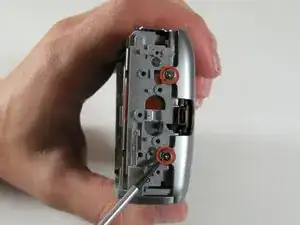
Remove panel on right side (front view) by removing these two screws. (.196in screws)
-
Remove single screw set underneath panel. (0.083in screw)
-
-
-
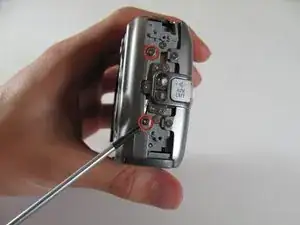
Remove three screws as shown. (Right screw:0.084in, Left screw:0.088in, Middle screw:0.114in)
-
-
-
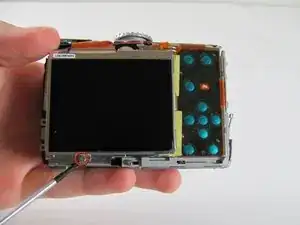
Carefully pull orange LCD connector up and out of the port.
-
Be careful to pull vertically while pushing the black tab upwards
-
-
-
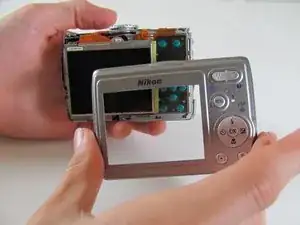
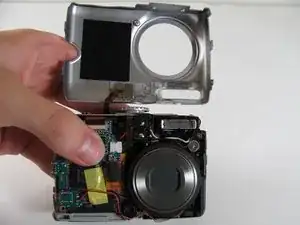
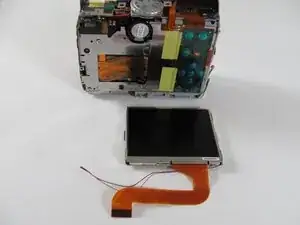
You can now remove the LCD from the camera body.
-
Insert new LCD and reassemble using the steps in reverse order.
-
-
-
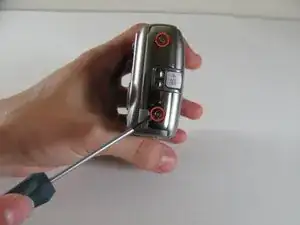
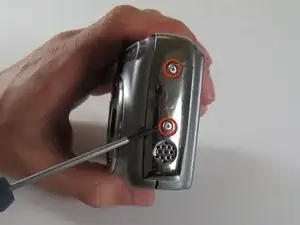
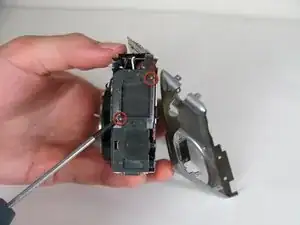
Remove the screw to the right of the flash.
-
Remove the screw to the right of the microphone on the bottom. (0.124in)
-
-
-
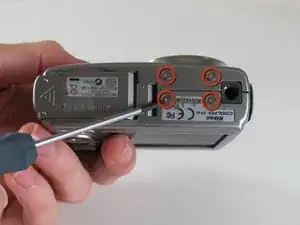
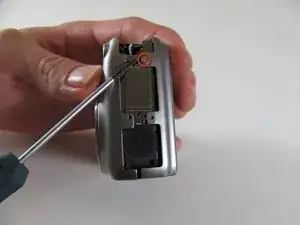
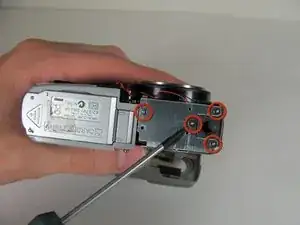
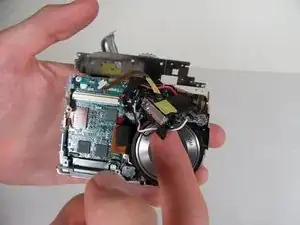
Remove the four bottom screws. (0.116(fat head)-center screw, 0.112(skinny head)-other screws)
-
-
-
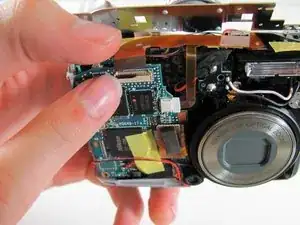
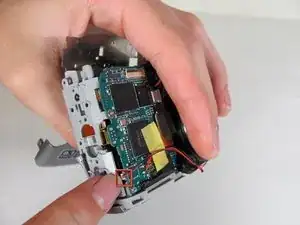
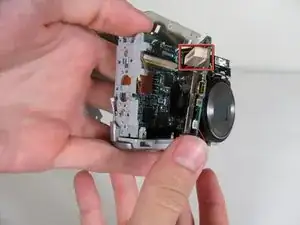
Remove the plug that connects the lens to the left side of the motherboard by firmly grasping the base of the plug and pulling gently sideways away from the camera.
-
-
-
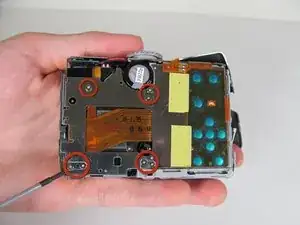
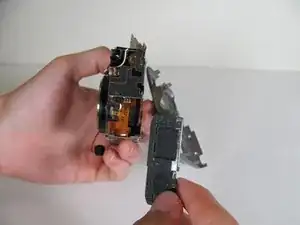
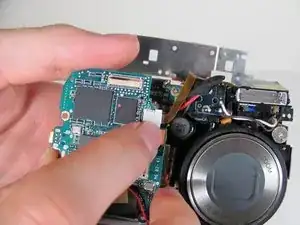
Remove the three screws from the motherboard. (0.112 in screws)
-
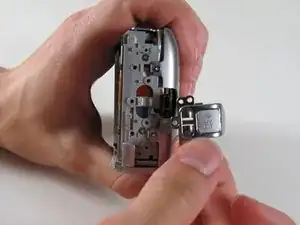
Detach the orange tab with the foam on top. It will click out of place.
-
-
-
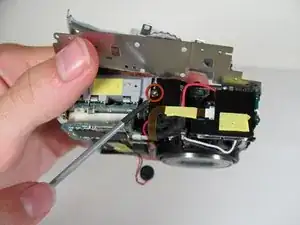
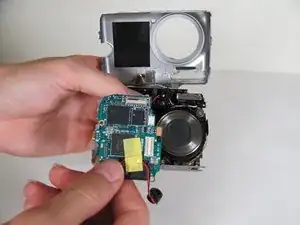
Carefully remove the tab that connects the flash to the motherboard from the port by gently pulling connector to the right, out of its port.
-
-
-
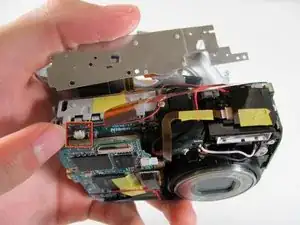
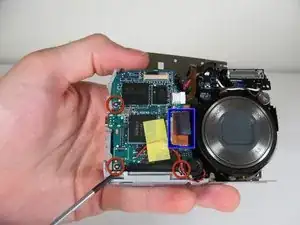
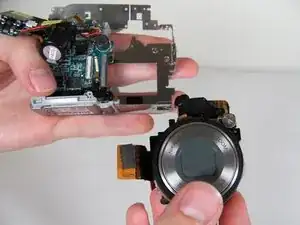
Remove the motherboard from camera body.
-
Replace with a new motherboard and follow the steps in reverse order to reassemble.
-


To reassemble your device, follow these instructions in reverse order.