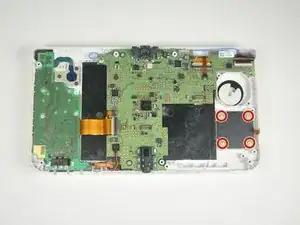
Introduction
If you aren't getting full range of motion on the D pad replacing may fix it. Go slow. There are several delicate ribbons cables. Make sure that components are completely disconnected before you pull them apart.
-
-
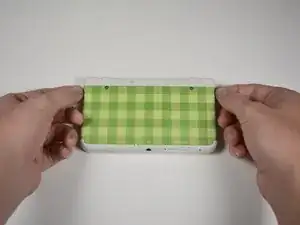
Pull the top corner tabs of the front face plate outward and towards you.
-
Pull the faceplate up and out of the slots at the bottom of the device.
-
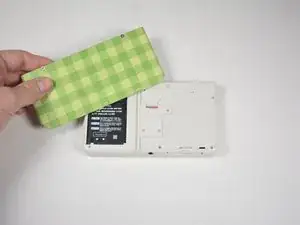
Set aside the back faceplate.
-
-
-
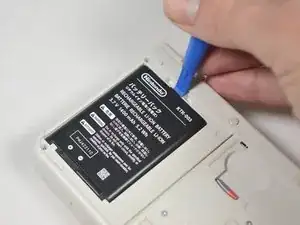
Insert a plastic opening tool into the notch at the top of the battery.
-
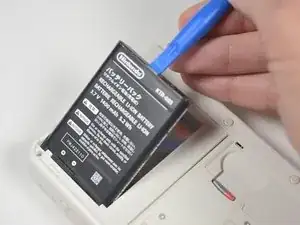
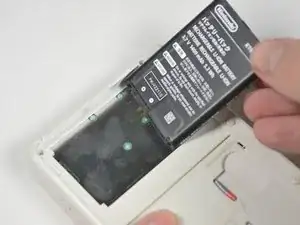
Pry the battery up with the plastic opening tool.
-
-
-
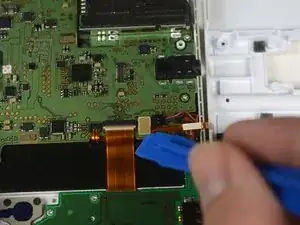
Pull the SD card reader from the edge with two holes gently to free the tab at the top of the SD card reader.
-
Reorient the device so that the power jack faces you.
-
-
-
Lift the SD card reader gently.
-
Use a plastic opening tool to pry the SD card ribbon cable off the socket on the motherboard.
-
Lift the SD card reader out off of the lower casing.
-
-
-
Reorient the device so that the game slot now faces you.
-
Remove the two rubber bumpers along the top of the device using tweezers.
-
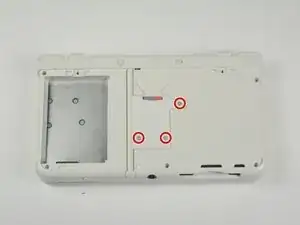
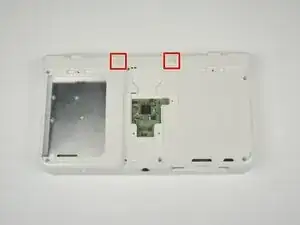
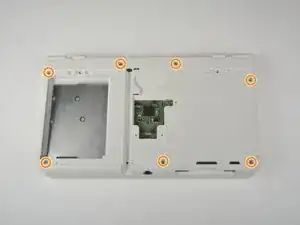
Unscrew the seven 6mm Phillips #00 screws along the top and bottom of the 3DS.
-
-
-
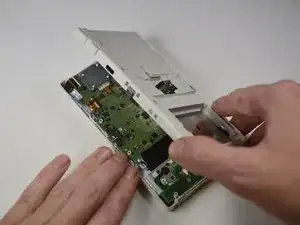
Lift the top edge of the lower case slightly off on the 3DS.
-
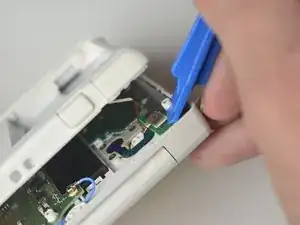
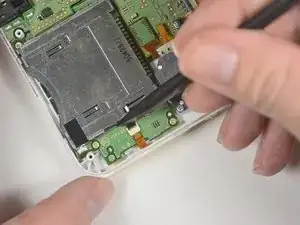
Pry the ribbon cable socket under the right trigger using a plastic opening tool.
-
Pry the ribbon cable socket under the infrared receiver cover using a plastic opening tool.
-
-
-
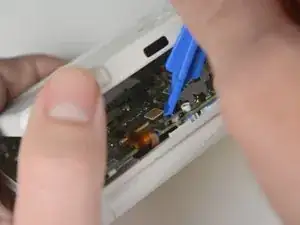
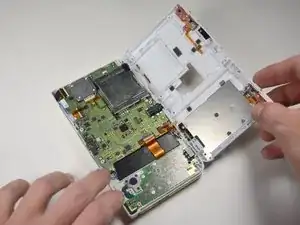
Open the device slowly from its top edge. Be careful not to tug the ribbon cable connected near the bottom edge of the device.
-
Pry the last ribbon cable attached to the lower case using a plastic opening tool.
-
-
-
Locate the gamecard reader near the bottom right corner of the motherboard.
-
Unscrew the four 3mm Phillips #00 screws along the edge of the gamecard reader.
-
Lift the black latch on the ZIF connector along the right side of the reader using a plastic opening tool.
-
-
-
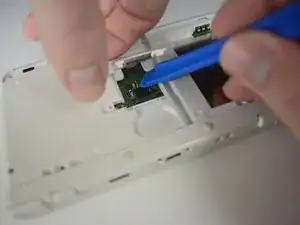
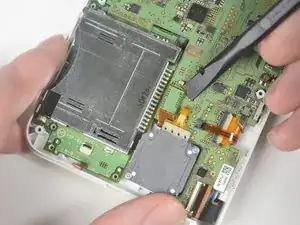
Pry the ribbon cable from its socket, just left of the joystick, using the flat side of a spudger.
-
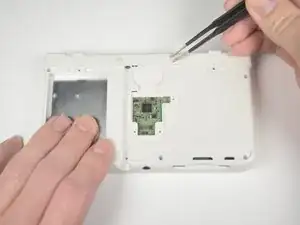
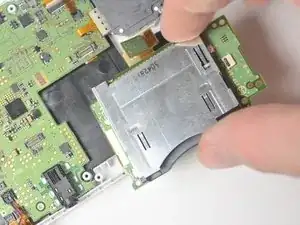
Grab the right edge of the gamecard reader and lift it out of the device, watching to make sure the ribbon cables don't snag.
-
-
-
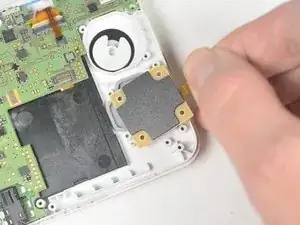
Remove the four 3mm Phillips #00 screws from the four corners of the D pad board.
-
Lift the D pad board out of the device.
-
-
-
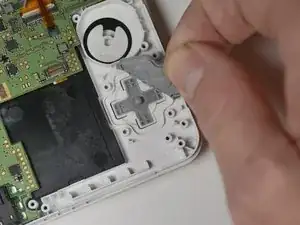
Peel the rubber piece, backing the D pad, out of the device.
-
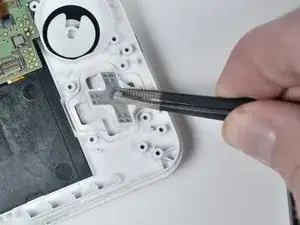
Lift the D pad out of the device with a pair of tweezers.
-


To reassemble your device, follow these instructions in reverse order.