Introduction
After removing the circuit board, the bottom LCD screen can easily be removed from the Nintendo DS.
-
-
Remove the cartridge from the console.
-
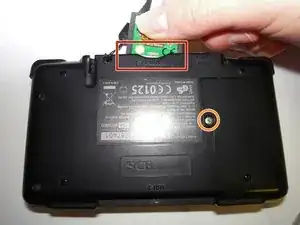
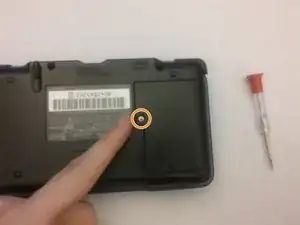
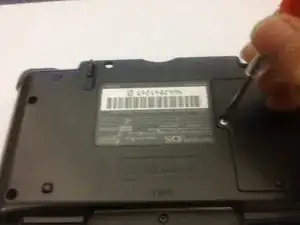
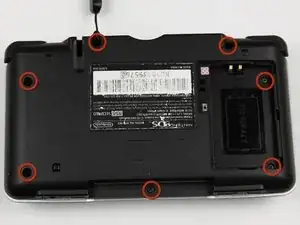
Use a Phillips #00 Screwdriver to remove the screw securing the battery door to the rear case.
-
Remove the battery door.
-
-
-
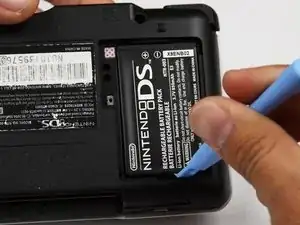
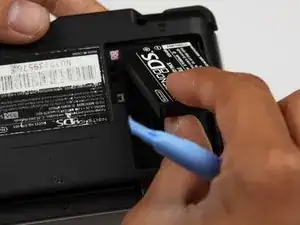
Use a plastic opening tool or spudger to pry out the battery from the bottom. If a plastic opening tool or spudger isn't available, your fingernails may work.
-
-
-
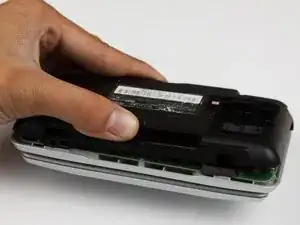
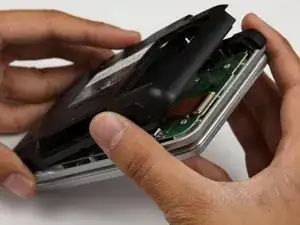
With your hands, pry the back panel off the main case.
-
Separate the back from the front, and set it aside.
-
-
-
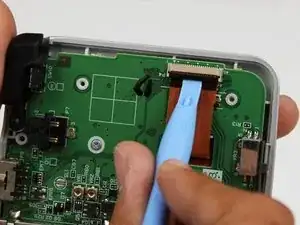
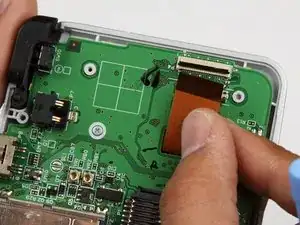
Unlock the two large ribbon cables by moving the black clip up.
-
Carefully pull the ribbon cables down and out with your fingers.
-
-
-
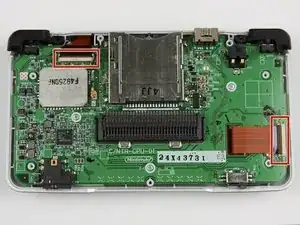
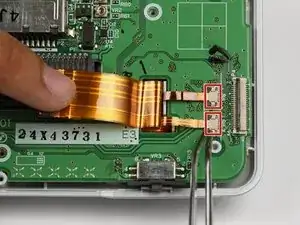
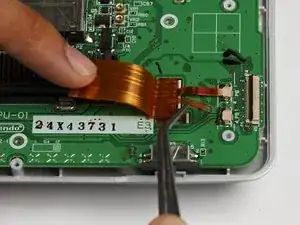
Locate the two small ribbon cables, beneath the rightmost large ribbon cable.
-
Slide the locks for the small ribbon cables down to the side, and remove the cables.
-
-
-
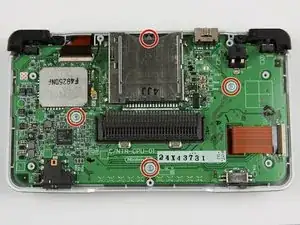
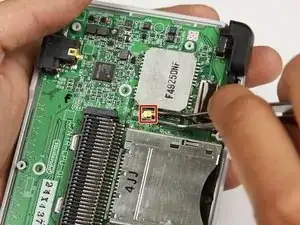
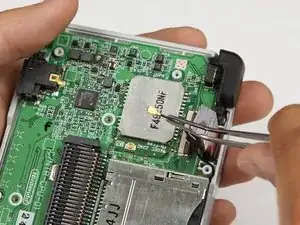
Locate the Wifi antenna pigtail connector.
-
Remove the antenna by grasping it at the head with tweezers. Using a slight rocking motion, pull up to dislodge the connector.
-
-
-
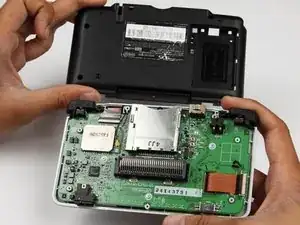
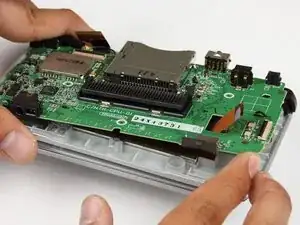
Feed the ribbon cables through the opening on the board.
-
Pull up and remove the circuit board, and set it aside.
-
-
-
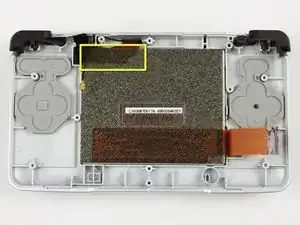
Peel off the black cushion foam on the bottom touch screen to expose the ribbon cable.
-
Gently lift the screen out of the base.
-

To reassemble your device, follow these instructions in reverse order.
One comment
I like it but add a step 12 maybe, to see how to put in a new screen.