Introduction
Use this guide to replace a broken DVD drive.
Tools
-
-
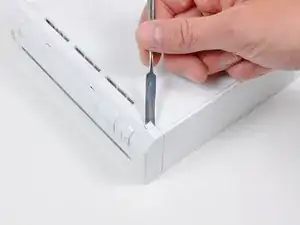
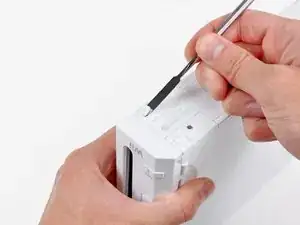
Use a metal spudger to remove the white plastic screw covers stuck to the lower case near the front of the Wii.
-
-
-
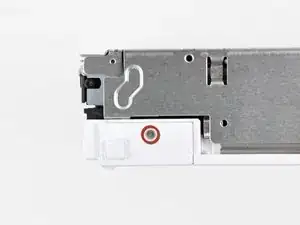
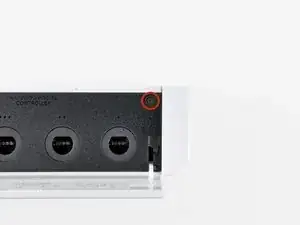
Remove the single 5.9 mm Phillips screw under the controller port door nearest the faceplate.
-
-
-
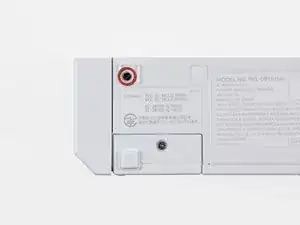
Use a metal spudger to remove the rubber foot stuck to the side of the Wii near the DVD drive opening.
-
-
-
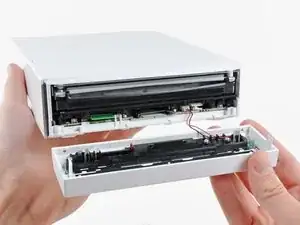
Carefully pull the faceplate away from the front of the Wii.
-
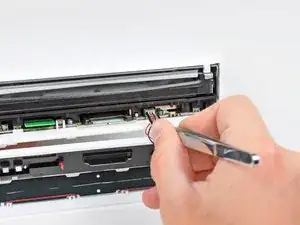
Use a pair of tweezers to disconnect the LED cable's plastic connector from the motherboard.
-
Remove the faceplate.
-
-
-
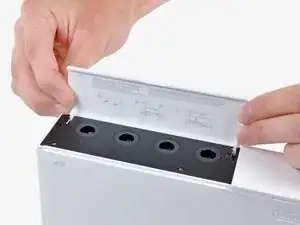
Open the controller port cover until it is perpendicular to the black controller port bezel.
-
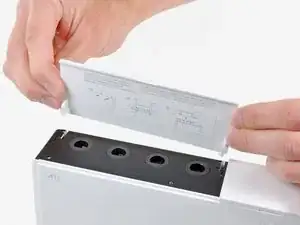
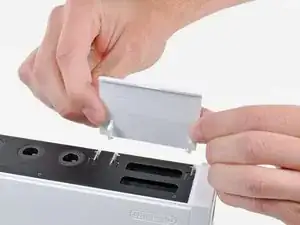
Pull the controller port cover straight up to release it from the outer case.
-
-
-
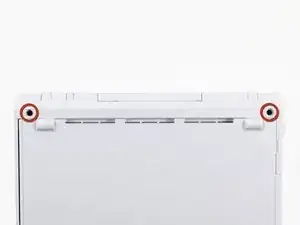
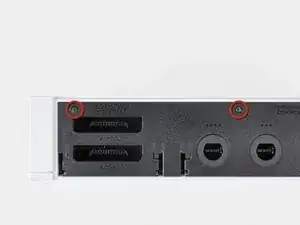
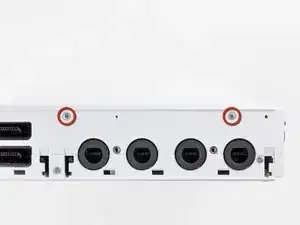
Remove the two remaining 4.1 mm Phillips screws along the top edge of the black plastic controller port bezel.
-
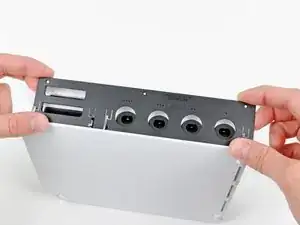
Lift the bezel from the long edge furthest away from the controller ports and remove it from the Wii.
-
-
-
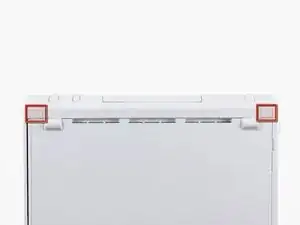
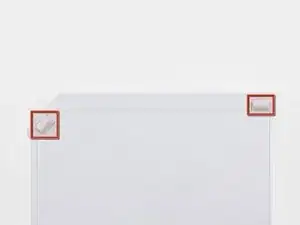
Use a metal spudger to remove the three highlighted screw covers stuck to the side of the Wii.
-
-
-
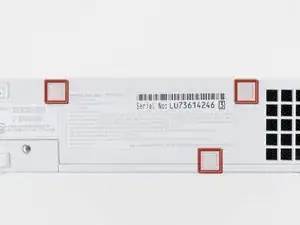
Use a metal spudger to remove the two rubber feet stuck to the bottom face of the Wii near the rear ports.
-
-
-
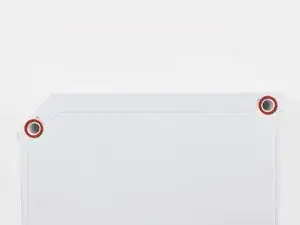
Remove the small Phillips screw securing the battery door to the bottom panel.
-
Pull the battery door out of the Wii.
-
-
-
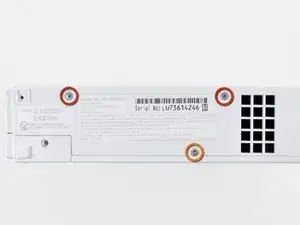
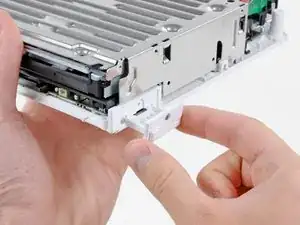
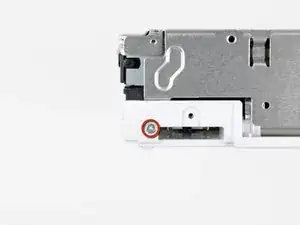
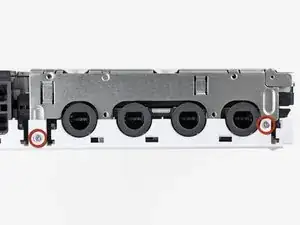
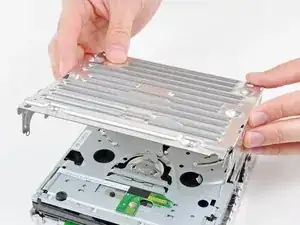
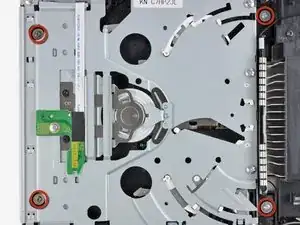
Remove the two 8.2 mm Tri-Wing screws securing the DVD drive shield near the controller ports.
-
-
-
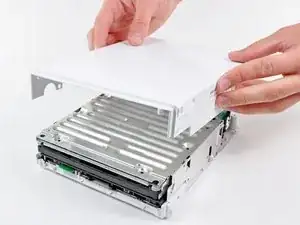
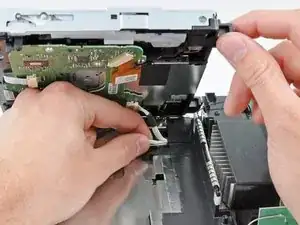
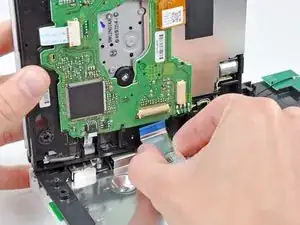
Lift the side of the DVD drive opposite the controller ports enough to access the cables on its bottom face.
-
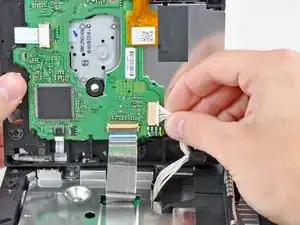
Carefully pull the DVD drive power cable out from under the plastic shroud near the heat sink.
-
-
-
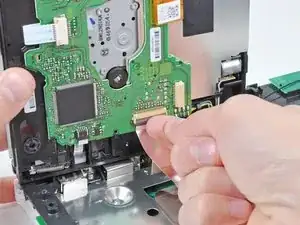
Use your fingernail to flip up the retaining flap on the DVD drive ribbon cable socket.
-
Pull the DVD drive ribbon cable out of its socket.
-
Remove the DVD drive from the Wii.
-
To reassemble your device, follow these instructions in reverse order.
7 comments
My problem was an object that had been lodged in the drive - in fact, I didn't need to replace the drive. I successfully followed thru step 19, and at that point, I was able to extract the foreign object through the gaps in the disc housing. Then I reversed the steps through to the start and everything is working again.
JJones -
I used this to access the drive area where I successfully identified and removed a plastic toy 50p coin my 2 yr old had carefully inserted in it; The Wii works again now
I am v gratefuil for these excellent instructions
And a tip - use a computer/laptop to view; an iphone was a wee (Wii?) bit too small!
You can also download our free iPad app.
Your instructions were very thorough, and my Wii now works again, thanks!
Robotai -

Die Abdeckungen sind geklebt, stecken also nicht.
Ludger -
Don’t mistakenly remove the rubber case feet
Bob Trout -
I just did. That picture could be better.
B G -
Thanks I almost removed the rubber feet
Lushane -
If you’re wondering what to use for this, the main blade of a pocket knife from the corner of the plastic works well.
Cameron Holman -
As you remove the hardware in each step, place them together on a sheet of paper and circle them with the step number.
Tom J -