
Introduction
Use this guide to replace your Wii's faceplate. Replacing the faceplate will provide new blue LEDs that light up around the optical drive opening.
-
-
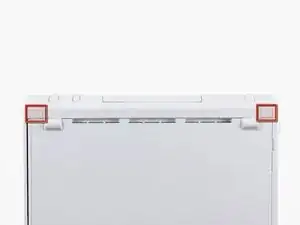
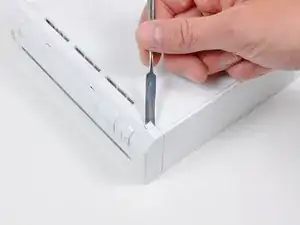
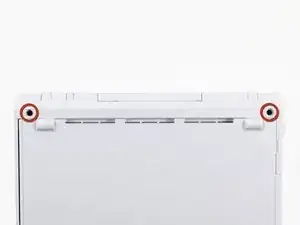
Use a metal spudger to remove the white plastic screw covers stuck to the lower case near the front of the Wii.
-
-
-
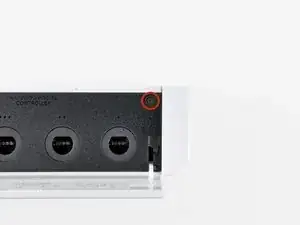
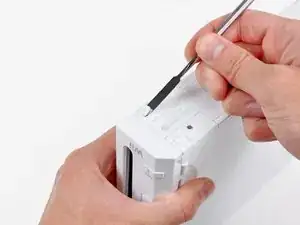
Remove the single 5.9 mm Phillips screw under the controller port door nearest the faceplate.
-
-
-
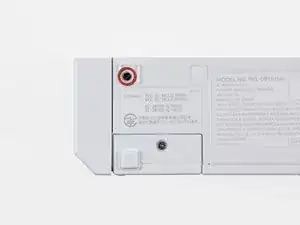
Use a metal spudger to remove the rubber foot stuck to the side of the Wii near the DVD drive opening.
-
-
-
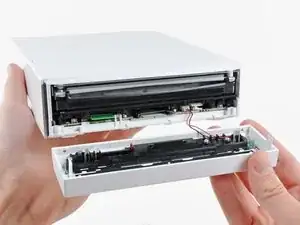
Carefully pull the faceplate away from the front of the Wii.
-
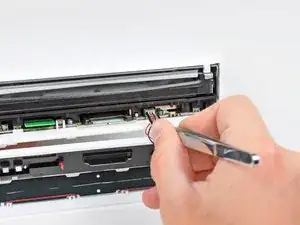
Use a pair of tweezers to disconnect the LED cable's plastic connector from the motherboard.
-
Remove the faceplate.
-
Conclusion
To reassemble your device, follow these instructions in reverse order.

Die Abdeckungen sind geklebt, stecken also nicht.
Ludger -
Don’t mistakenly remove the rubber case feet
Bob Trout -
I just did. That picture could be better.
B G -
Thanks I almost removed the rubber feet
Lushane -
If you’re wondering what to use for this, the main blade of a pocket knife from the corner of the plastic works well.
Cameron Holman -
As you remove the hardware in each step, place them together on a sheet of paper and circle them with the step number.
Tom J -