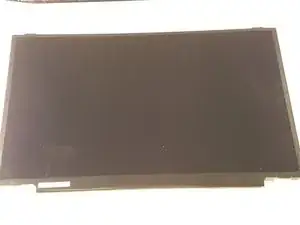
Introduction

  1. uUT1yrXZoQZJv1EZ
    uUT1yrXZoQZJv1EZ
    BkHYX4n1Vd2nTOfe
    • Unlock the lock marked in red.

  2. AhPGi1bk3uaMELTH
    AhPGi1bk3uaMELTH
    kDlNMpGW5ACJxCFS
    dFWEIYlhWhDEO3Da
    • Lift up the battery while unlocking the lock

  3. EsyNwYgbjUxnEvBS
    EsyNwYgbjUxnEvBS
    QZSK4LbrMu2vK3SQ
    • Remove the two stickers circled in red

    • Unscrew the two screws under the two stickers

  4. PKqKVCyQWXZmUAHQ
    PKqKVCyQWXZmUAHQ
    MV1PryUml4yfYlJa
    xIluoH6hYcyOwbaV
    • Unhook the outline of the screen

    • Unscrew the four screws circled in red

  5. 3CVhcFpWOVcu3reI
    3CVhcFpWOVcu3reI
    vrWGI4TLwXFG5xNs
    b3bXQpZtBNeclMkk
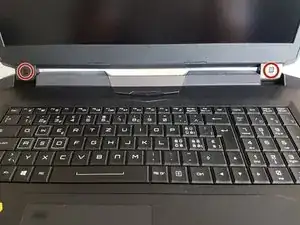
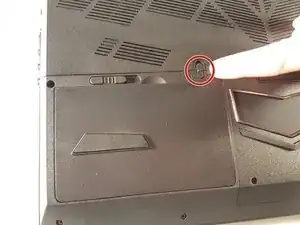
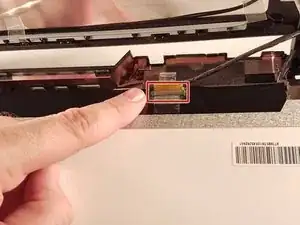
    • Lift the tape that holds the connector framed in red

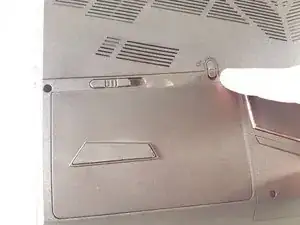
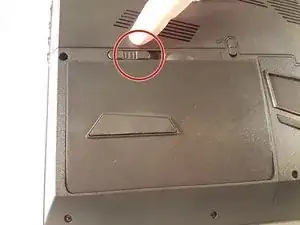
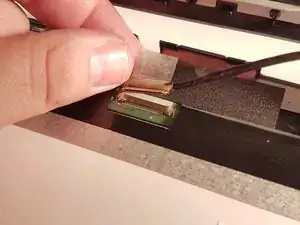
    • Disconnect the framed connector in red

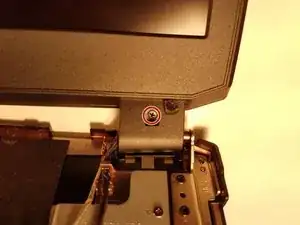
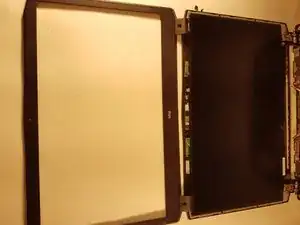
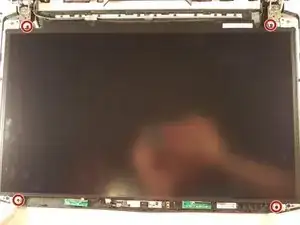
    • Gently remove the screen

Conclusion

To reassemble your device, follow the instructions in reverse order.

Felice Suglia

Member since: 15/06/13

29001 Reputation

0 comments