
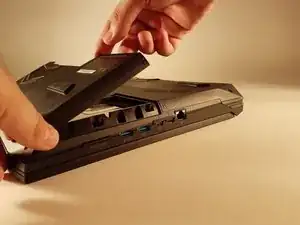
Introduction
Parts
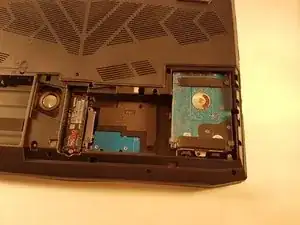
-
-
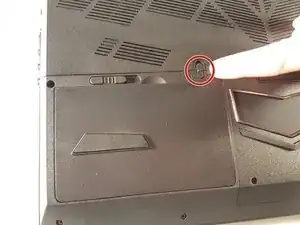
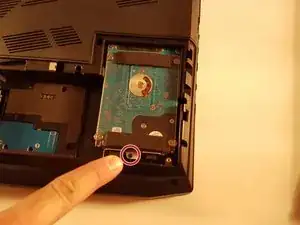
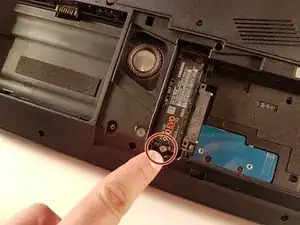
Unscrew the screw circled in red
-
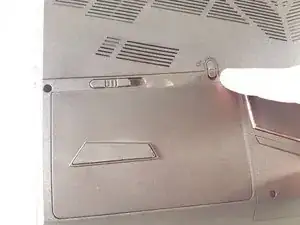
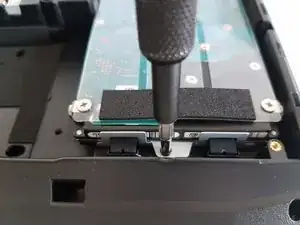
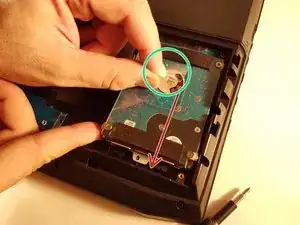
Lift the disc with the green tab
-
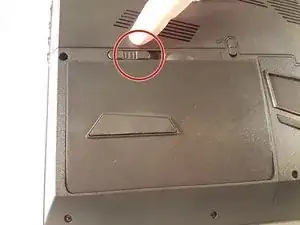
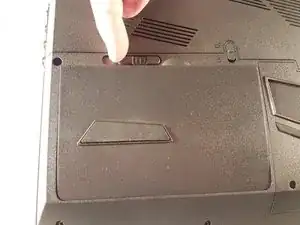
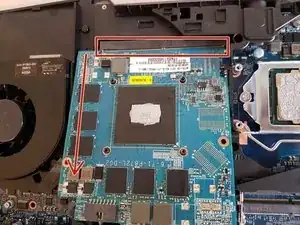
Remove the disc in the direction of the arrow
-
-
-
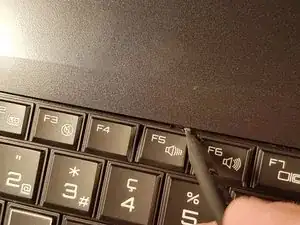
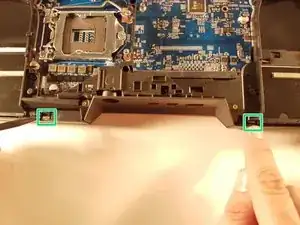
Press a paper clip in the three places marked in red
-
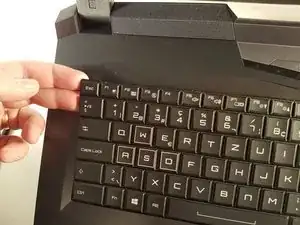
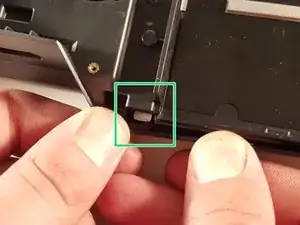
Lift the keyboard and feel free to put some strength
-
-
-
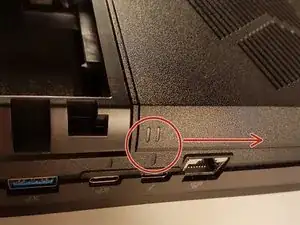
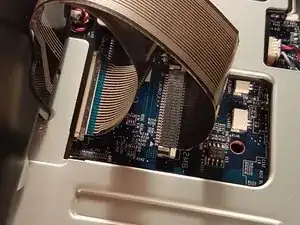
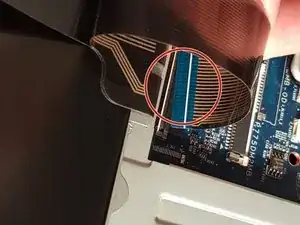
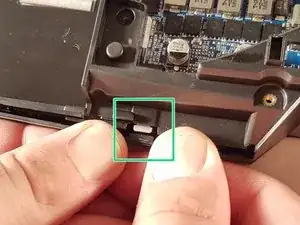
Pull the white drawer in the direction of the arrow to unlock the connector
-
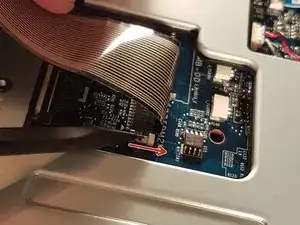
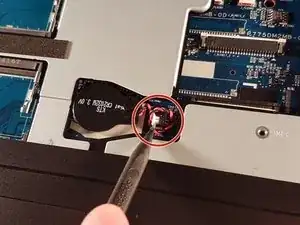
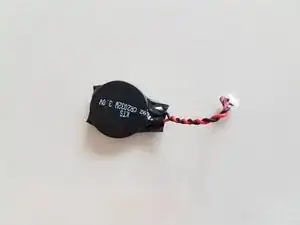
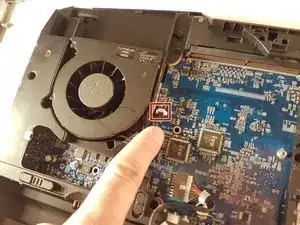
Disconnect the red circled connector
-
-
-
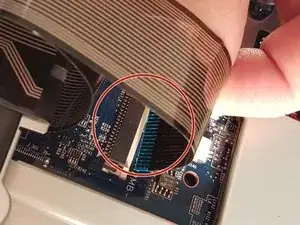
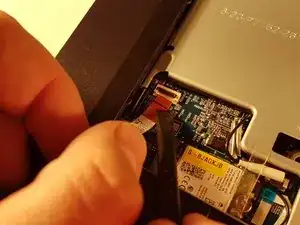
Pull the black drawer in the direction of the arrow to unlock the connector
-
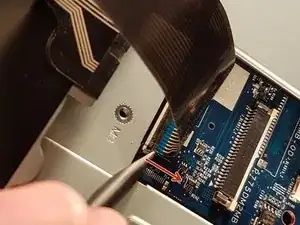
Disconnect the red circled connector
-
-
-
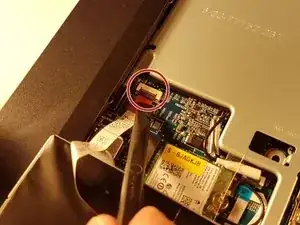
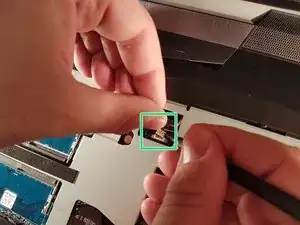
Lift the flap that holds the connector circled in red
-
Disconnect the red circled connector
-
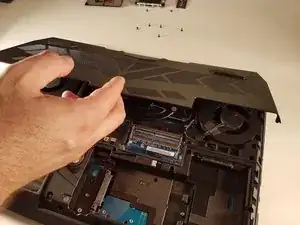
Remove the keyboard
-
-
-
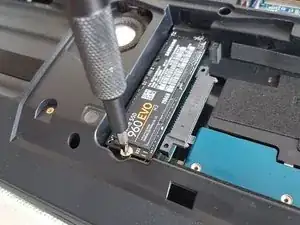
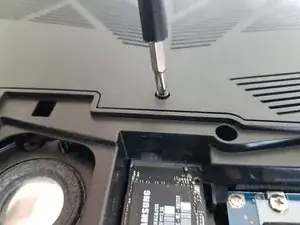
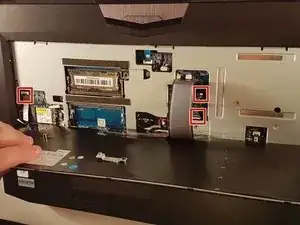
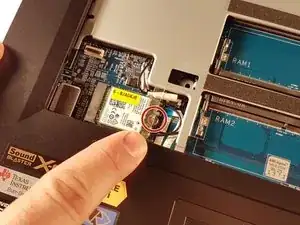
Unscrew the screw circled in red
-
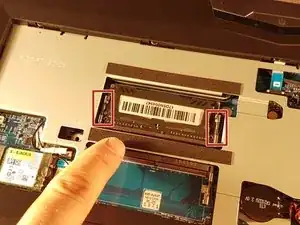
Disconnect the two connectors circled in green
-
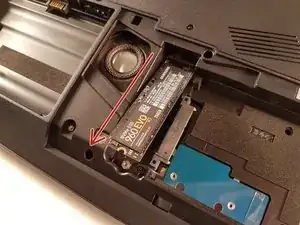
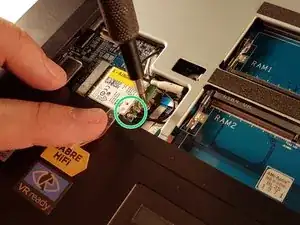
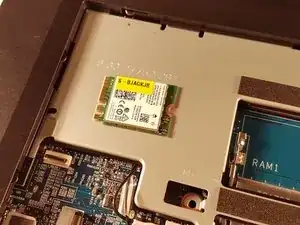
Remove the WLAN card
-
-
-
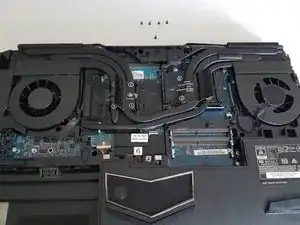
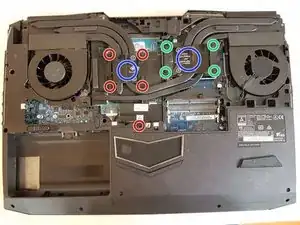
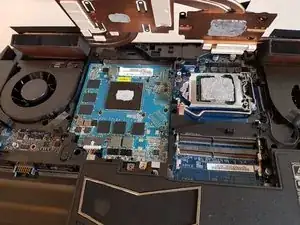
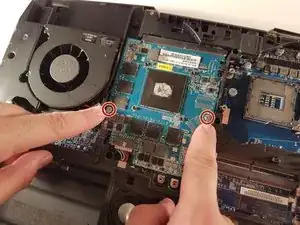
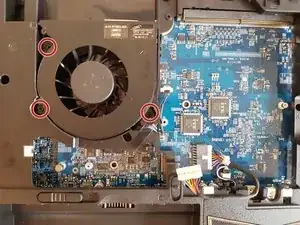
Unscrew the four large screws circled in green
-
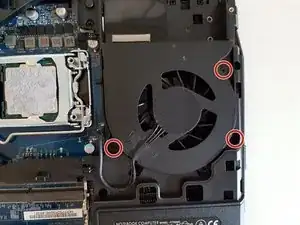
Unscrew the five small screws circled in red
-
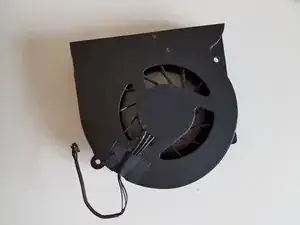
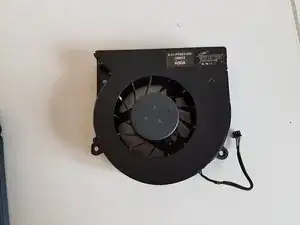
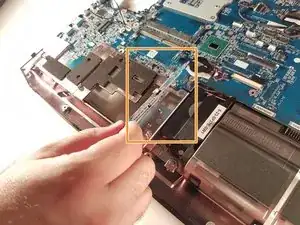
Lift the cooler with the two tabs circled in blue
-
-
-
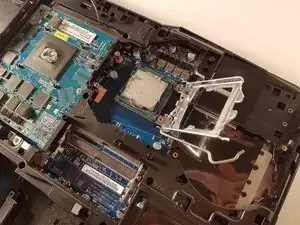
Pull the lever circled in red in the direction of the red arrow while pressing on it
-
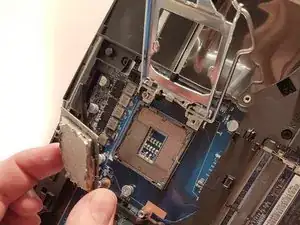
Attention: Do not touch the bottom of the processor and take the side
-
-
-
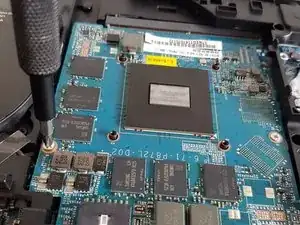
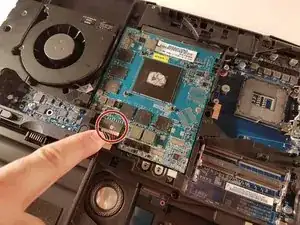
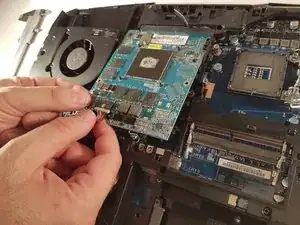
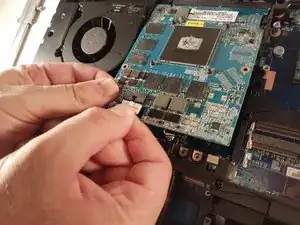
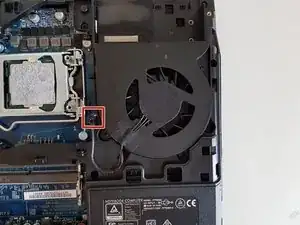
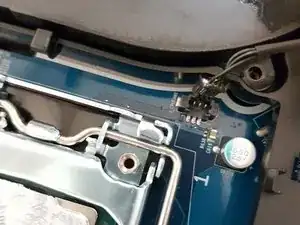
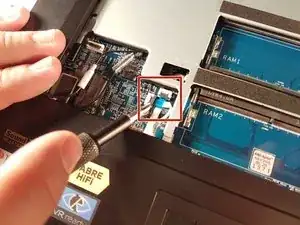
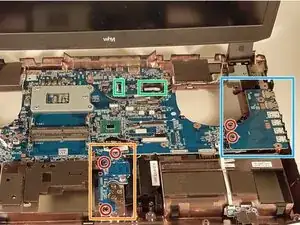
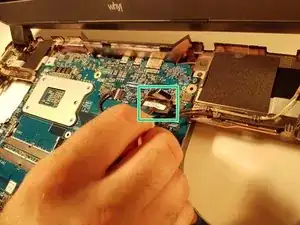
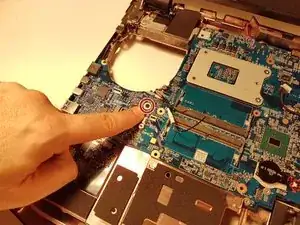
Lift the card to allow access to the red circled connector
-
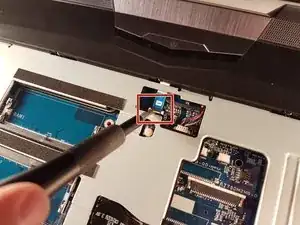
Disconnect the red circled connector
-
-
-
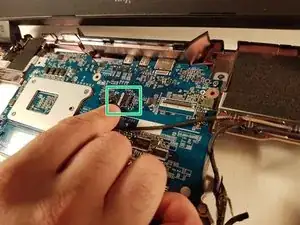
Lift the flap that holds the two connectors framed in red
-
Disconnect the two framed connectors in red
-
-
-
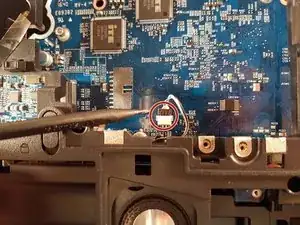
Lift the flap that holds the two connectors framed in red
-
Disconnect the two framed connectors in red
-
Disconnect the box connector in green
-
-
-
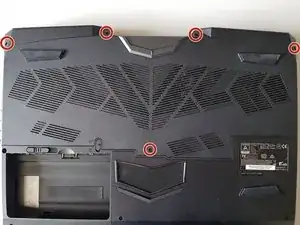
Unscrew the twenty screws circled in red
-
Unclip the edge of the case at the two places framed in green
-
-
-
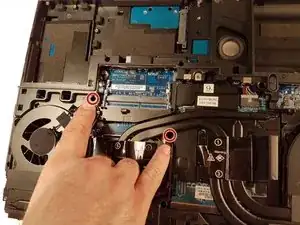
Unscrew the five screws circled in red
-
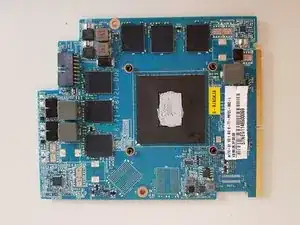
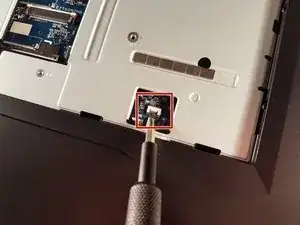
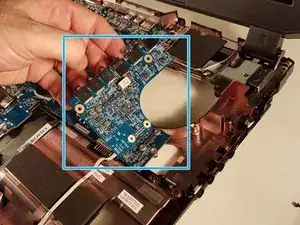
Remove the framed card in blue
-
Remove the framed card in orange
-


To reassemble your device, follow the instructions in reverse order.