Introduction
Most common issue with this is the difficulty with which to open it up.
Tools
Parts
-
-
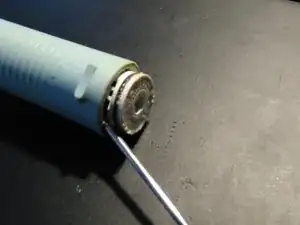
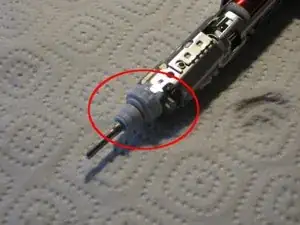
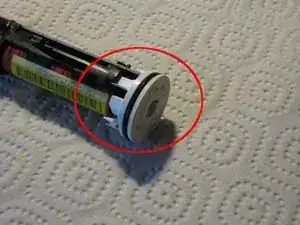
Remove lower cap (2 plastic tabs). O-ring is already removed in this picture.
-
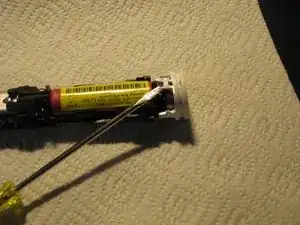
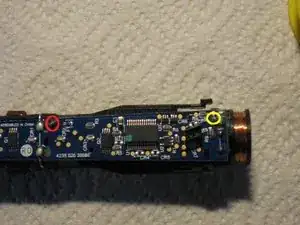
Here are the solder connections of the battery: + (red) and - (yellow).
-
-
-
Unwrap the battery and replace it (see Soldering Skills).
-
To avoid a short circuit (the battery will normally still have a remaining charge), start at the positive pole of the battery and unsolder completely from the board.
-
Continue with the negative pole.
-
At the end, loosen the soldering pads from remaining solder, so that the contacts of the new battery can be inserted into the board.
-
Solder teh positive and negative pole.
-
Requires a 3.7V battery, which is approximately 14mm x 49mm (similar to AA).
-


To reassemble your device, follow these instructions in reverse order.