
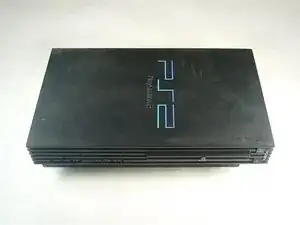
Introduction
Replace the laser assembly in your optical disc drive. Replacing the laser requires you to have or purchase a new laser.
-
-
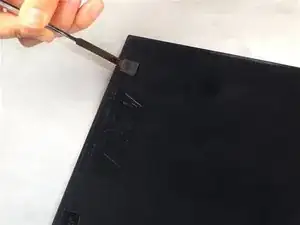
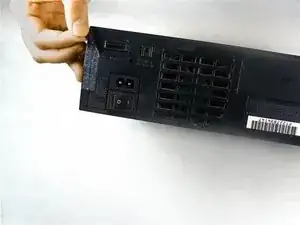
Use the flat edge of a metal spudger to pry the eight flat screw covers out.
-
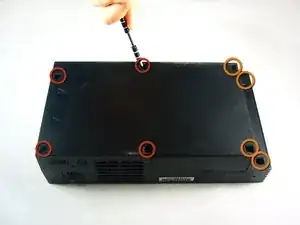
Remove the following eight screws securing the top cover to the bottom case:
-
Four 55.4 mm Philips screws
-
Four 18.0 mm Phillips screws
-
-
-
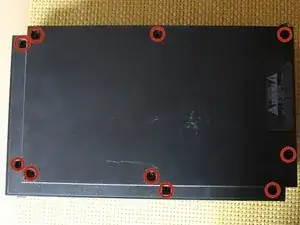
Some models have a different number of screws and feet. Remove all the feet and screws in the bottom of the case.
-
The 10 screw model has 6 screws in the bottom-most portion and 4 in the upper tray.
-
-
-
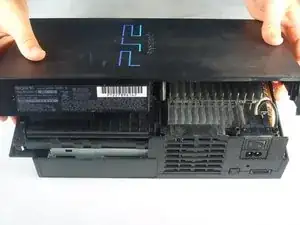
Peel the warranty sticker (located next to the main power switch) straight away from the case.
-
-
-
Lift the top cover off the bottom case.
-
Carefully remove the power cord that attaches the top and bottom halves by disconnecting the power cord assembly from the top case.
-
-
-
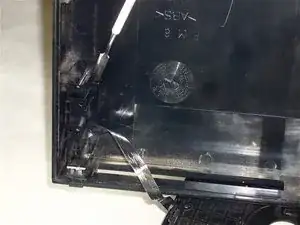
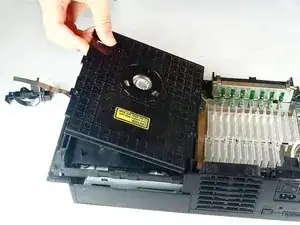
Remove the four 6.4 mm Phillips screws securing the top lid of the optical disc drive.
-
Lift and remove the lid from the optical disc drive.
-
-
-
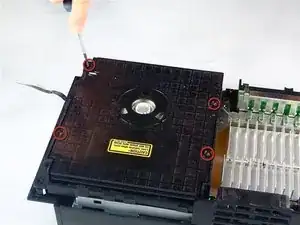
Remove the two 7.2 mm Phillips black screws securing the metal silver rails that hold the laser in place.
-
-
-
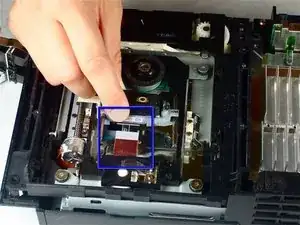
Use your fingernail to flip up the retaining flap on the optical disc drive laser ribbon cable.
-
Pull the optical disc drive laser ribbon cable straight away and out of its socket.
-

To reassemble your device, follow these instructions in reverse order.

8 comments
just did the laser replacement, however the playstation still identifies "no data" when game is inserted. it says "reading disk" for a few seconds then nothing else happens. thought?
Have you removed the security solder blob? All new Lenses have this somewhere in the circuitry.
Number 1 Ifixit the class world,
Mohsen -
I noticed that many times when you replace a lens it throws of the rotary motor. Some ps2 consoles have only 1 hex adjustment yet others have 2. If you have the covers off and just replaced the lenses you should always plug it back in w/ the top off still and adjust it until you see the disc spinning rapidly and laser is moving back and forth. Another way for calibrating is to remove said disc and if lens and ribbon move all the way forward and all the way back 3 or more times then you are almost done. At that point plug in tv chord and place in a disc if the PlayStation 2 logo comes on and disappears in less than 3 seconds carefully replace all parts and your good to go.
Raymond -
Before proceeding to step 2, Take a look at your PS2, some PS2's have 10 screws (and screw covers) instead of 8 (i found them underneath the optical drive), these instructions have mislead me and i ended up breaking my top cover for my PS2.
Tristan -