Introduction
Replace your PlayStation 2's scratched-up or worn out top cover.
-
-
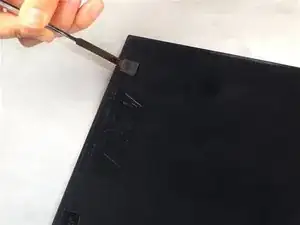
Use the flat edge of a metal spudger to pry the eight flat screw covers out.
-
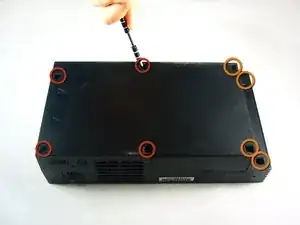
Remove the following eight screws securing the top cover to the bottom case:
-
Four 55.4 mm Philips screws
-
Four 18.0 mm Phillips screws
-
-
-
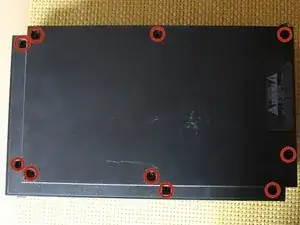
Some models have a different number of screws and feet. Remove all the feet and screws in the bottom of the case.
-
The 10 screw model has 6 screws in the bottom-most portion and 4 in the upper tray.
-
-
-
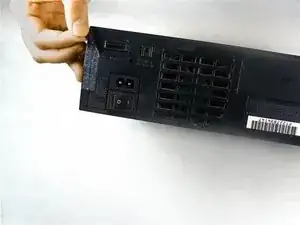
Peel the warranty sticker (located next to the main power switch) straight away from the case.
-
-
-
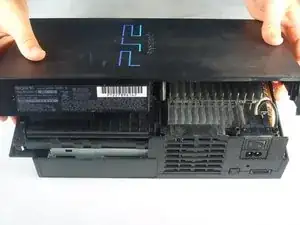
Lift the top cover off the bottom case.
-
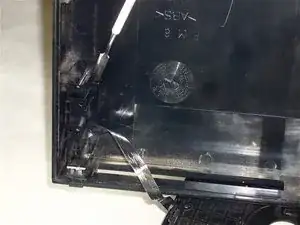
Carefully remove the power cord that attaches the top and bottom halves by disconnecting the power cord assembly from the top case.
-
To reassemble your device, follow these instructions in reverse order.

Before proceeding to step 2, Take a look at your PS2, some PS2's have 10 screws (and screw covers) instead of 8 (i found them underneath the optical drive), these instructions have mislead me and i ended up breaking my top cover for my PS2.
Tristan -