Introduction
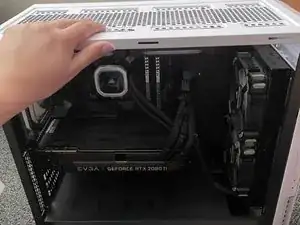
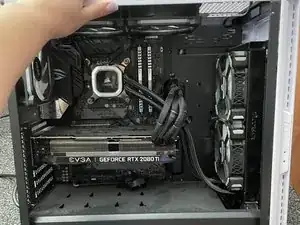
The purpose of this guide is to instruct a user on how to replace a computer graphics card in a Raidmax Alpha case. A computer graphics card is a piece of computer hardware that produces the image seen on a monitor. This card renders an image to the monitor by converting data into a signal the monitor can understand. If this card is not present in a computer, the graphics will not be displayed. Using a better quality graphics card can give a better image that is output on the screen.
The user will need to have some basic background information on how to replace computer parts. If the steps to recycle the power in the computer are not followed, there could be residual current left that could be dangerous to the user.
Tools
-
-
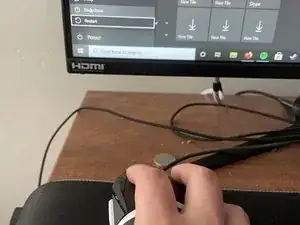
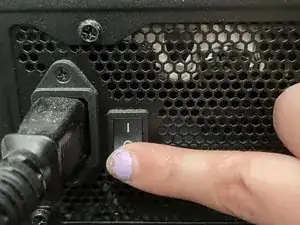
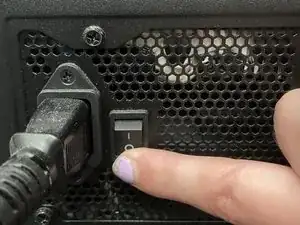
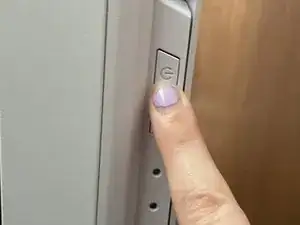
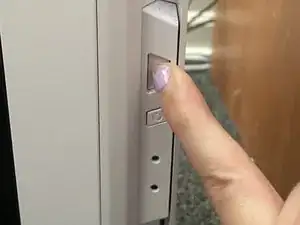
Recycle the power in the computer by pressing the power button on and off again. This removes any remaining current to the computer.
-
-
-
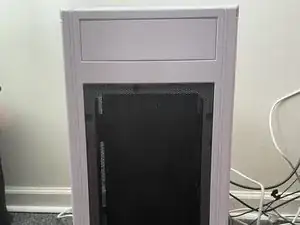
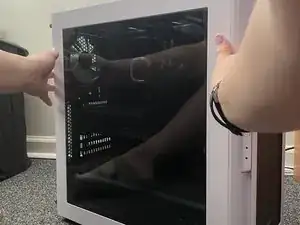
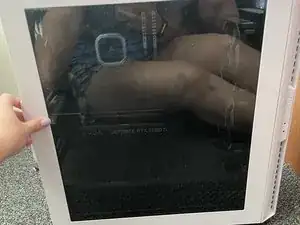
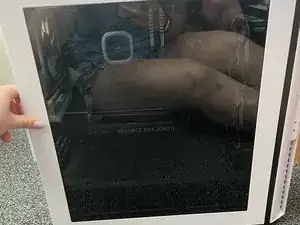
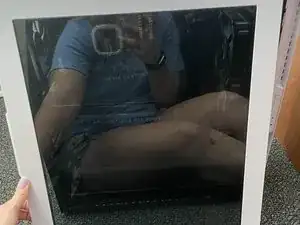
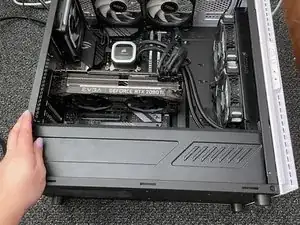
Access the glass side panel by turning the back of the case to the left when looking at it from the front.
-
-
-
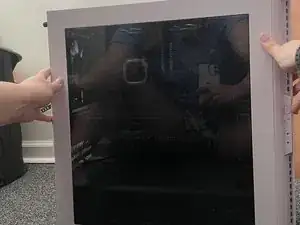
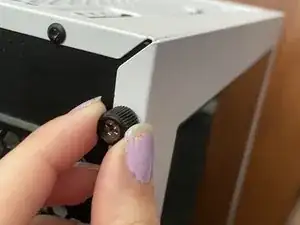
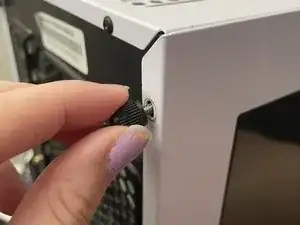
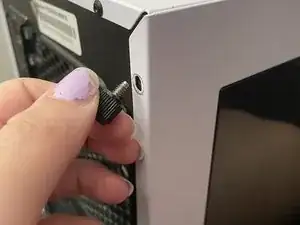
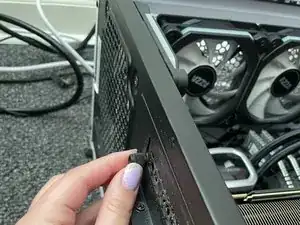
Remove the two screws on the glass side panel. These are thumb screws so they can simply be removed by twisting them to the left.
-
-
-
Tilt the case backward and lay it on its backside. This is done so the card will not pull down when being removed.
-
-
-
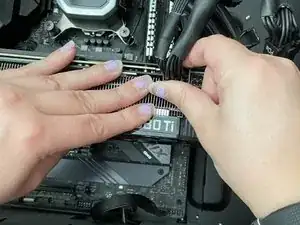
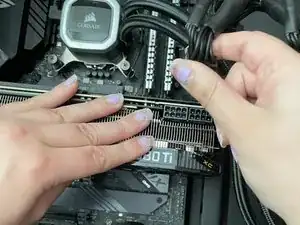
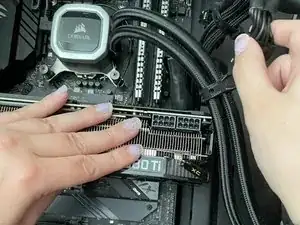
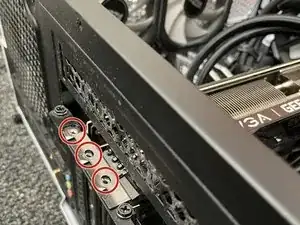
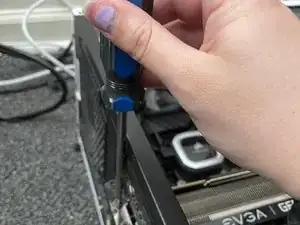
Remove three 6.3 mm screws to the card located on the left side of the case using a Phillips #2 screwdriver.
-
To reassemble your device, follow these instructions in reverse order.
